Colorlight X2 Manuale utente

X2 Controller

www.colorlightinside.com
Content
1. Overview .............................................................................................................................................................. 1
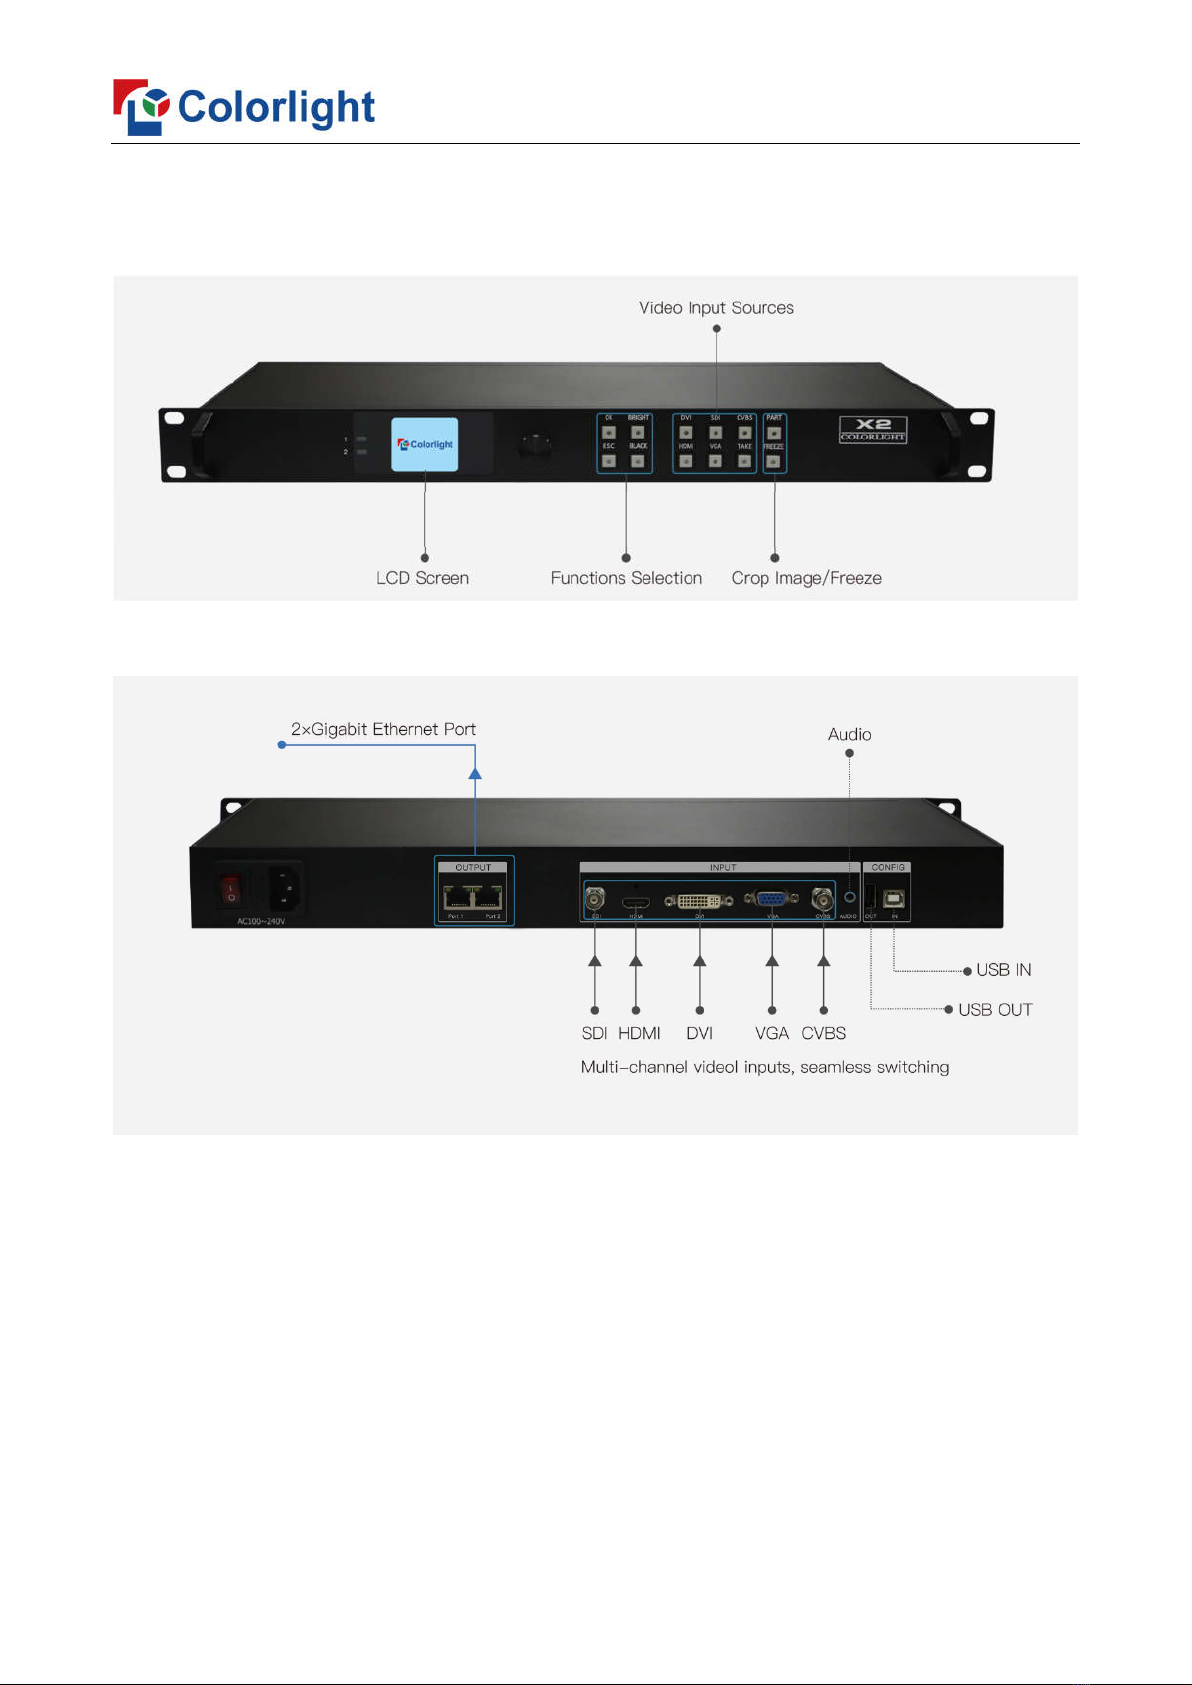
2. Appearance ......................................................................................................................................................... 1
3. Signal Connection .............................................................................................................................................. 3
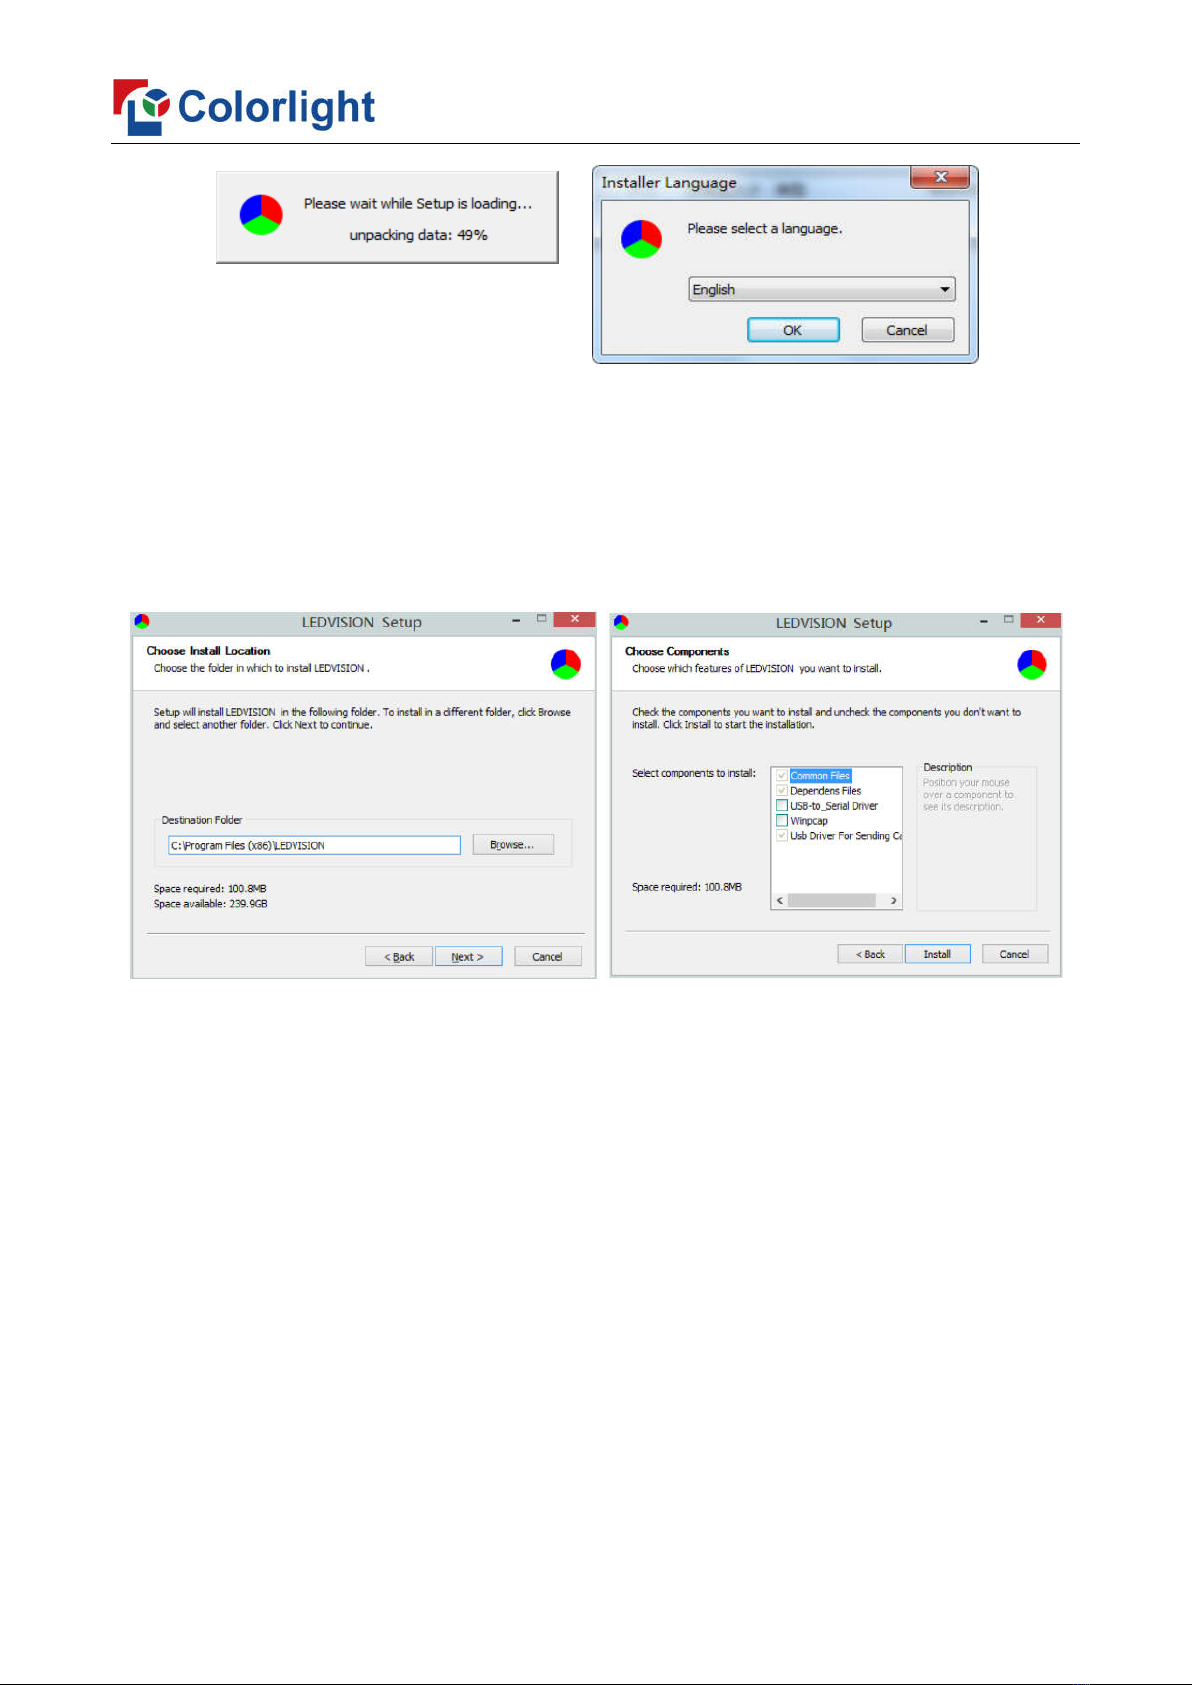
4. LEDVISION Installation ..................................................................................................................................... 3
5. Parameter Configuration ................................................................................................................................... 4
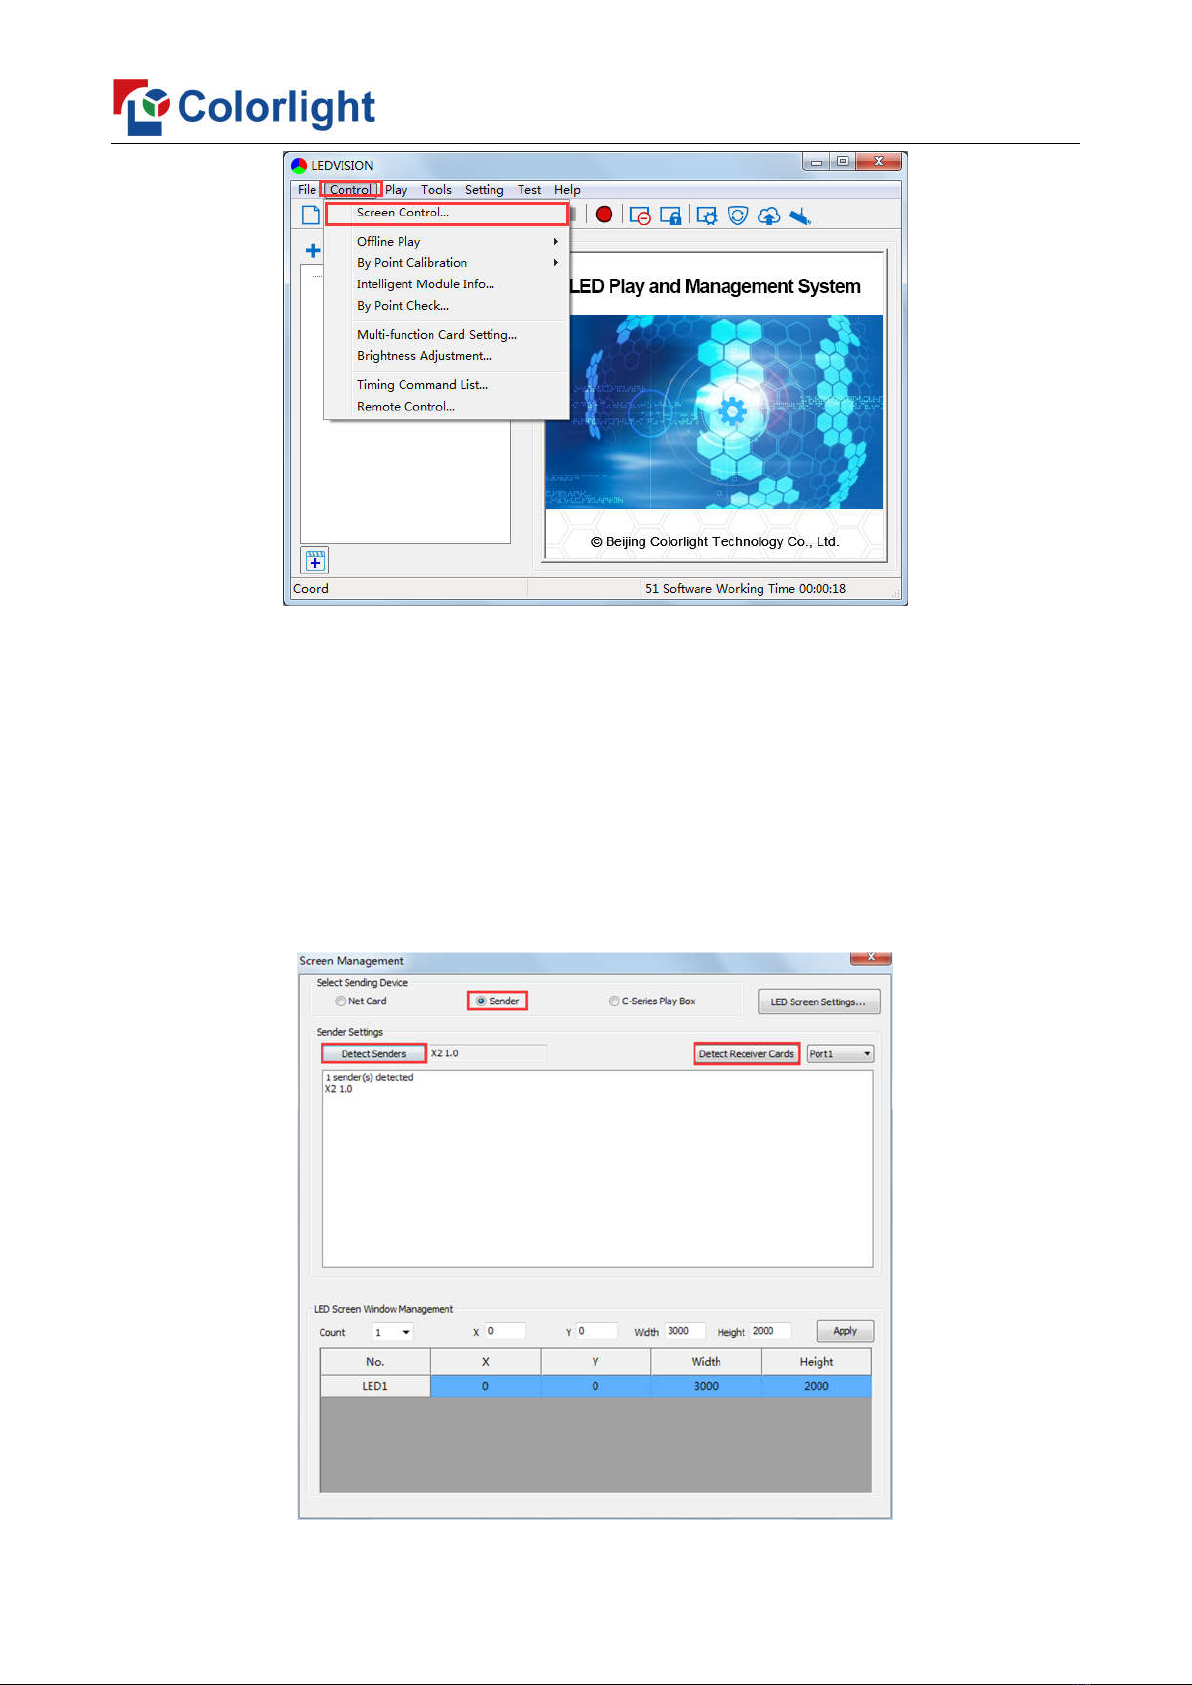
5.1 Detect Sender and Receiving Card ....................................................................................................... 4
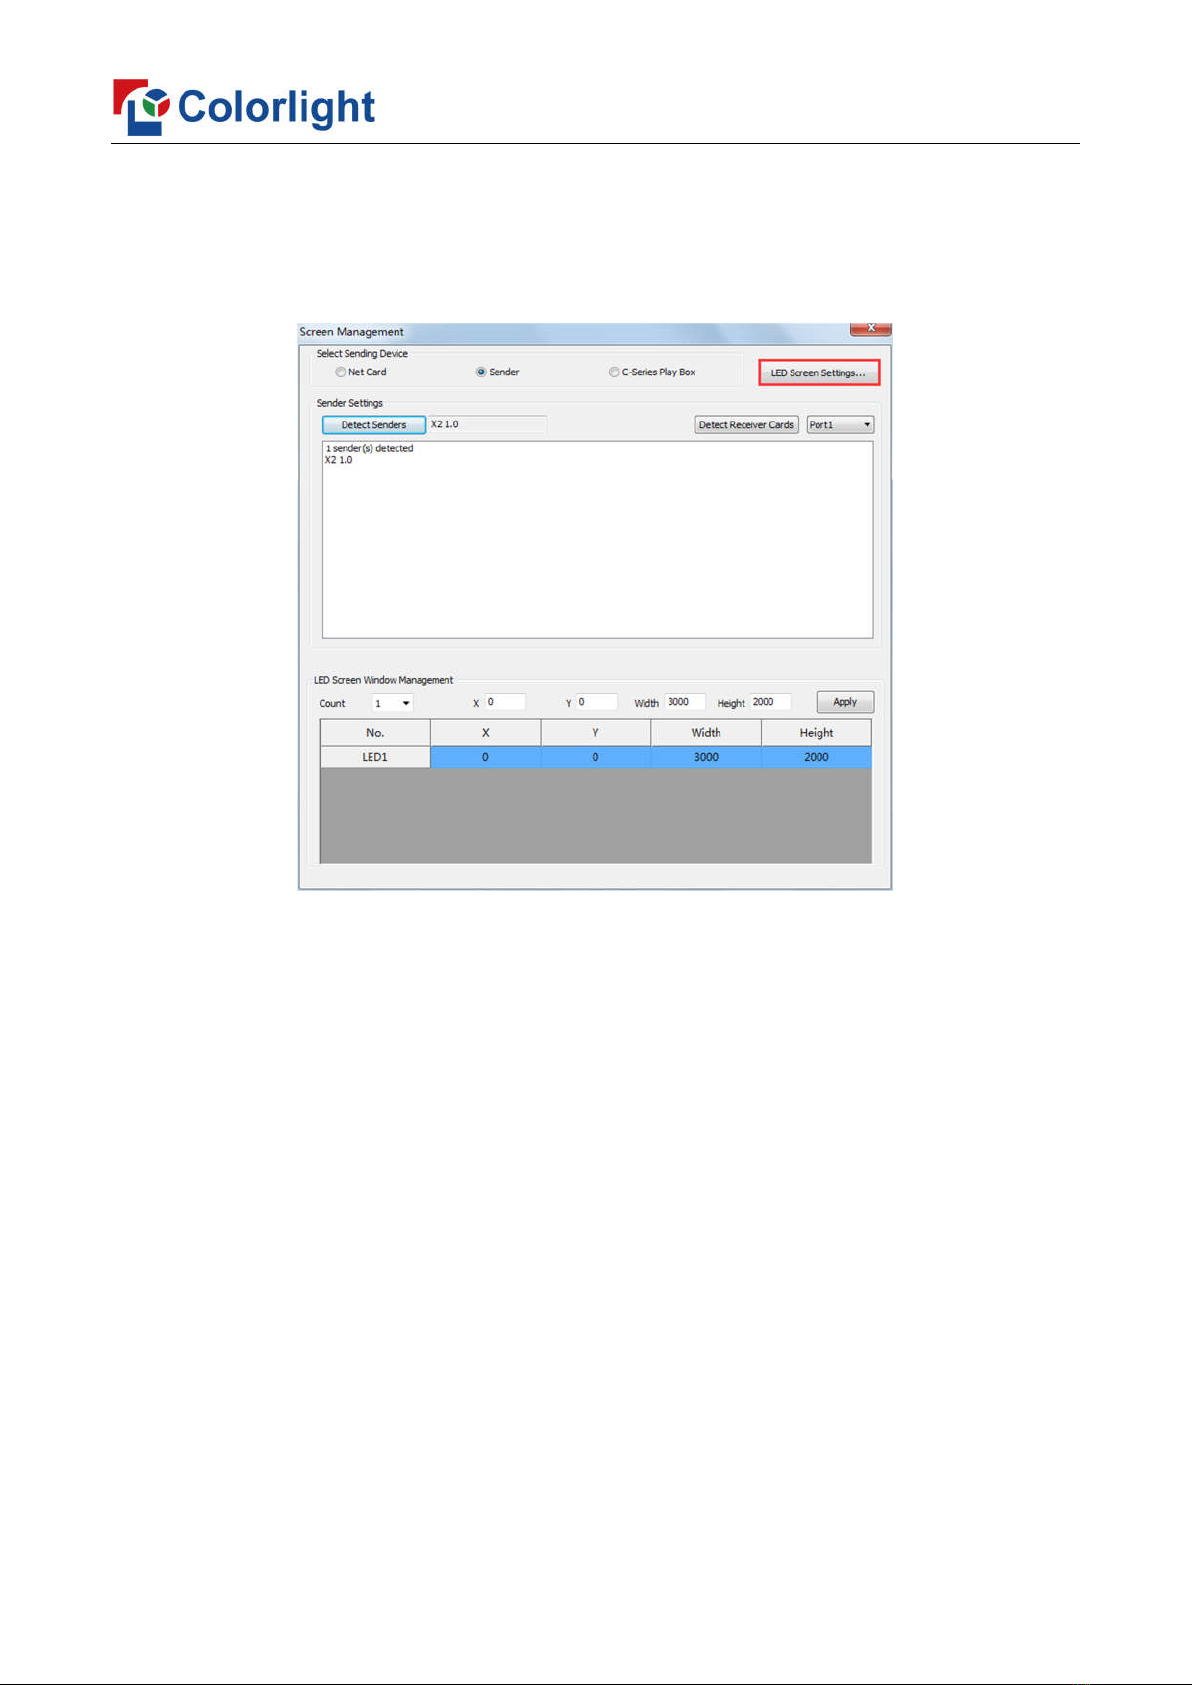
5.2 LED Screen Setting.................................................................................................................................. 6
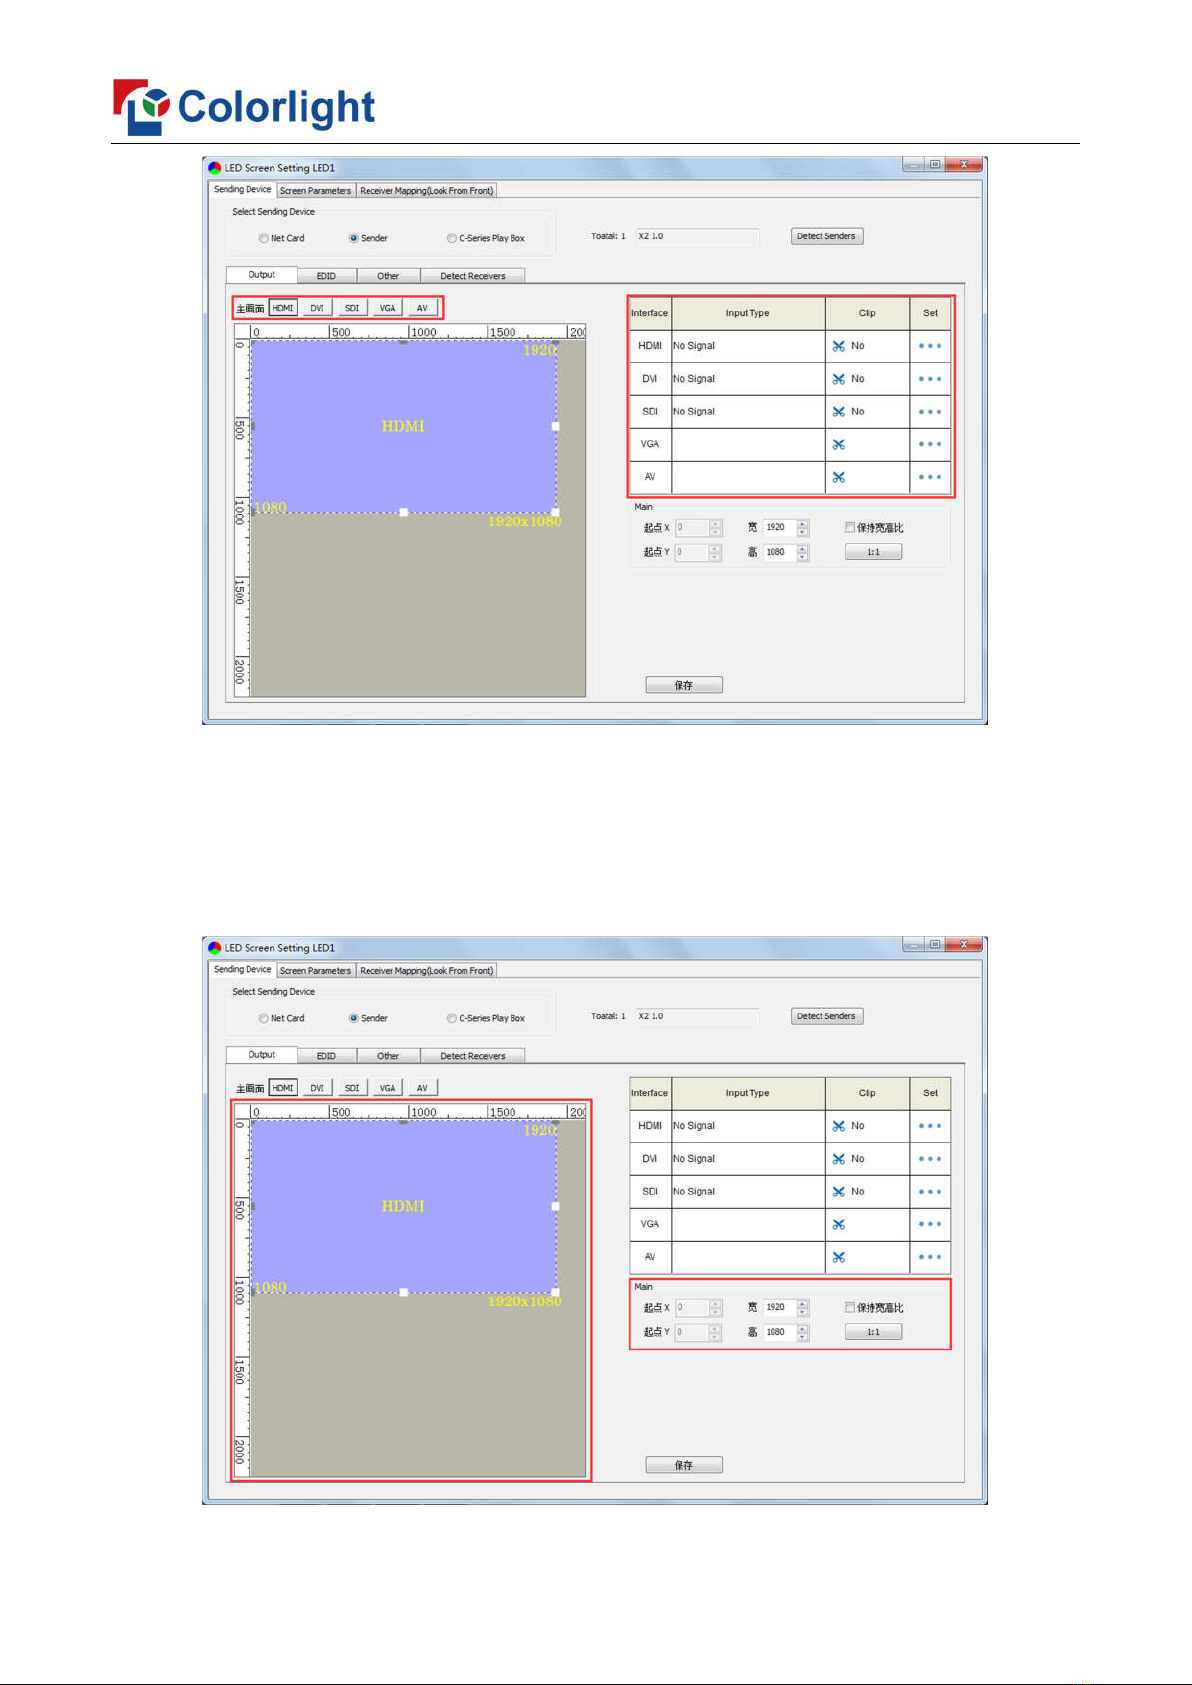
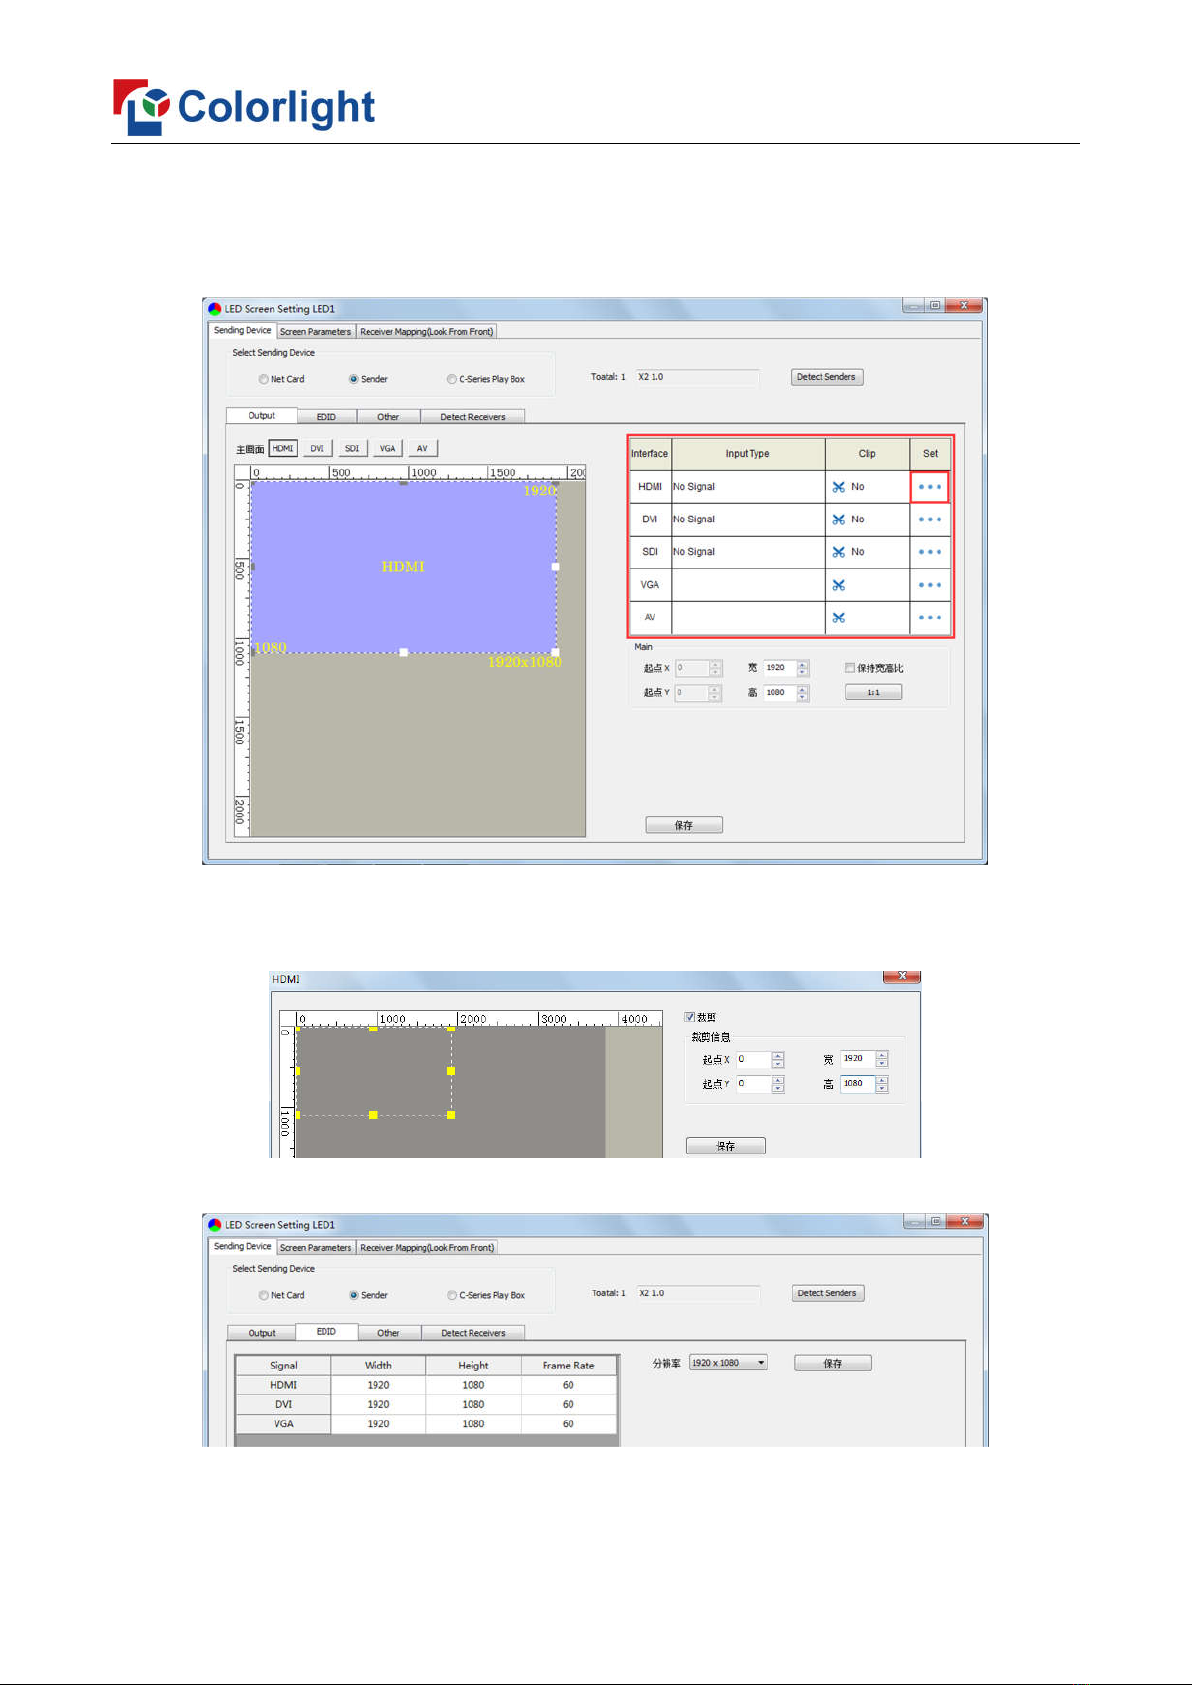
5.2.1 Sending Device Setting ................................................................................................................ 6
5.2.2 Screen Parameters Setting ....................................................................................................... 10
5.2.3 Connection Parameters Setting ................................................................................................ 10
6. LCD Operation Instruction ............................................................................................................................... 14
6.1 Operational Motion Instruction ............................................................................................................. 14
6.2 Main Interface ......................................................................................................................................... 14
6.3 Operation Instruction .............................................................................................................................. 14
6.3.1 Display Setting ............................................................................................................................. 15
6.3.2 EDID Setting ................................................................................................................................ 16
6.3.3 Input Setting ................................................................................................................................. 17
6.3.4 Input Clip Setting ......................................................................................................................... 17
6.3.5 Output Setting .............................................................................................................................. 18
6.3.6 Output Shift .................................................................................................................................. 18
6.3.7 Language Setting ........................................................................................................................ 19
6.3.8 System Setting ............................................................................................................................ 19

www.colorlightinside.com
1
1. Overview
X2 is a professional LED display controller, it possesses powerful video signal
receiving capacity, and supports multiple signal inputs, in which max input resolution is
1920*1200 pixels. Meanwhile, 2 Gigabit Ethernet outputs support big LED display of 4096
pixels in maximum width or 2560 pixels in maximum height.
X2 adopts dual USB2.0 interfaces for high-speed configuration and easy cascading,
and the operation is simple and convenient. Also, it equips a series of versatile functions,
which have many advantages in applications of manufacture and engineering.
Features:
Video input ports including SDI×1, HDMI×1, DVI×1, VGA×1, CVBS×1;
Support input resolution up to 1920*1200@60Hz;
Loading capacity: 1.3 million pixels,
Maximum Width: 4096 pixels, Maximum Height: 2560 pixels;
Support arbitrary switching of video input, and the image can be zoomed freely;
Dual USB2.0 for high speed configuration and easy cascading;
Support splicing and cascading among several controllers with synchronization strictly;
Support brightness and chromaticity adjustment;
Support improved gray-scale at low brightness;
Support HDCP1.4;
Compatible with all receiving cards, multifunction card, optical fiber transceivers of
Colorlight.
2. Appearance
Front Panel

www.colorlightinside.com
2
NO Name Function
1 1.8-inch LCD Display operation menu and system information
2 Knob Turning knob to select or adjust
3 Function Keys
OK: Enter key
ESC: Escape current operation or selection
BRIGHT: Brightness option
BLACK: Blank screen
TAKE: Switch input signal source
PART: Screen clipping
FREEZE: Freeze screen
4 Selection Keys DVI/HDMI/SDI/VGA/CVBS: Video source selection
Back Panel
Input Interface
1 SDI SDI input
2 HDMI HDMI input
3 DVI DVI input
4 VGA VGA input
5 CVBS CVBS input
6 AUDIO Audio input, input audio signal and transmit to the
multifunction card
Output Interface
1 Port1/2 RJ45,2 Gigabit Ethernet outputs
Controlling Interface
1 USB_OUT USB output, cascading with next controller
2 USB_IN USB input, which connects with PC to configure parameters

www.colorlightinside.com
3
3. Signal Connection
4. LEDVISION Installation
Please download the installation package of the LEDVISION software from Colorlight’s
official website www.colorlightinside.com, and complete the installation according to the
diagrams shown below.
① Run the software package, and select [English] for installer language. Click [OK] to
move on.

www.colorlightinside.com
4
② After selecting a language, an installation wizard like below will appear, click [Next];
Then choose installation location, click [Browse] to change default target location, then
click [Next] after completing;
Choose components according to your own computer status, click [Install] to complete;
After the installation is complete you are ready to use LEDVISION.
5. Parameter Configuration
Please make sure the correctness of the hardware connection before setting, use
LEDVISION to detect sender and all receiving cards.
5.1 Detect Sender and Receiving Card
1. Run LEDVISION, click [Control] – [Screen Control] to enter the Screen Control
window.

www.colorlightinside.com
5
2. [Select Sending Device] for [Sender], click [Detect Senders] in [Sender Settings].
Please check the hardware connection or the installation of relevant driver if cannot detect
senders.
Select network port and click [Detect Receiver Cards] respectively, the software will
automatically acquire the receiver card quantity of each network port of the sender. Please
check corresponding cable if the numbers of receiver card are inconsistent with actual
status.

www.colorlightinside.com
6
5.2 LED Screen Setting
Click [LED Screen Settings] to enter the LED Screen Setting interface, and set up
“Sending Device”, “Screen Parameters”, “Connection Parameters”.
5.2.1 Sending Device Setting
[Select Sending Device] for [Sender], and detect senders. Sending Device Setting
includes 4 parts: Output, EDID, Other, Detect Receivers.
1, Output
① Signal Source
When the input signal source of X2 is normal, the upper right of the software interface
will display the input signal information auto acquired via the software. Users can select
specific signal source (HDMI/DVI/SDI/VGA/AV) according to needs in [Main], at the
moment, the image of selected signal source will display in the Image View Area on the left
of the software interface.

www.colorlightinside.com
7
② Scaling
In Image View Area, select the image that needs to be scaled, set X, Y, width and
height of it in [Main Image], or you can click the white box in the bottom right corner of the
image and drag it with the mouse, finally click [Save].

www.colorlightinside.com
8
③ Clipping
Select signal source of the image that needs to be clipped in Input Signal Area, click
[Set] to enter the clipping interface.
In the clipping interface, check [Clipping], and set X, Y, width and height in [Clipping
Information], then click [Save] to complete.
2, EDID: Set sender resolution, the first one is the default as current resolution.
Click the dropdown button to display the resolution list to select the mainstream
resolution, and you can also customize the sender resolution, by setting the width/height
Indice
Altri manuali Colorlight Controllori

Colorlight
Colorlight X4 Manuale utente

Colorlight
Colorlight Z4 Manuale utente

Colorlight
Colorlight X1 Manuale utente

Colorlight
Colorlight X20 Manuale utente

Colorlight
Colorlight Z6 Super Controller Manuale utente

Colorlight
Colorlight X4e Manuale utente

Colorlight
Colorlight X16 Manuale utente

Colorlight
Colorlight X12 Manuale utente

Colorlight
Colorlight Z6 PRO Manuale utente

Colorlight
Colorlight X20m Manuale utente


