FORTA STAND UP HOIST Manuale utente

FORTA’S HOISTS
USER MANUAL
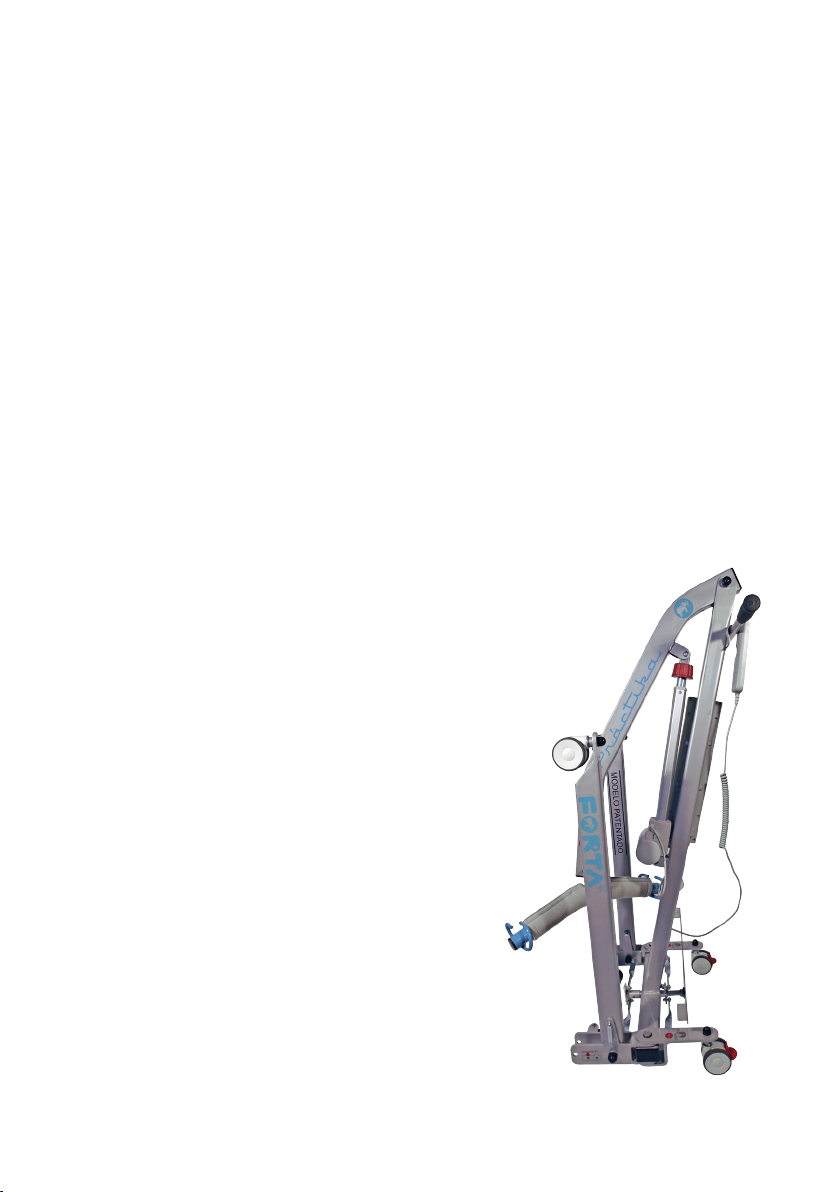
STAND UP HOIST PRACTIKA
MINI


1
• USE INSTRUCTIONS AND CERTIFICATES
• RELEVANT SECURITY NOTES
• SLING
• LEGS OPENING/CLOSING
• WHEELS BRAKES
• EMERGENCY STOP BUTTON
• LIFTING AND DESCENT OF THE PATIENT
• DESCENT OF THE PATIENT WITHOUT CURRENT
• MOVEMENT OF THE HOIST
• CONTROL BOX PLACEMENT
• CONTROL BOX LOCK AND EXTRACTION
• CONTROL BOX CONNECTIONS
• SWAPPING A PRACTIKA INTO A STANDUP AND
VICE VERSA
• ARM SWAP
• FOOTREST ASSEMBLY
• BATTERY CHARGING AND LIFETIME
• ELECTRIC EQUIPMENT PROPERTIES
• RECLYCLING OF THE MATERIALS
• GOOD PRACTICES
• FAILURES AND SOLUTIONS
• GENERAL RECOMMENDATIONS
• MAINTENANCE
• INSPECTION INTERVALS
• WARRANTY AND AFTER-SALES SERVICE
HOISTS USE AND MAINTENANCE MANUAL
2
3
4
4
4
5
5
6
6
7
7
7
8
8
9
10
11
11
12
12
13
13
14
15
2
USE INSTRUCTIONS AND CERTIFICATES
Never use the hoist prior to the reading of this manual and without the
appropriate advice of a professional who explains the using technique
in detail.
Our personal lifting hoists Practika, Mini and Stand up have been
developed to grant the highest stability and comfortability. To do so, we
have designed a double compass system which works on both, front
and rear wheels, opening them all at the same time. This system grants
extra stability when lifting the user.
In addition, our hoists’ arm and legs are all foldable, allowing you to
store the hoist saving space.
All these improvements have been patented
by FORTA, therefore, only our hoists can
offer these huge advantages.
FORTA’s hoists comply with the European
Directive 93/42/CEE concerning medical
devices as well as the CE mark. These
hoists have been tested and homologated
by the Instituto de Biomecánica de Valencia
(IBV) and comply with the ISO 10535
requirements “Hoists for the transfer of
disabled persons – Requirements and test
methods”.
Each and every one of our hoists is strictly
checked in our factory to verify their
operation.

3
RELEVANT SECURITY NOTES
• Before using the hoist, please check that all its components work
correctly.
• Before using the hoist for the first time it is convenient to charge it
from 10 to 24 hours.
• Always make sure that the patient does not exceeds the weight
maximum limit of the hoist. This information is indicated on the
hoist’s arm.
• Do not keep the hoist’s brakes on while lifting the patient.
• Always move the hoist pushing the handles, never push the patient
or the arm of the hoist.
• When moving the patient on the hoist, keep them as close as
possible to the ground to gain stability.
• When moving the patient on the hoist, move it around slowly, turn
the hoist softly and with no abrupt movements.
• Do not use the hoist on a lateral inclination that exceeds 4º. If you
need to do so please look for the help of a third person.
• Never leave the patient lifted on the hoist.
• Do not use the hoist on humid locations.
• Never charge the batteries in a place that is not completely dry.
• Always use the hoist on a flat, clean and dry surface.
• Do not try to overtake 10 mm. or higher obstacles when the user
is on the hoist.
• Always make sure that the front legs fixing pins are placed and
locking the legs before using the hoist.
• Do not allow the patient to swing.
• Never lift the patient only from one side, make sure that the sling is
well placed and holding both sides of the arm of the hoist.
FORTA reserves the right to modify, partially or completely, any piece or
technical data of the hoist without prior notice, as current configurations
of the products are in a constant process of change for improvement.

4
SLING
• Do not use a non-homologated sling.
• Adjust the sling following its use instructions.
• Always check that the sling is adequate for the size of the patient.
• Check the condition of the sling before each use.
LEGS OPENING/CLOSING
1. Place yourself behind the hoist.
2. Grab the handles of the hoist and open the legs by pressing the
bottom pedal on its right position with your foot. All four legs will
open.
3. To close the legs, grab the handles and press the bottom pedal on
its left position.
WHEELS BRAKES
1. Place yourself behind the hoist.
2. Grab the handles of the hoist and press the red piece that is located
on each rear wheel, locking them.
3. To unlock them, just pull the piece to its original position.
ATTENTION
While lifting or descending the patient on the hoist, the
wheels must be unlocked to allow the hoist to adapt and
move to the centre of gravity. If the wheels are locked,
this movement will be absorbed by the patient and could
lead to discomfort and danger.
5
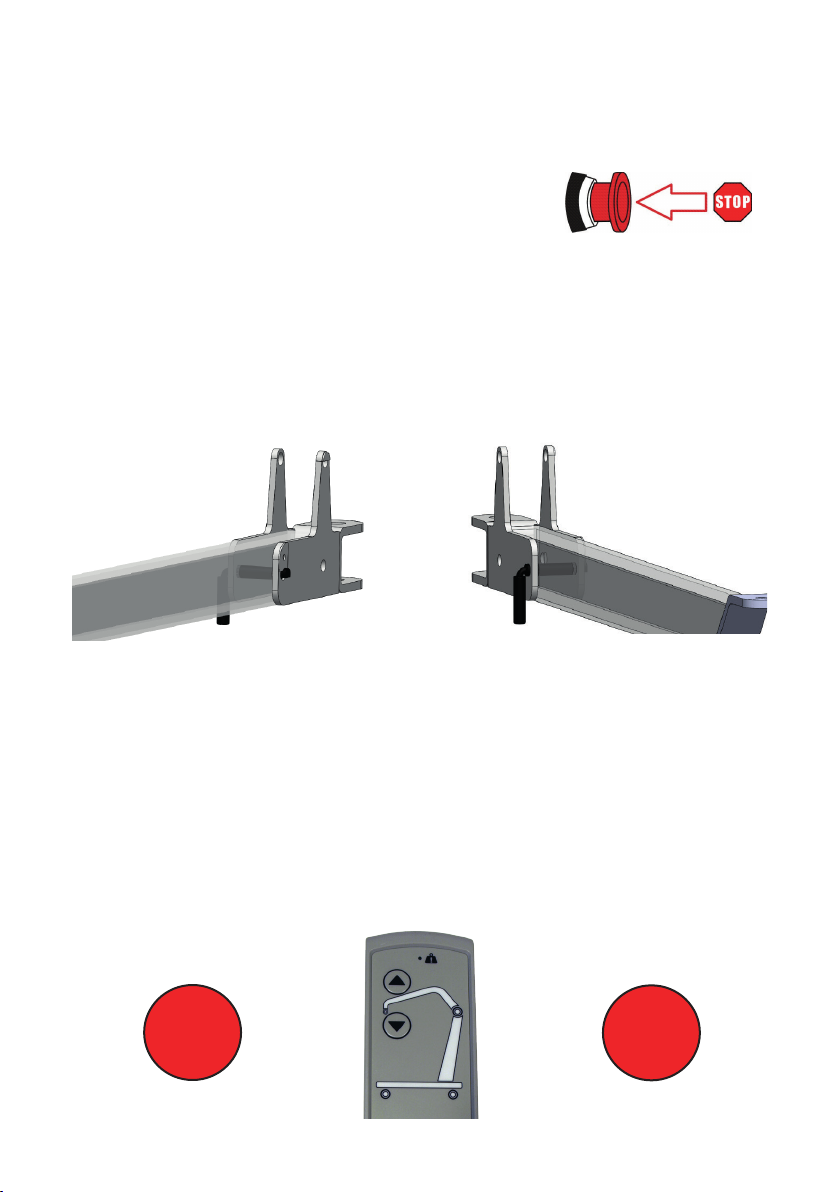
Make sure that the fixing pins of the legs are in the right position, going
through both holes, crossing the leg and locked.
The lifting and descending of the arm will be made always using the
electric motor, handled by a simple control.
The electric controller has two buttons indicating LIFT or DESCEND
using arrows. The hoist stops itself when it reaches the limit in both
directions or if the weight is higher than that allowed and indicated
on the arm of the hoist. A LED will turn on in case of weight overload.
LIFTING AND DESCENT OF THE PATIENT
150kg 130kg
Práctika
Bipedestación
Mini
EMERGENCY STOP BUTTON
At the top of the control box there is a RED
BUTTON that, when pushed, will stop the current
that feeds the hoist. It will only be renovated
when the button is turned following the arrows
indicated on it.

6
DESCENT OF THE PATIENT WITHOUT CURRENT
In the case of the hoist not descending the patient,
either because of overweight or lack of electric
current, the hoist has a security system to descend
the patient safely.
Push the red piece located at the top of the electric
motor’s stem downwards and turn clockwise. This
will make the arm go down slowly.
MOVEMENT OF THE HOIST
1. Place yourself behind the hoist and grab the handles strongly.
2. Open the legs as indicated before on “LEGS OPENING/CLOSING”.
3. Unlock the wheels as indicated before on “WHEELS BRAKES”.
4. Push the hoist from the handles to the desired direction. The hoist
has rotating wheels that ease its manoeuvrability.
The control has a battery capacity indicator which
indicates the charge capacity of the batteries. When
this indicator shows a red light it means that the
batteries have reached their minimum level and
there is risk of damaging them. At that point, end
the manoeuvre and charge the hoist before using it
again.
In case of failure of this control, the control box has
two buttons, up and down, to use the hoist.
7
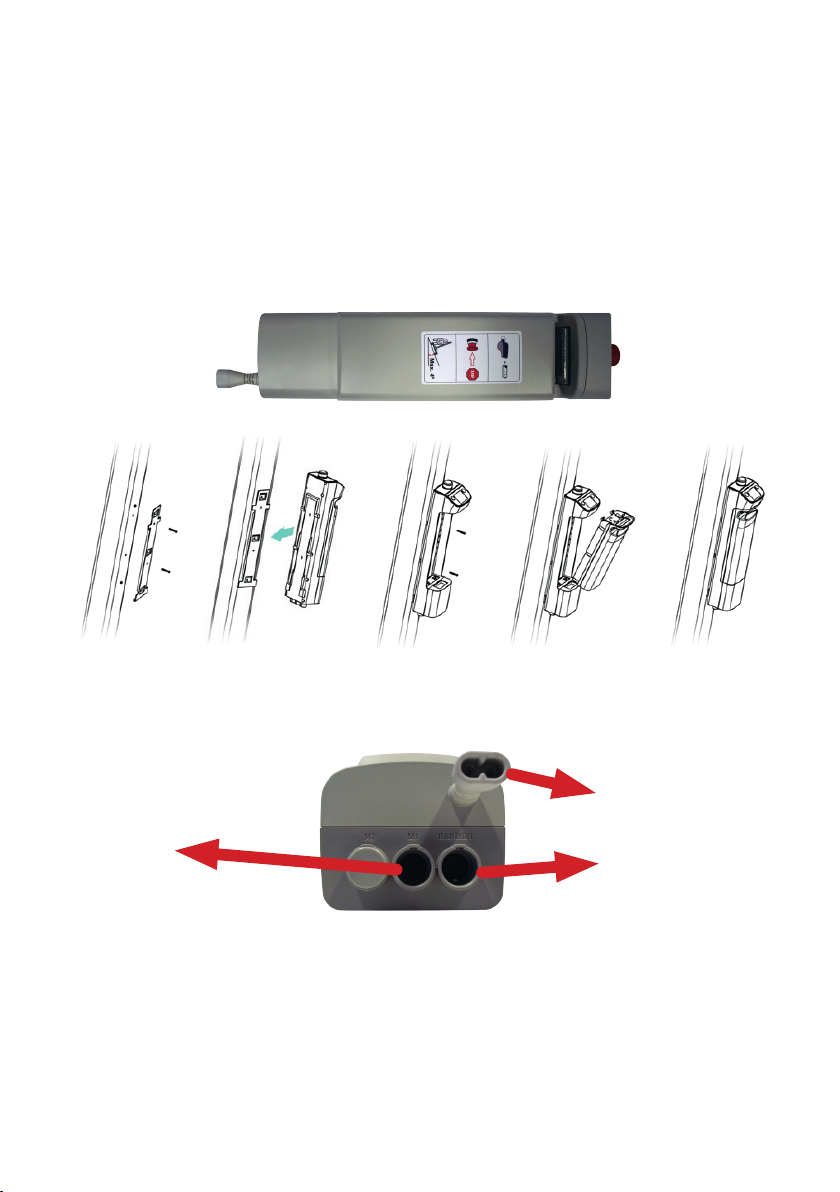
CONTROL BOX LOCK AND EXTRACTION
Out hoist have their control box on its lateral side to optimize space
and so it is more protected.
CONTROL BOX CONNECTIONS
Insert the connectors thoroughly in their corresponding plug.
Make sure that every plug is connected correctly.
The control box is installed on the hoist. Nevertheless, follow this as-
sembly instructions if necessary:
CONTROL BOX PLACEMENT
Control
Actuator
Charge wire

8
SWAPPING A PRACTIKA INTO A STANDUP AND
VICE VERSA
Theres is an option to turn our Practika hoist into a Stand up hoist and
vice versa. To do so you may have to purchase an extra product as it
is not a standard option.
ARM SWAP
• Using the knob system, dismantle the arm that is installed on the
hoist and place the other arm and each component as shown
below.
• Advise with your provider before going through this change as a
bad assembly may result in a bad performance of the product.
• Once every piece is in place, tighten up the knobs until they are
locked.
• When the knobs are locked, with the motor unplugged, the arm
should be loose and easily moved with your hands.
• Check daily the adjustment of the knobs.
Do not modify the sequence of the assembly
CHANGING THE ARM OF A MINI HOIST IS
FORBIDDEN
Questo manuale è adatto per i seguenti modelli
2
Indice
Manuali Sistema di sollevamento popolari di altre marche


Genie
Genie Z-60/34 Manuale utente

Screen Technics
Screen Technics INTERFIT Vertical Up Lift Manuale utente

Mortuary Lift
Mortuary Lift ULTIMATE 1000 Manuale utente

Custom Equipment
Custom Equipment Hy-Brid 3 Series Manuale di programmazione

Custom Equipment
Custom Equipment Hy-Brid Lifts 2 Series Manuale di programmazione

Hy-Brid Lifts
Hy-Brid Lifts HB-P3.6 Manuale di programmazione


