
GME CM40 Series Manuale utente

CM40 & CM50 Series
Commercial Analogue Mobile Radios
INSTRUCTION MANUAL
2 INSTRUCTION MANUAL CM40 & CM50
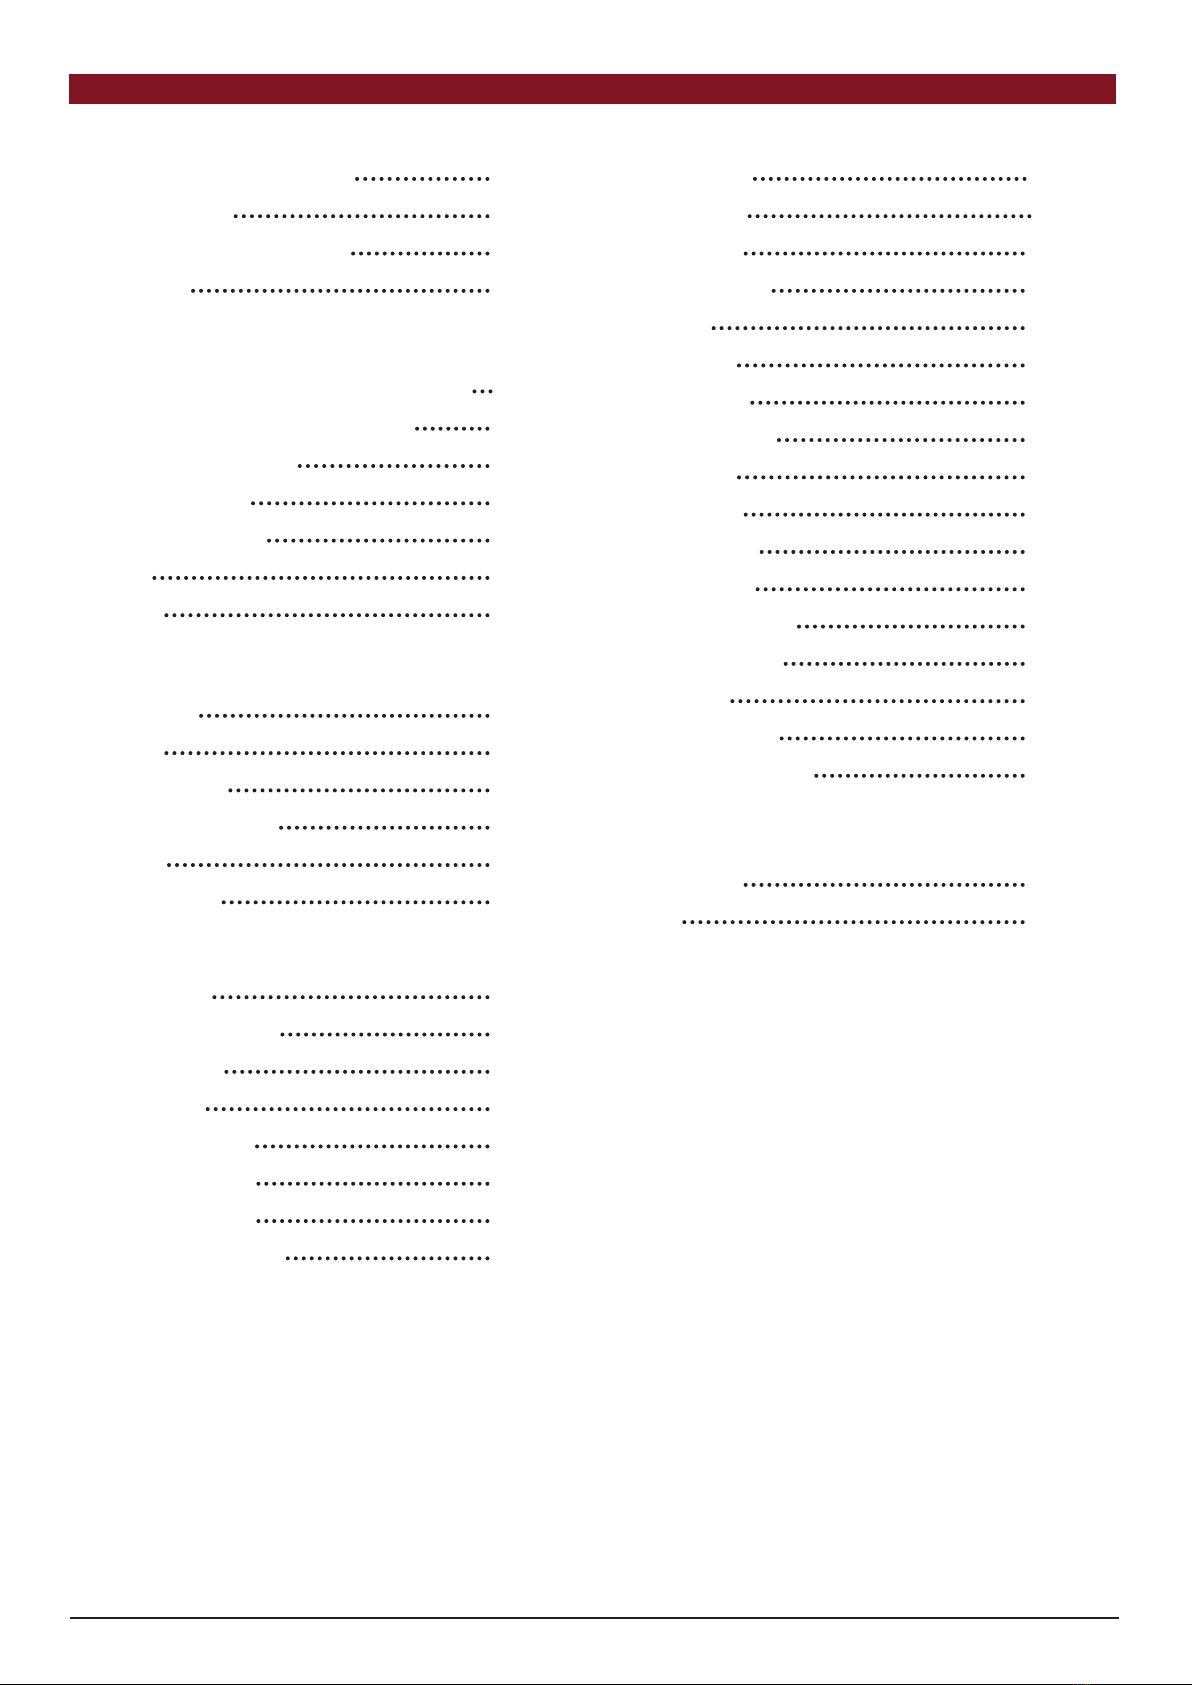
CONTENTS
INTRODUCTION: 3
Available Configurations 3
Key Features 3
Supplied Configurations 4
Controls 5
GENERAL OPERATION: 7
Turning the Radio On/Off & Volume 7
Adjusting the Speaker Volume 7
Selecting Channels 9
Screen Display 9
Display Symbols 9
LEDs 10
Tones 10
ADVANCED OPERATION: 11
Channels 11
Zones 11
Recent Calls 12
Recent Messages 12
Selcall 13
Send DTMF 14
SERVICES: 15
Send MSG 16
Send Alert (Page) 17
Send Status 18
Set Status 19
Status Request 20
Check Request 21
Inhibit Request 22
Uninhibit Request 23
SETTINGS: 24
Alert Level 24
Beep Level 25
Key Tones 25
Channel Info 26
Display 26
Functions 27
Lock Radio 27
Squelch Level 28
TX Power 29
Radio Info 29
Change PIN 30
FW Version 30
MDC/ Selcall ID 30
Serial Number 31
Speakers 31
Main Speaker 32
Auxiliary Speaker 32
DIAGNOSTICS: 33
Frequency 33
RSSI 34
EMERGENCY MODES 34
MENU TREE 35
NOTICES & WARNINGS 36
POSTFACE 37
WARRANTY 39
NOTES 41

CM40 & CM50 INSTRUCTION MANUAL 3
INTRODUCTION
The CM40 and CM50 have been designed and made in Australia by GME Pty Ltd specifically to meet
the requirements of commercial radio users.
Please read this user manual thoroughly. It provides information on the features, parts, controls and
specifications of the CM40 and CM50 radios.
AVAILABLE CONFIGURATIONS
The CM40 & CM50 Series radios can be purchased in the following configurations:
Standard Configuration (CM40 & CM50)
The display is fitted to the radio and supplied with a MP600B Fist Microphone
NOTE: The CM40 is sold in Standard Configuration only
Remote Head Configuration (CM50)
The display and controls are physically detached from the main base radio (Remote Head). The remote
head is connected to a MP600B Fist Microphone as well as the main radio by the LE040 lead.
Controller Microphone Configuration (CM50)
The base radio has no display or controls and is connected to a UIC600 Controller Microphone.
KEY FEATURES
CM40 Series
• 119 Private Channels
• 80 UHF CB/ PRS Channels
• 10 Zones
• 5 Watt Transmission Power
• 450-520 Mhz
• 5 Tone Selcall
• MDC1200 Compatible
• DTMF
CM50 Series
• 2000 Channel Capacity
• Dealer Enabled 80 UHF CB/PRS Capable
• 50 Zones
• 25 Watt Transmission Power
• 450-520 MHz
• 5 Tone Selcall
• MDC1200 Compatible
• DTMF
• RSSI and Busy Voting

4 INSTRUCTION MANUAL CM40 & CM50
CM40 Series:
Standard Configuration CM40-U5
MP600B Heavy Duty IP67 Fist Mic to suit CM & TX Series
MB009 Mounting Bracket for CM & TX Series
LE09 1.8M DC Lead to suit 5W CM & TX Series
CM50 Series:
Standard Configuration CM50-U25
MP600B Heavy Duty IP67 Fist Mic to suit CM & TX Series
MB009 Mounting Bracket for CM & TX Series
LE013 3M DC Lead to suit 25W CM & TX Series
Remote Head Configuration CM50-U25R
MP600B Heavy Duty IP67 Fist Mic to suit CM & TX Series
MB009 Mounting Bracket for CM & TX Series
LE013 3M DC Lead to suit 25W CM & TX Series
LE040 RJ45 1.8m Extension Cable to suit AD008
AD008 RJ45 Inline Joiner to suit LE040
RH006 Remote Head with 1.8m Lead to suit CM50/ CM60 Series
Controller Microphone Configuration CM50-U25S
MB009 Mounting Bracket for CM & TX Series
LE013 3M DC Lead to suit 25W CM & TX Series
LE040 RJ45 1.8m Extension Cable to suit AD008
AD008 RJ45 Inline Joiner to suit LE040
UIC600 OLED Controller Microphone to suit CM50/ CM60 Series
SUPPLIED CONFIGURATIONS

CM40 & CM50 INSTRUCTION MANUAL 5
CONTROLS
The instructions below describe the locations and defult functions of the controls on the fixed mount
radio and microphones.
Each of these controls have been configured by your dealer for your application.
If required, please refer to your dealer for more detailed operating instructions relating to the specific
programming of your radio.
Refer to the Programmable Keys Control Functions section of this manual for information on the
control functions programmed in the radio by the dealer. The figures in this section show parts of the
local and remote control head and fist microphone, and the functions assigned to the buttons.
Radio Controls
Radio control functions can be assigned to programmable keys/ buttons in the standard & remote
head configurations as well as the MP600B fist microphone. Each key can be programmed with a
different function and activated by a single Press or Hold. A Press is less than one second and a
Hold is more than one and a half seconds.
The following diagrams (Fig 1, Fig 2) show the location of the programmable keys/ buttons.
Refer to the Programmable Keys Control Functions section of this manual for information on the
specific control functions programmed into the CM40/ CM50 radio by your commercial dealer.
B Button CLR (Clear)
Volume Control On/ Off
A Button SEL (Select)
Rotate for Selection
Programmable Keys
Display
Figure 1: Standard and Remote Head Configurations
Programmable Key
Down KeyUp Key
PTT Button Microphone
Call
Programmable Key
Figure 2: MP600B Fist Microphone

6 INSTRUCTION MANUAL CM40 & CM50
UIC600 Microphone Controls
When using the UIC600 Controller Microphone, the CM50 base radio must be fitted with a remote-
control panel. The front of the CM50 base radio will have no controls, the UIC600 controller
microphone is connected into the socket and controls all functions of the CM50 radio through
assigned keys/ buttons.
Socket
Figure 3: Remote Control Panel
NOTE: The socket on the remote control panel is only used with the controller microphone or
the remote control head.
All control functions of the radio are assigned to keys/ buttons on the UIC600 controller microphone
when the CM50 is fitted with a remote control panel.
Emergency Button
Microphone
F4 Programmable
F5 Programmable
Volume Up/Down
PTT (Push to Talk)
A Button SEL (Select)
Power Button
Status LED
B Button CLR (Clear)
Up/ Down Scroll Keys
F3 Programmable
F1/ F2 Programmable
Backlit Keypad
Alphanumeric Keys
Figure 4: UIC600 Controller Microphone

CM40 & CM50 INSTRUCTION MANUAL 7
GENERAL OPERATION
Please refer to the diagrams on the Controls page for a general description of the controls and keys.
PROGRAMMABLE KEYS:
The dealer can assign control functions to programmable keys on the radio. Contact the dealer or
refer to the Programmable Keys Control Functions section of this manual for more information.
Turning the Radio On/ Off & Volume
To turn the radio on using the control head, turn the Volume Knob (B Button) clockwise until it
clicks. To turn radio off, turn volume knob anti-clockwise until it clicks.
On Off
To turn radio on/ off using the controller microphone, press and hold the Power Button located on
top of the microphone.
Power Button
Adjusting the Speaker Volume
To adjust the volume on local/ remote control head, turn the Volume Knob (B Button) clockwise to
turn the volume up. Turn Volume Knob (B Button) anti-clockwise to turn the volume down.

8 INSTRUCTION MANUAL CM40 & CM50
To adjust the volume on the UIC600 Controller Microphone use the Up/ Down Volume Buttons.
Volume Up/Down
Selecting Channels:
Local/ Control Head: Select Channels from the main menu, rotate the A Button (Channel Selector)
to locate the desired channel then press the Push-to-Talk (PTT).
Controller Microphone: Select Channels from the main menu, use the Up/ Down Arrows to locate
the desired channel then press the Push-to-Talk (PTT).
NOTE: Your dealer can program your radio to save individual channels to programmable keys for
quick selection. Please refer to your dealer.
Transmitting:
Before transmitting, check if the channel is already in use. If the channel is busy, wait until it is clear
before transmitting.
1. Press and hold the Push-to-Talk (PTT) key. Hold the Fist Microphone or Controller Microphone
3-5 cms from your mouth and speak into the microphone at a normal voice level.
2. Release the Push-to-Talk (PTT) key when you have finished talking.
When transmitting, the icon will appear on the local/controller and UIC Microphone display. In
addition, the UIC Microphone status LED will be red.
Receiving:
When receiving a signal, the icon will appear on the local/controller and controller microphone
display. The signal meter icon will show the relative strength of the incoming signal (more bars
indicates a stronger signal) in addition the controller microphone status LED will be Green. During this
time the signal will be heard in the speaker.
If your radio is programmed to accept subtones on the selected channel and the incoming signal’s
subtone doesn’t match yours, the icon and the icon will still appear on the local/controller
and controller microphone display, the status LED will not light on the controller microphone and the
speaker will remain quiet. This indicates the call was not meant for you.

CM40 & CM50 INSTRUCTION MANUAL 9
DISPLAY
The radio and the controller microphone displays the current menu and the status of the radio.
When a menu is not accessed, the radio displays information such as the channel that is currently
selected.
Screen Display
The radio screen display on the local/ remote control head control.
The screen display on the controller microphone.
Display Symbols
Display symbols indicate the state and condition of the radio.
The table below describes display symbols of the radio and controller microphone.
Symbol Meaning
Signal strength indicator. The more bars, the stronger the signal being received.
This symbol appears on the microphone controller only.
The radio is transmitting.
The radio is operating in repeater talkaround mode not using
a repeater.
A call is being received.

10 INSTRUCTION MANUAL CM40 & CM50
LEDs
The controller microphone is fitted with an LED light that displays different colours depending on the
radio status.
The table below explains the meaning of the LED light colours.
Colour State/Action
Red The radio is transmitting.
Green The radio is receiving a call.
Orange Emergency mode is active and the radio is not transmitting or receiving calls.
Purple Radio is in programming mode.
TONES
The radio uses audible tones to alert to its status. If tones are turned off no tones are audible.
For information on how to set the volume of tones refer to the Navigating the Radio Menus section
in this manual.
The table below describes the tones and corresponding status of the radio.
State/Action Tone
Generic ‘successful’ tone 2 Successive High Tones
Generic ‘failure’ tone 2 Falling Tones
Programmable key unavailable 2 Falling Tones
Key press, Selection made, Editing complete (can be disabled) 2 Successive High Tones
Enter Monitor Mode 2 Successive Mid Tones
Enter Emergency Mode 3 Successive High Tones
Incoming Emergency Call 3 Successive High Tones – Repeating
Exit Emergency Mode 2 Falling Tones
Clear Incoming Emergency Call 2 Falling Tones
Busy Lockout/ Call denied 2 Falling Tones
Message/ Status/ Call Alert received 1 High 1 Low Tone Repeating
Message/ Status/ Call Alert sent 2 Successive High Tones
Message/ Status/ Call Alert send failed 2 Falling Tones
Transmit timeout warning 2 Successive Mid-Tones 10sec Prior Time-Out
Transmit timeout active (repeating every second) 2 Falling Tones
Altri manuali per CM40 Series
1
Questo manuale è adatto per i seguenti modelli
1
Indice
Altri manuali GME Radio


