2
WELCOME................................................................................................................................................................3
PRODUCT OVERVIEW.............................................................................................................................................4
HARDWARE INSTALLATION..................................................................................................................................4
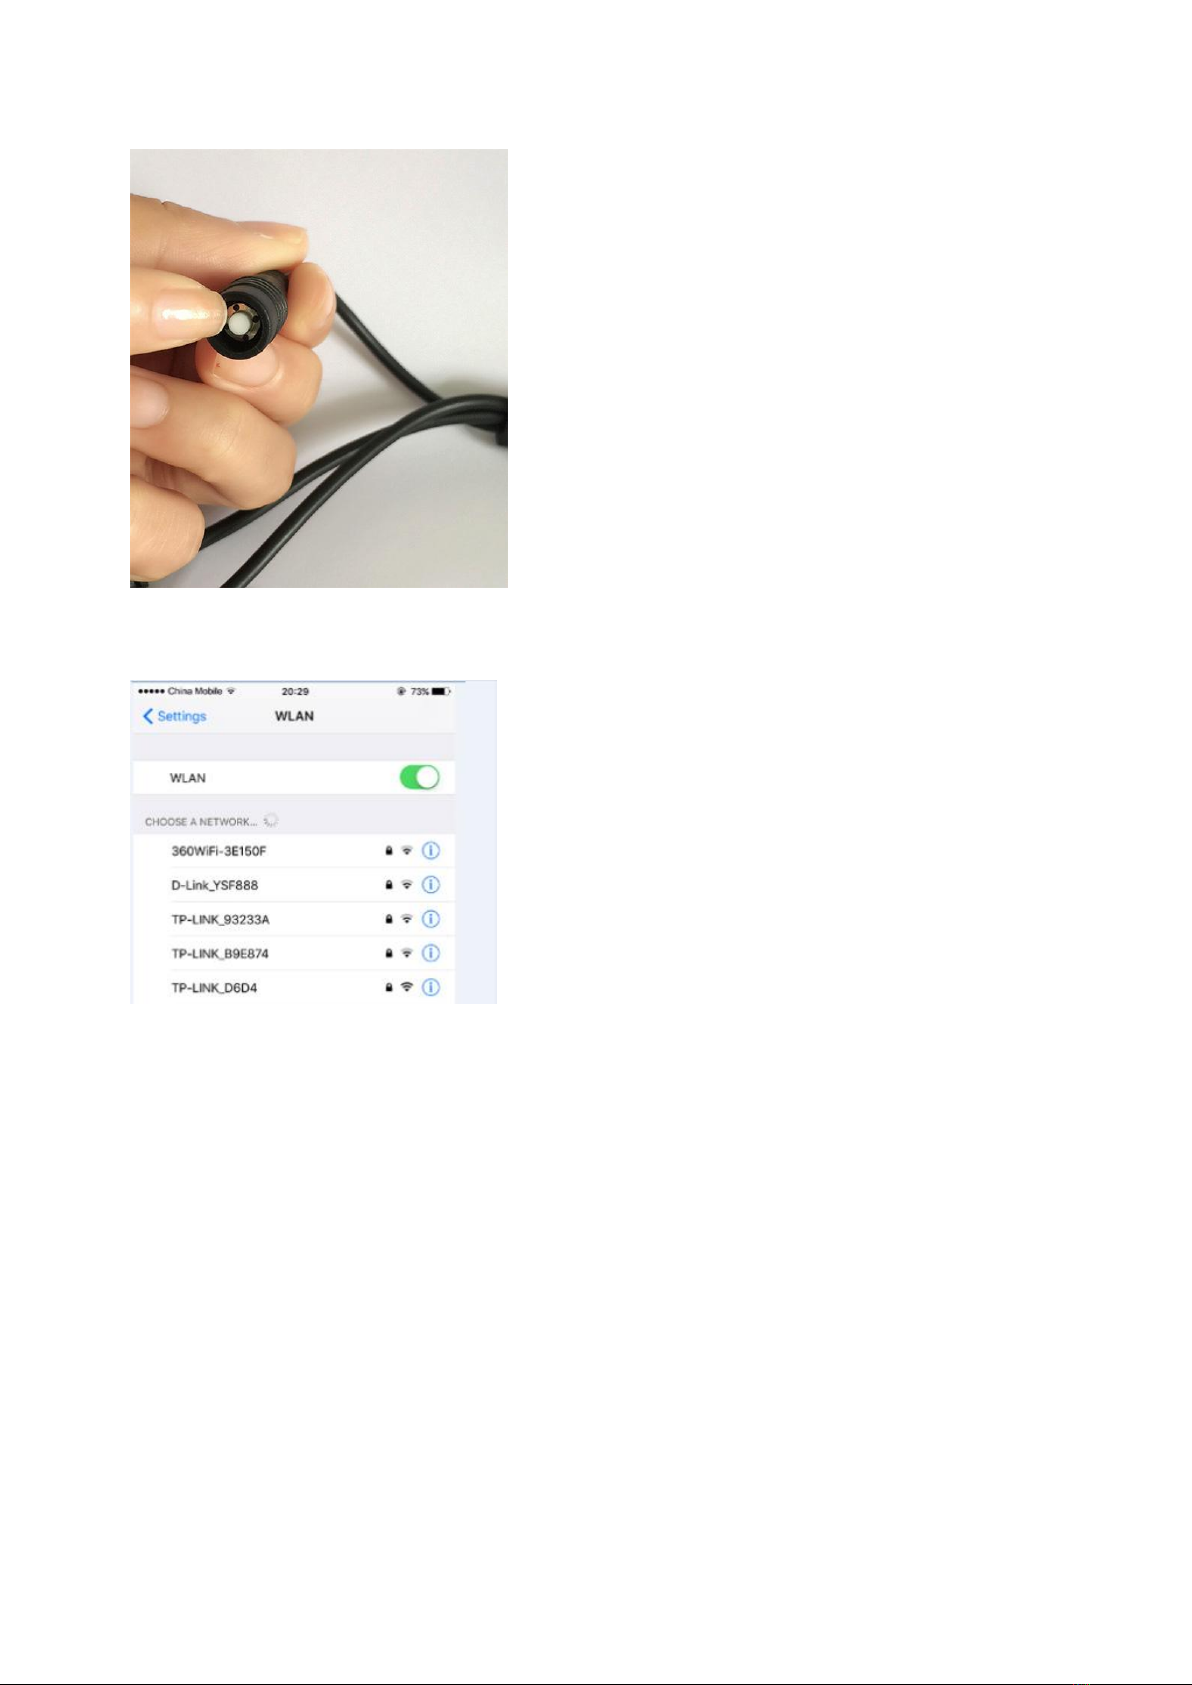
Attach the External Power Adapter....................................................................................................................4
SMARTPHONE OR TABLET APPS.........................................................................................................................5
CONNECT THE CAMERA DIRECTLY WITH APP ..............................................................................................................5
CONNECT THE CAMERA TO YOUR HOME NETWORK.....................................................................................................7
LIVE VIEW INTERFACE.............................................................................................................................................12
OPTIONAL1: HOW TO CHANGE THE VIDEO QUALITY TO ADAPT TO LOW BANDWIDTH NETWORK.....................................12
SET A PASSWORD FOR THE CAMERA.......................................................................................................................13
SAVING LIVE STREAM TO YOUR SMART PHONE..........................................................................................................15
VIEW SNAPSHOT AT LOCAL FILES.............................................................................................................................16
PLAYBACK VIDEO ON TF MEMORY CARD (CAMERAS WITH MICROSD ONLY)................................................................17
DOWNLOAD VIDEO FROM TFMEMORY CARD (CAMERAS WITH MICROSD ONLY)..........................................................18
OPTIONAL RECEIVE THE IP SETTING FROM YOUR LOCAL NETWORK (DHCP)..............................................................20
USING CMS5 FOR PC OR MAC............................................................................................................................21
SYSTEM REQUIREMENTS........................................................................................................................................21
INSTALLING SOFTWARE ..........................................................................................................................................21
NETWORK CONNECTION AND SETTINGS ...................................................................................................................21
Connect to IP Camera .....................................................................................................................................21
Optional 1: How to add the cameras to CMS5 outside of LAN .......................................................................23
Optional 2: How to configure the network setting of the camera manually. ....................................................24
LIVE VIDEO............................................................................................................................................................25
Watch the live ..................................................................................................................................................25
Digital ZOOM...................................................................................................................................................26
Activate the audio ............................................................................................................................................26
CHANGE THE PASSWORD OF THE CAMERA ..............................................................................................................27
RECORDING LIVE TO YOUR COMPUTER ....................................................................................................................28
PLAYBACK THE VIDEO ON YOUR COMPUTER.............................................................................................................29
RECORDING LIVE TO TF MEMORY CARD (CAMERAS WITH MICROSD ONLY).................................................................31
Format TF memory card..................................................................................................................................31
PLAYBACK THE VIDEO FROM TFMEMORY CARD (CAMERAS WITH MICROSD ONLY) .....................................................32
DOWNLOAD THE VIDEO TO YOUR COMPUTER HARD DRIVE (CAMERAS WITH MICROSD ONLY).......................................34
SETTING CAMERA PARAMETERS.............................................................................................................................35
INSTALLING A NEW FIRMWARE.................................................................................................................................36
WEB BROWSER CONNECTION ...........................................................................................................................37
CHECKING YOUR WEB BROWSER SECURITY LEVEL....................................................................................................37
ACCESS THE CAMERA OVER INTERNET.....................................................................................................................40