
GPI GPR-R220L Manuale utente

Rotary Laser
INSTRUCTIONS FOR USE
GPR-R220L

- 1 -
Content
1) What is included with your GPR-R220L............................................................... - 2 -
2) Find your way around the GPR-R220L................................................................. - 3 -
3) Getting set up........................................................................................................... - 5 -
4) Horizontal Leveling................................................................................................. - 6 -
5) Sloping Leveling ...................................................................................................... - 7 -
6) Vertical Lines........................................................................................................... - 8 -
7) Other Functions....................................................................................................... - 8 -
8) The Detector........................................................................................................... - 10 -
9) The remote control .................................................................................................. - 0 -
10) Trouble shooting.................................................................................................... - 1 -
11) Specifications.......................................................................................................... - 2 -
Warnings and Precautions.......................................................................................... - 3 -
- 2 -
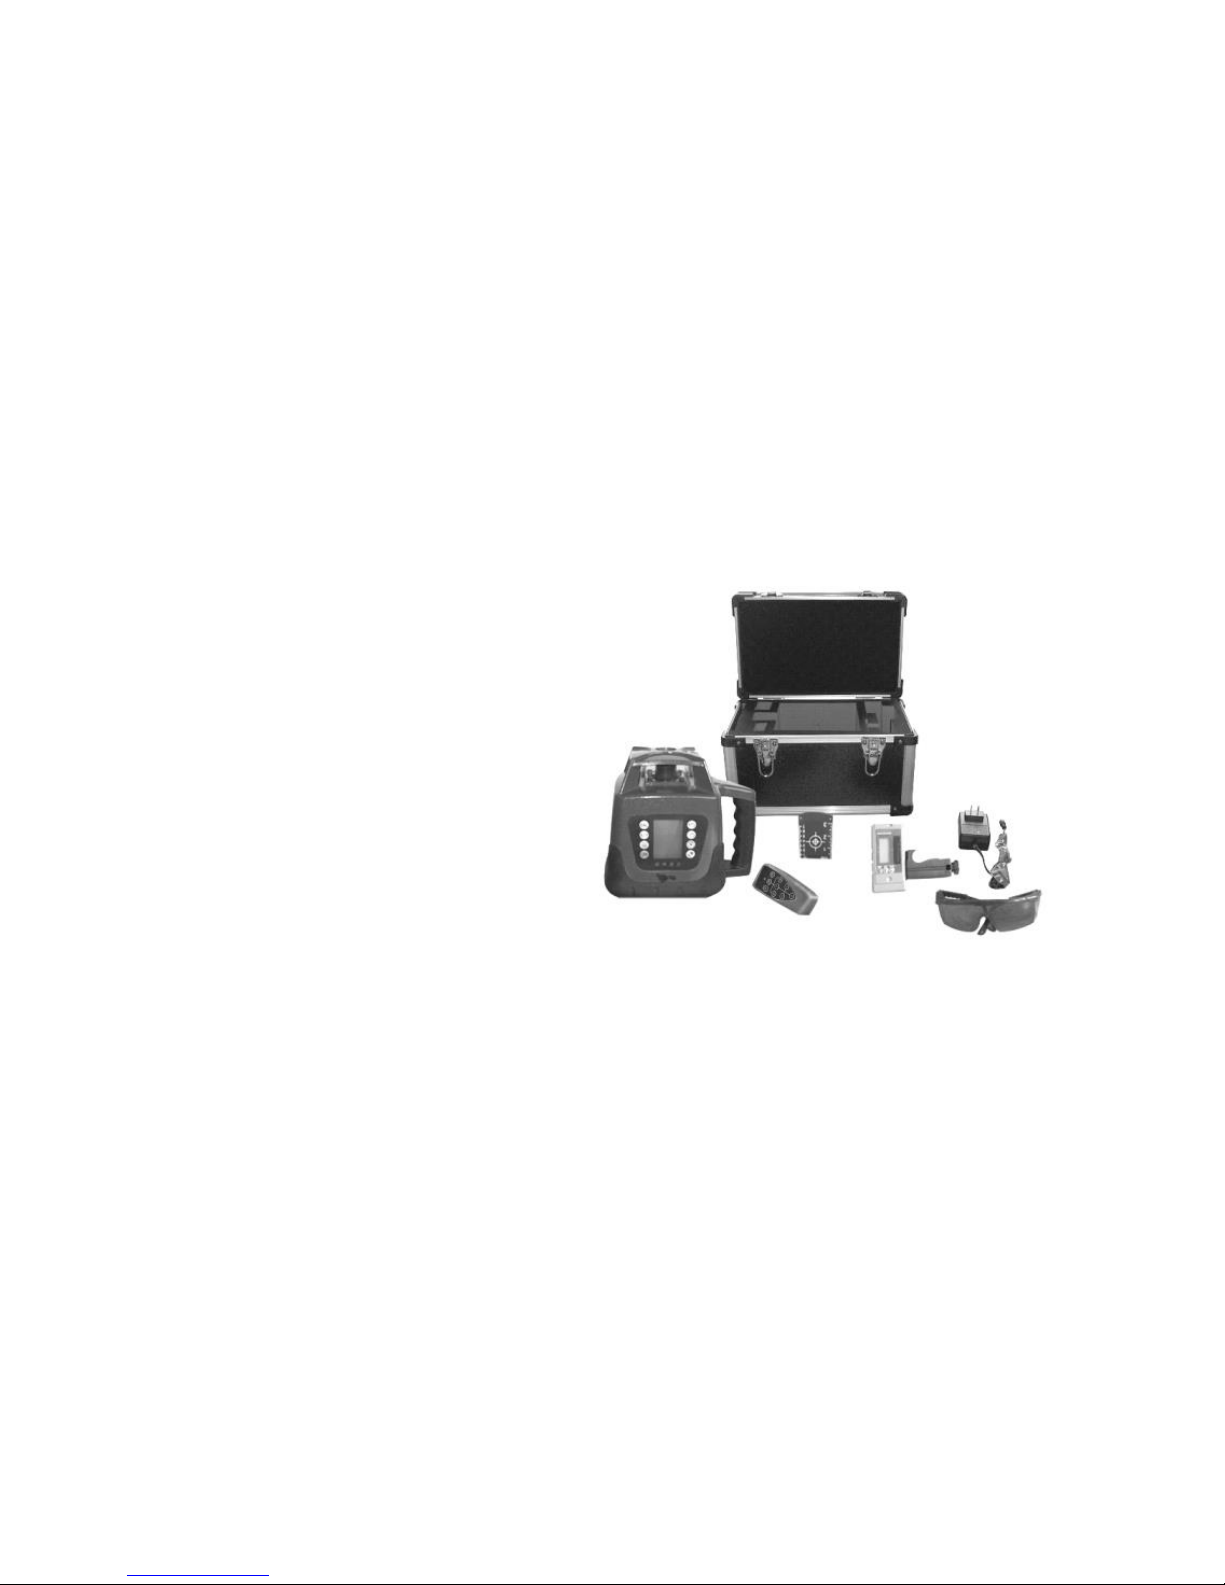
1) What is included with your GPR-R220L
Your GPR-R220L includes the following parts:
A) Main Instrument
B) Laser line detector and Bracket
C) Remote Control for Instrument
D) Charger
E) Target
F) Glasses
G) Hard Case with Foam Insert
H) A replaceable battery Pack
Please contact your supplier if any of the above parts are missing.
- 3 -
2) Find your way around the GPR-R220L
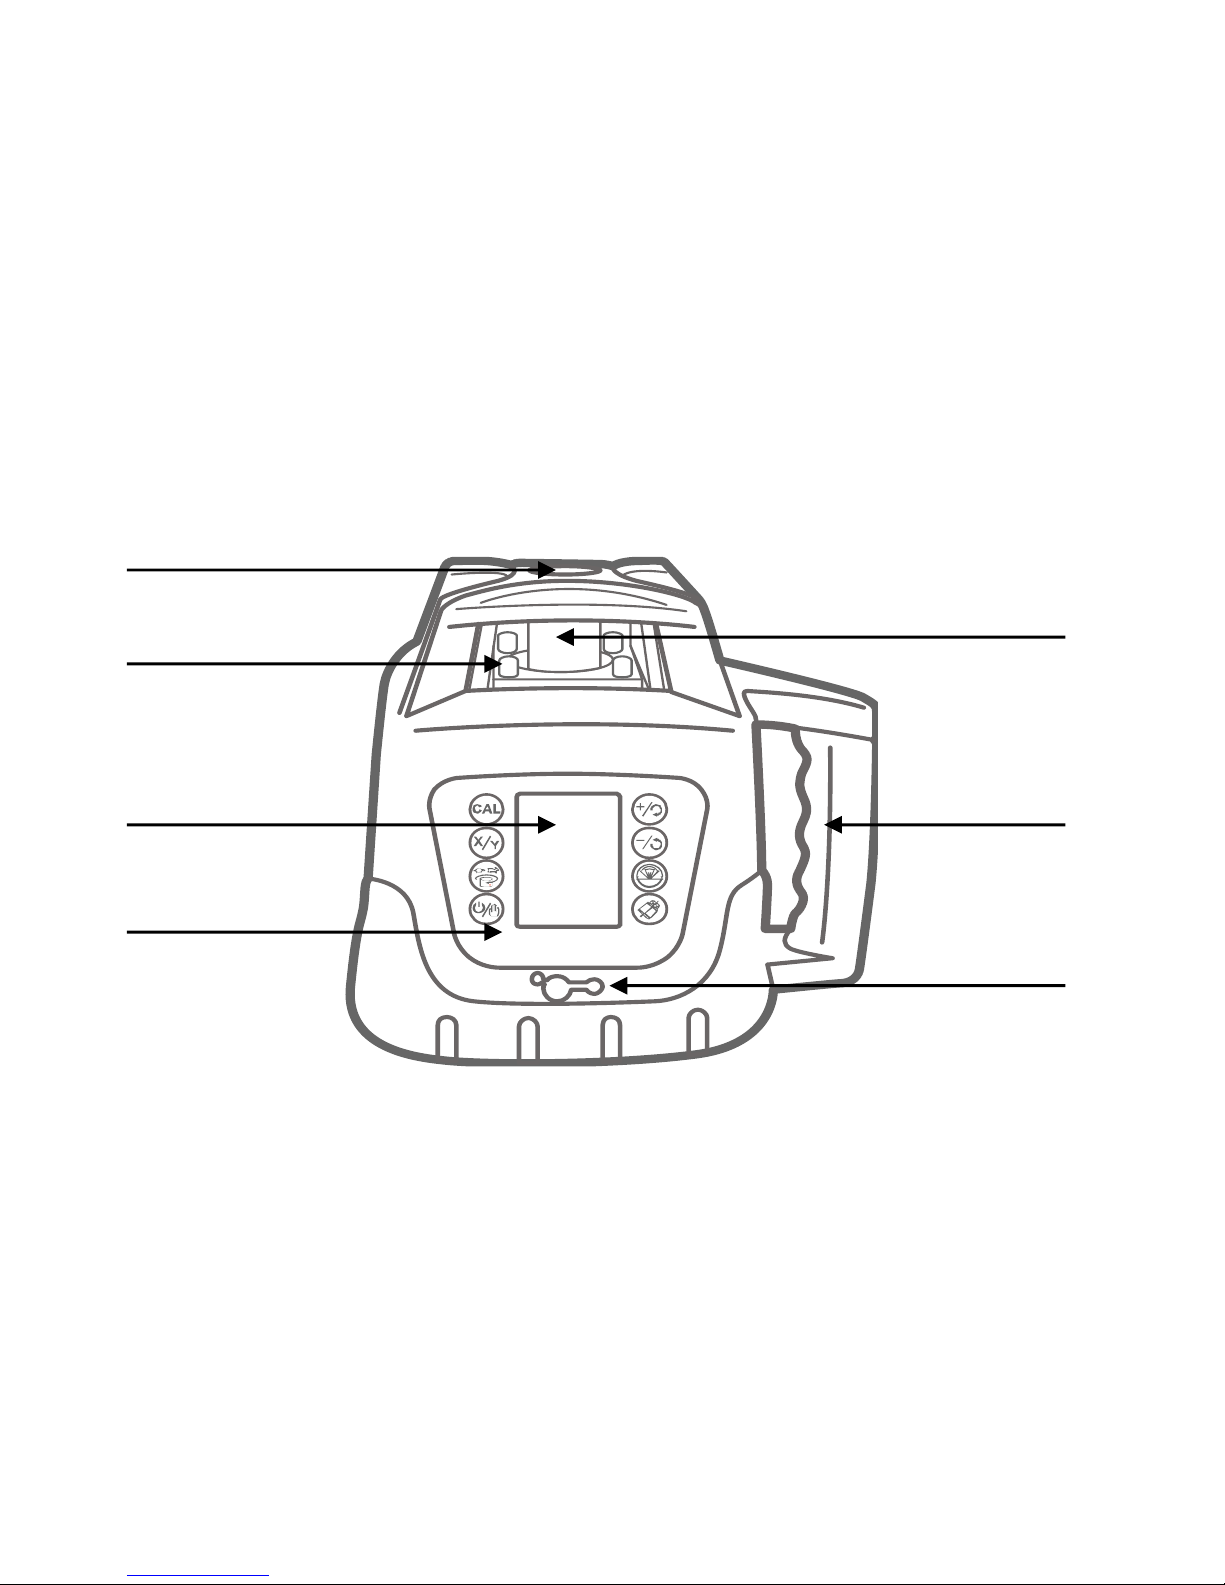
Plumb up glass
Laser module
Handle
Charge socket
LCD
Keypad panel
Optical glass
- 4 -
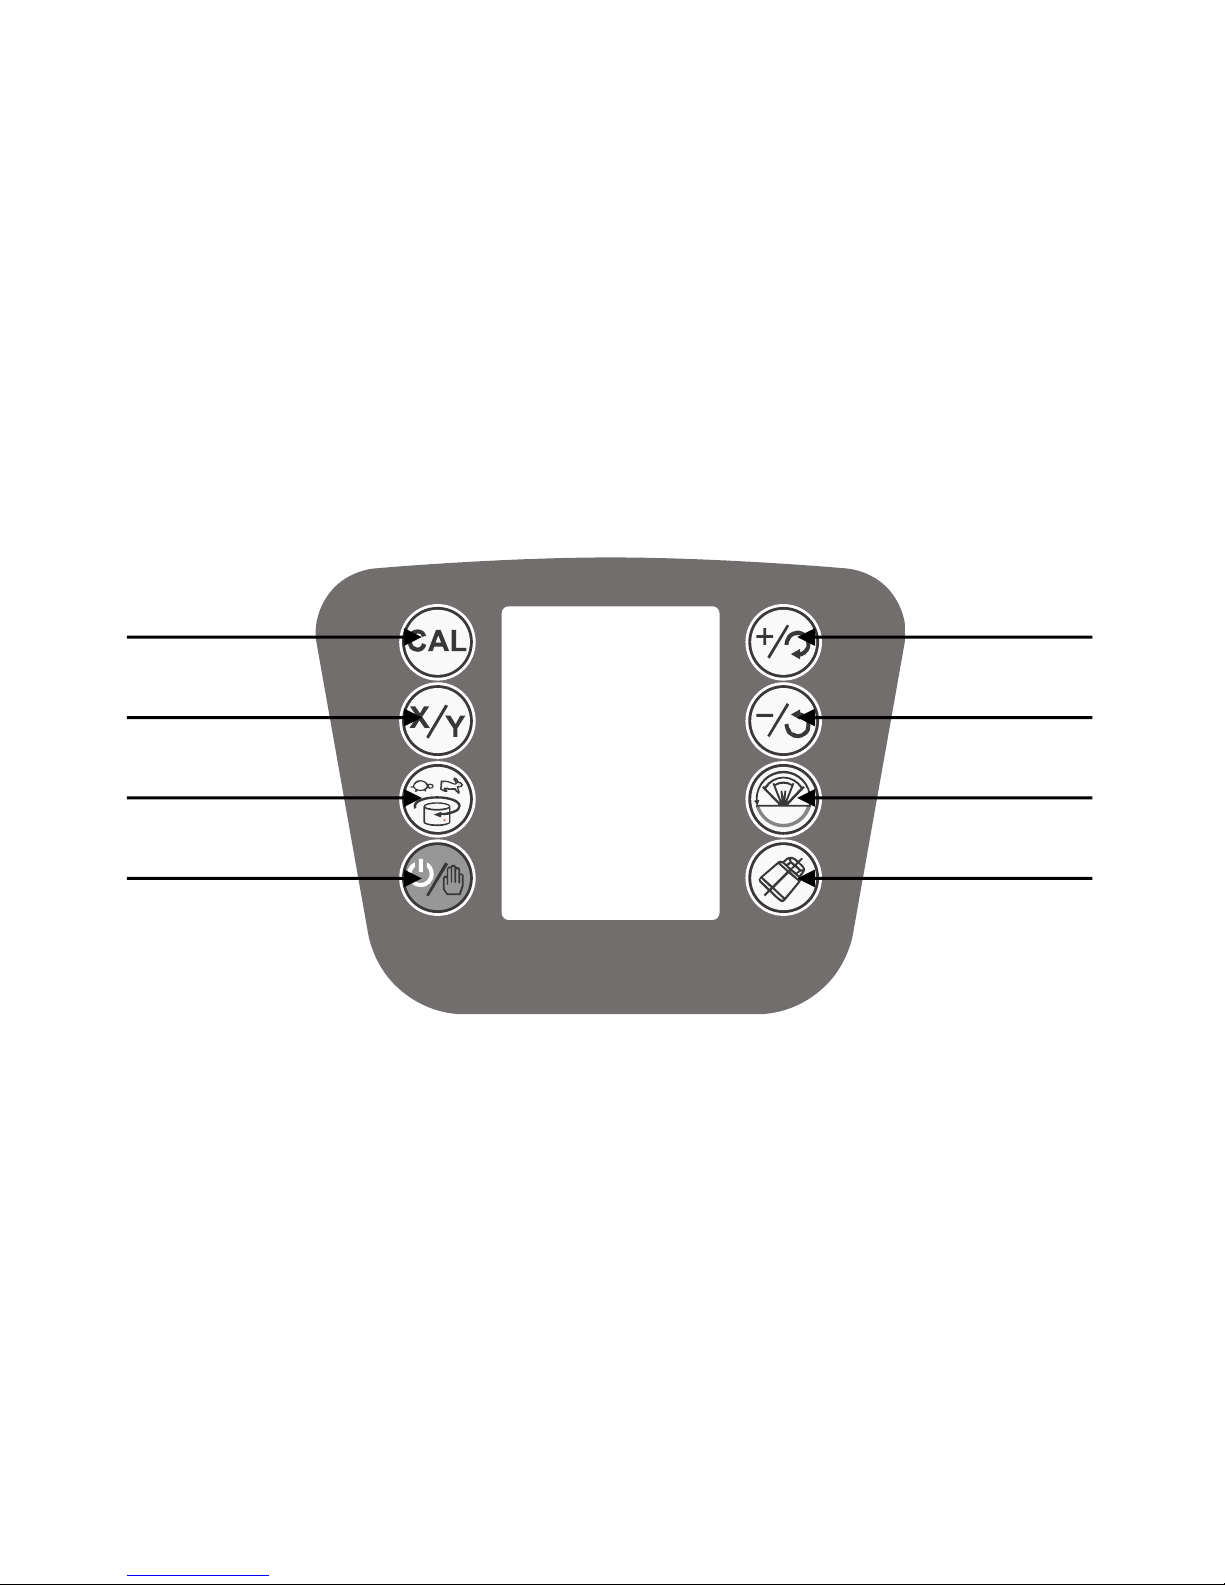
Plus/Right spin
Minus/Left spin
Scanning
Tilt/H.I alert
Slope setting
X/Y axis switch
Speed up
On/Off
automatic/Manual
- 5 -
3) Getting set up
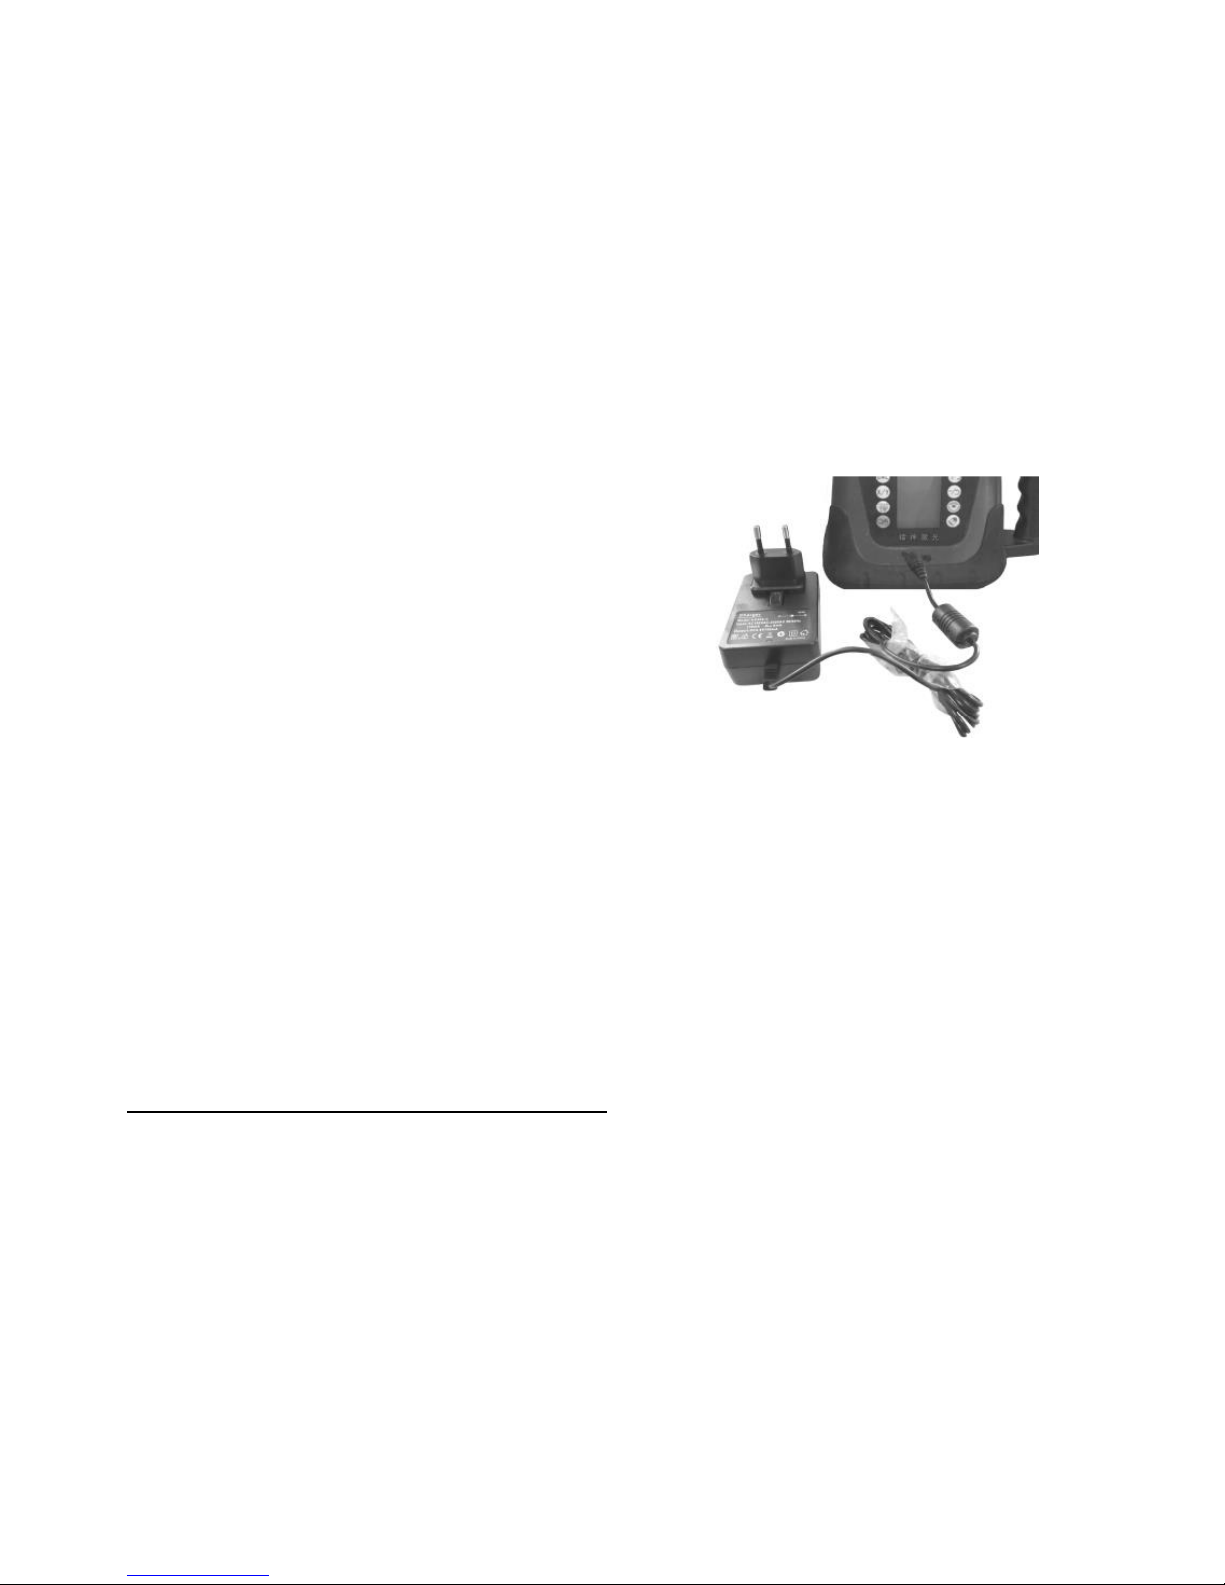
Charging the Battery
The instrument normally comes with some
charge in the battery, however it is recommended
before initial use the battery is fully charged.
Insert the charger into the mains and the charging socket into the instrument or the battery
pack. Turn on the power. The charger will show shone of 3 modes.
Red flashing light-Battery not charging
Red light-Battery on Charge
Green light-Battery charged
If the red 1ight shows check the connection. If the light is flashing Please wait for
charging to complete. Once the green light shows the instrument is fully
charged-charging normally takes 7 hours to give 20 hours of use.
Setting up the instrument in horizontal mode

- 6 -
The instrument should be set on a solid base,ideally a tripod which is stable.
The instrument should be attached to the tripod using the screw that inserts into the
underside of the instrument.
The instrument will only self level if it is set up within 5 degrees of horizontal. If the
instrument appears level by eye then it should be within this range. Using the horizon as
a datum will help with this assessment. If the instrument looks tilted then adjust the
tripod to suit.
4) Horizontal Leveling
a) Set up the instrument as shown on the previous page.
b) Press the(green)button on the bottom left hand side of the Panel.
c) The instrument will Auto level and start spinning giving a Horizontal beam.

- 7 -
5) Sloping Leveling
a) Set up the instrument to work horizontally as shown in stages to c)on the previous
page
b) Press the“CAL”button to get the“X”value flashing on the screen。
c) Use the + and-buttons to get the required gradient in the “X” direction ( the X direction
is Parallel to the screen/digital Panel)
d) Press the “X/Y” button to get the “Y” figure flashing.
e) Use the + and-buttons to get the required gradient in the “Y” direction (the Y direction
is at right angles to the screen/digital Pane1)
f) Press the “X/Y” button again so that neither the X or Y letters are flashing.
g) After a few seconds the instrument should start counting up to the preset values. Once
the values are reached the laser will start to rotate again.
h) If the laser is disturbed by an impact or disturbance an audible alarm will sound to
indicate the laser may have moved. The Instrument should be cheeked to see if it has
shifted position. If the instrument remains in the same position push the “X/Y” button
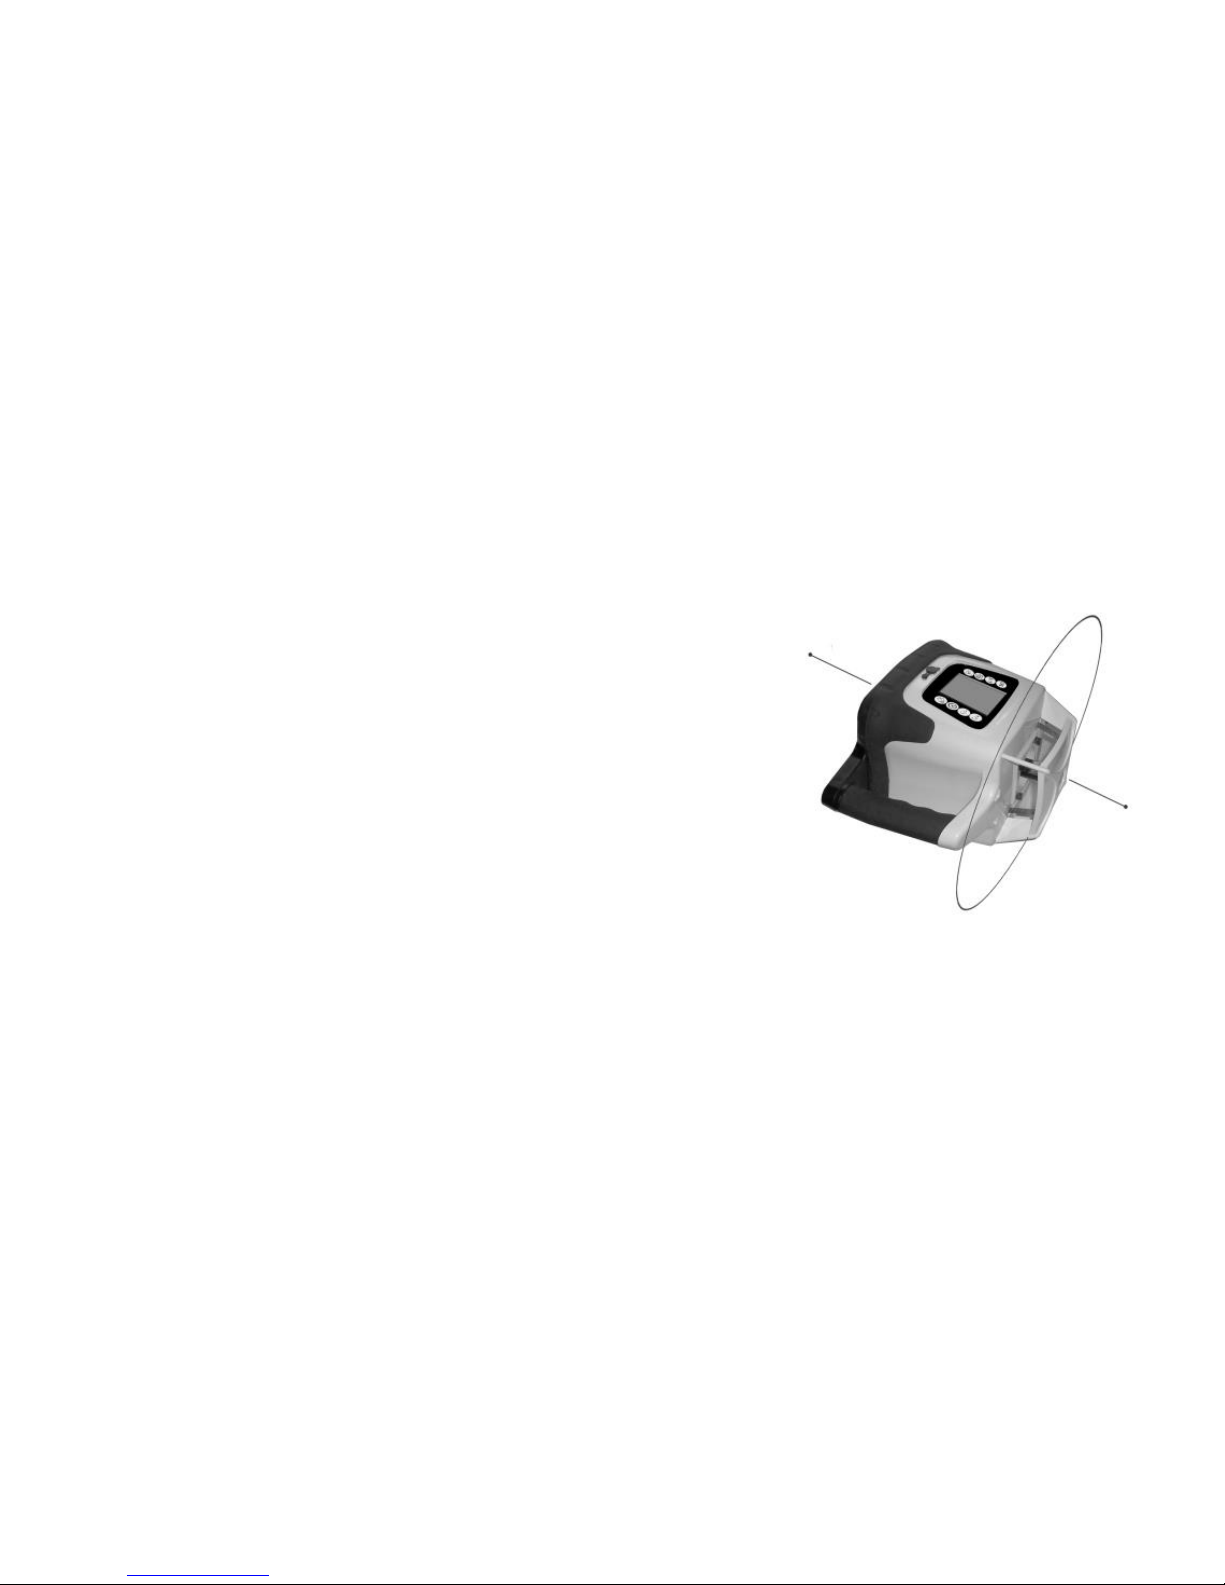
- 8 -
and the unit will re- start and return to the grade previously set.
6) Vertical Lines
a) Once the instrument is in the position shown above
press the green button on the bottom left hand side of
the Panel.
b) The instrument will Auto level and start spinning giving
a Vertical beam.
7) Other Functions
A) Scan Mode
a) The scan Mode 1s to be used when you want the beam focused on a smaller range.

- 9 -
b) Press the [Sean Button] for a single point
c) Press the same button to get angles of approximately 10°,45°,90°and 180°
d) To change the direction of the point/ scan you can Press the+ or-button to move the
direction the beam is pointing .
B) Speed Control
a) To change the speed of the rotating beam pres「Hare/Tortoise Button」. b) Speeds of
120rpm,300rpm and 600rpm can be obtained .
C) Plumb up and down beams
a) The Instrument has both a plumb up beam and a plumb down beam.
b) These will be Vertical when the instrument is set up as per Page 4
c) The spots cannot be picked up by a detector and must be visually located.
D) Automatic drifts System/Tilt
a) Warns the user for a misaligned device.
Indice
Altri manuali GPI Livello laser


