MM-BM1 User Manual [rev.001] | www.healtech-electronics.com/MM 2/2
6. Operation
- If the speedometer is set to MPH reading, change
the indication in the dash menu from MPH to Km/h.
- Locate the BLACK, 16-pole diagnostic connector
(usually it’s under the rider’s seat in a black
rubber boot).
- Connect the MM unit.
- Make sure the engine stop switch is in the RUN
position, the ignition key is switched ON and the
gearbox is in Neutral. Do NOT start the engine.
- Now a number (0.5-10) should appear on
the display of the unit, depending on the last
successful upload. Otherwise, check that the
connectors are fully mated and there are no bent
terminals.
- The service interval can be set between 500-
10,000 km.
- Now set the desired service date as well,
otherwise the OVERDUE message won’t
disappear from the Service menu.
- After setting the service date, check in the service
menu, whether both service Interval and date is
successfully set or not. If yes, you’re all set.
Changing the value
With the UP and DOWN arrow symbols select the desired value between 500 and 10,000 km.
Tap and release one of the touch pads. The number changes when you release the pad.
Holding the pad continuously will not alter the value.
Setting the service interval
Touch and hold both the UP and DOWN arrow keys. After about 3 seconds the ‘UP’ sign will flash a few
times on the display, indicating the upload was successful. Release the touch pads.
If the upload fails, an ‘Er’ (Error) sign will appear. Check that this motorcycle actually has a service
interval indicator. If so, repeat the steps described in chapter 5 and try setting a lower service interval.
Note:
- If you perform the upload more than once, only the last uploaded interval will be set.
- If you attempt to set a value higher than valid for a particular motorcycle, the highest valid value will
be set. Please refer to the bike’s Service Manual.
Setting the service date
As soon as you uploaded the service interval value, a ‘d1’ sign will appear and a number right after. ‘d1’
stands for the year in the service date. Select the desired value and hold both the UP and DOWN arrow
keys for about 3 seconds. A ‘d2’ sign will appear, which stands for the month of the service date. Set it the
same way as the year. Now a ‘d3’ will appear, which is the day of the service date. Set the desired value
and hold both the UP and DOWN arrows for 3 seconds. The ‘UP’ sign will flash a few times on the display,
indicating the upload was successful.
Verifying the stored service interval
- Turn the ignition key off, wait at least 5 seconds then turn on again. Make sure the engine stop switch is
in the RUN position and the gearbox is in Neutral.
- Scroll through the menu of the bike’s instrument panel to My vehicle / Service requirements section and
check the date and service distance values. The minimum service interval that can be set is 1 month while
the maximum is 1 year.
- If the desired value is shown, disconnect the MM tool. Otherwise, repeat the process.
- If the speedometer was in MPH reading prior to the procedure, change the indication in the dash menu
back from Km/h to MPH.
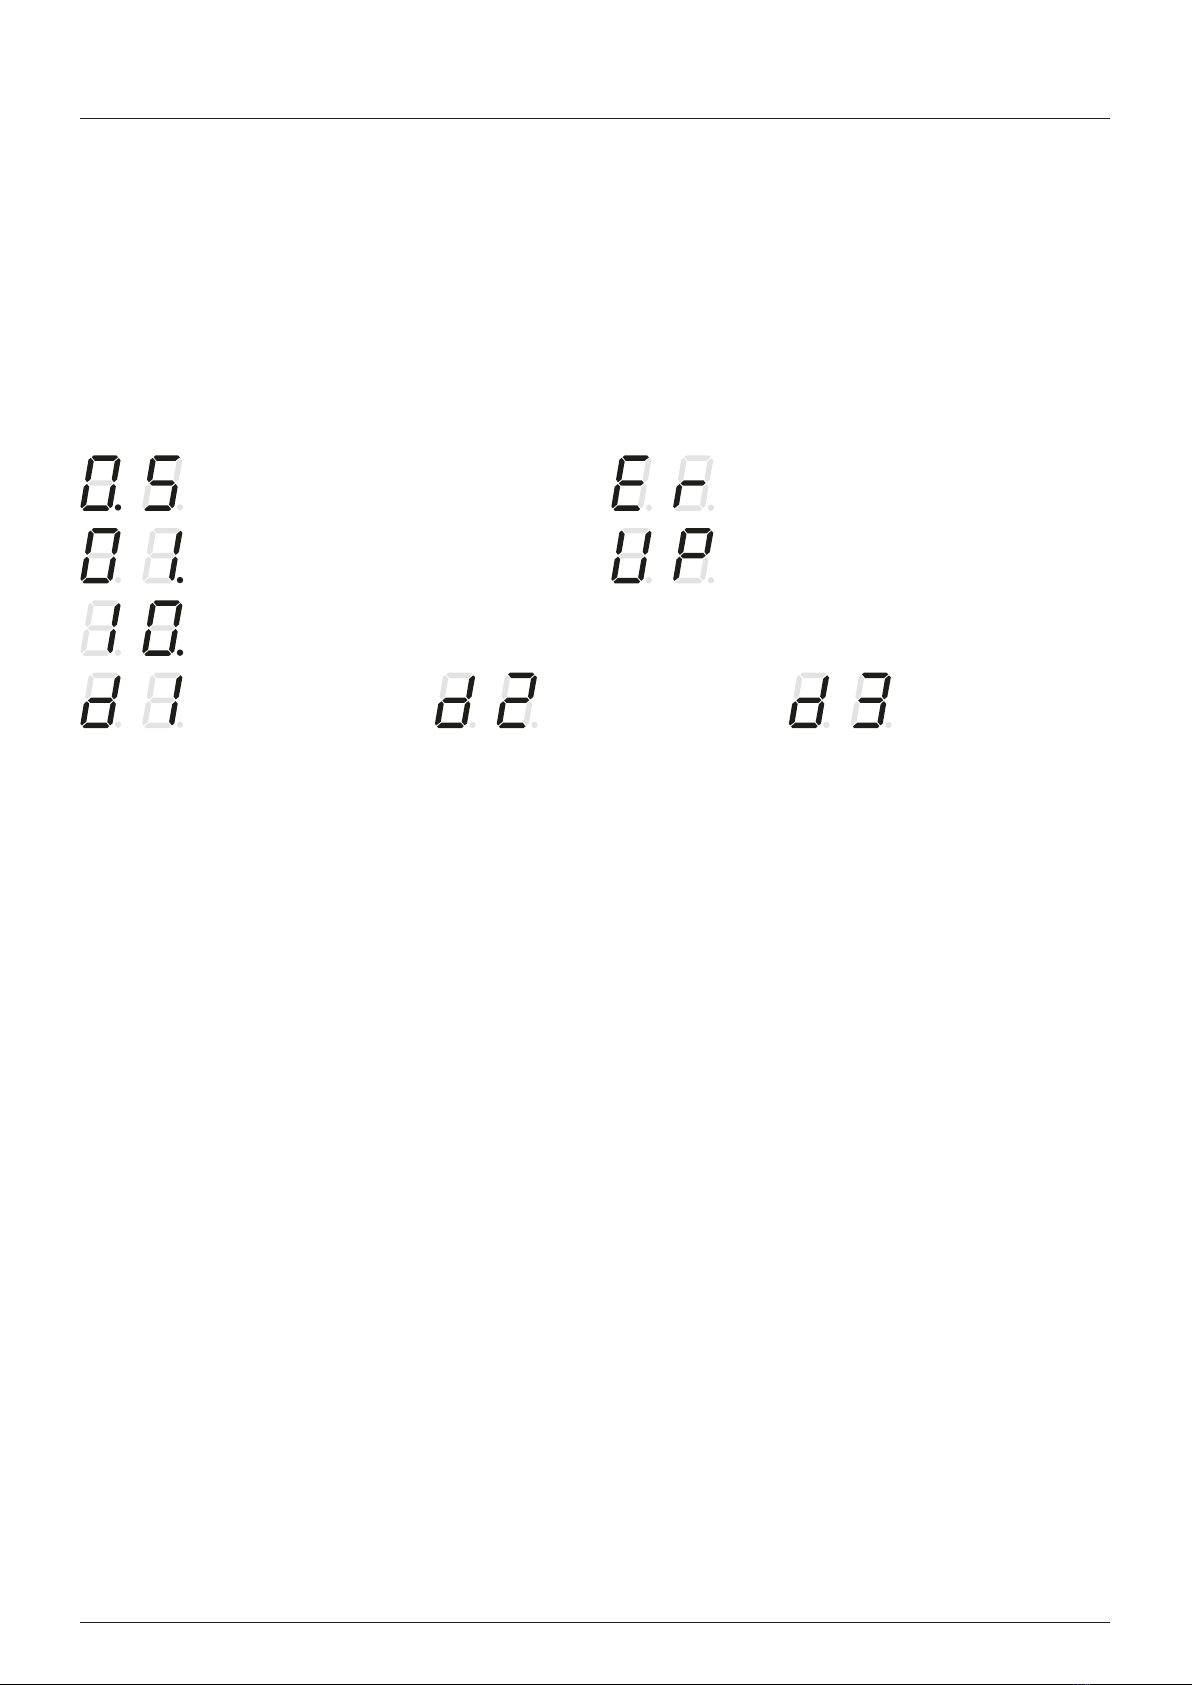
Displayed values and their meanings
Sets 500, 600, 700, … 900
Sets 1,000, 2,000, 3,000, … 9,000
Sets 10,000
Error - setting the service interval
failed.
Upload - the selected service
interval was uploaded successfully.
Adjusts the year of
the service date
Adjusts the month
of the service date
Adjusts the day of
the service date