Hoylu HoyluWall Manuale utente

WALL ™
INSTALLATION MANUAL

EQUIPMENT
Hardware Components
Edge-Blending Bundle
Projector Bundle (RECOMMENDED)
PC Bundle (RECOMMENDED)
What equipment am I expecting?
With your HoyluWall™ purchase, you will receive the standard hardware components as well as an accessories
box. You are also given the option to add on the Projector Bundle, the PC Bundle, and an Edge-Blending
Bundle. These bundles are highly recommended. However, if you decide to source your own projectors and/or
your own PC, please note the specification requirements and recommendations on page 11.
Accessories - Ink Tips (1 Pack)
- Plastic Tips (1 Pack)
- Plastic Tip Remover
- Plastic Eraser
- Charging Station
- Charging Station Adapters
- Charging Station Cables (x2)
Demo Paper Pack Digital Pens Tool Palettes Bluetooth Dongle
Need Something?
If any part of your order is
missing, or if you’d like to
purchase additional items,
contact us at:
order@hoylu.com
Cleats
Boards
Film
BOARDS
FILM
CLEATS
BISCUITS
1-CH 2-CH 3-CH 4-CH
2
1
2
5+
4
1
4
15+
6
1
6
25+
8
1
8
35+
Biscuits
+
+
+
Edge-Blending is an optional configuration for your
HoyluWall™ that requires a modified installation as
well as a few extra accessories. Each projection will
blend into one seamless display.
Configuration
Webcam
Edge-Blending
Software License
- Optoma ZH500 Ultra Short-Throw Projector
What you will need to supply:
- PC
USB
Extender
-HDMI Cables for Projectors
-HDMI to DisplayPort Adapter
-Power Cable for PC
-HDMI Cables for Projectors
-HDMI to DisplayPort Adapter
-Power Cables for Projectors
Q: What is Edge-Blending?
Ladder
Anchors & Screws Warm Water
Drill Mouse & Keyboard
(Wireless)
3

PREPARATION
Location
Make sure there is enough space in front of
the HoyluWall™ to take a step back for an
overview of the Wall as well as enough wall
space - the HoyluWall™ can be up to 8 meters
wide. We recommend leaving at least 20 cm
from any adjacent wall.
Do not place a HoyluWall™ on a wall with
a door, this will throw o the calibration of
projections over time.
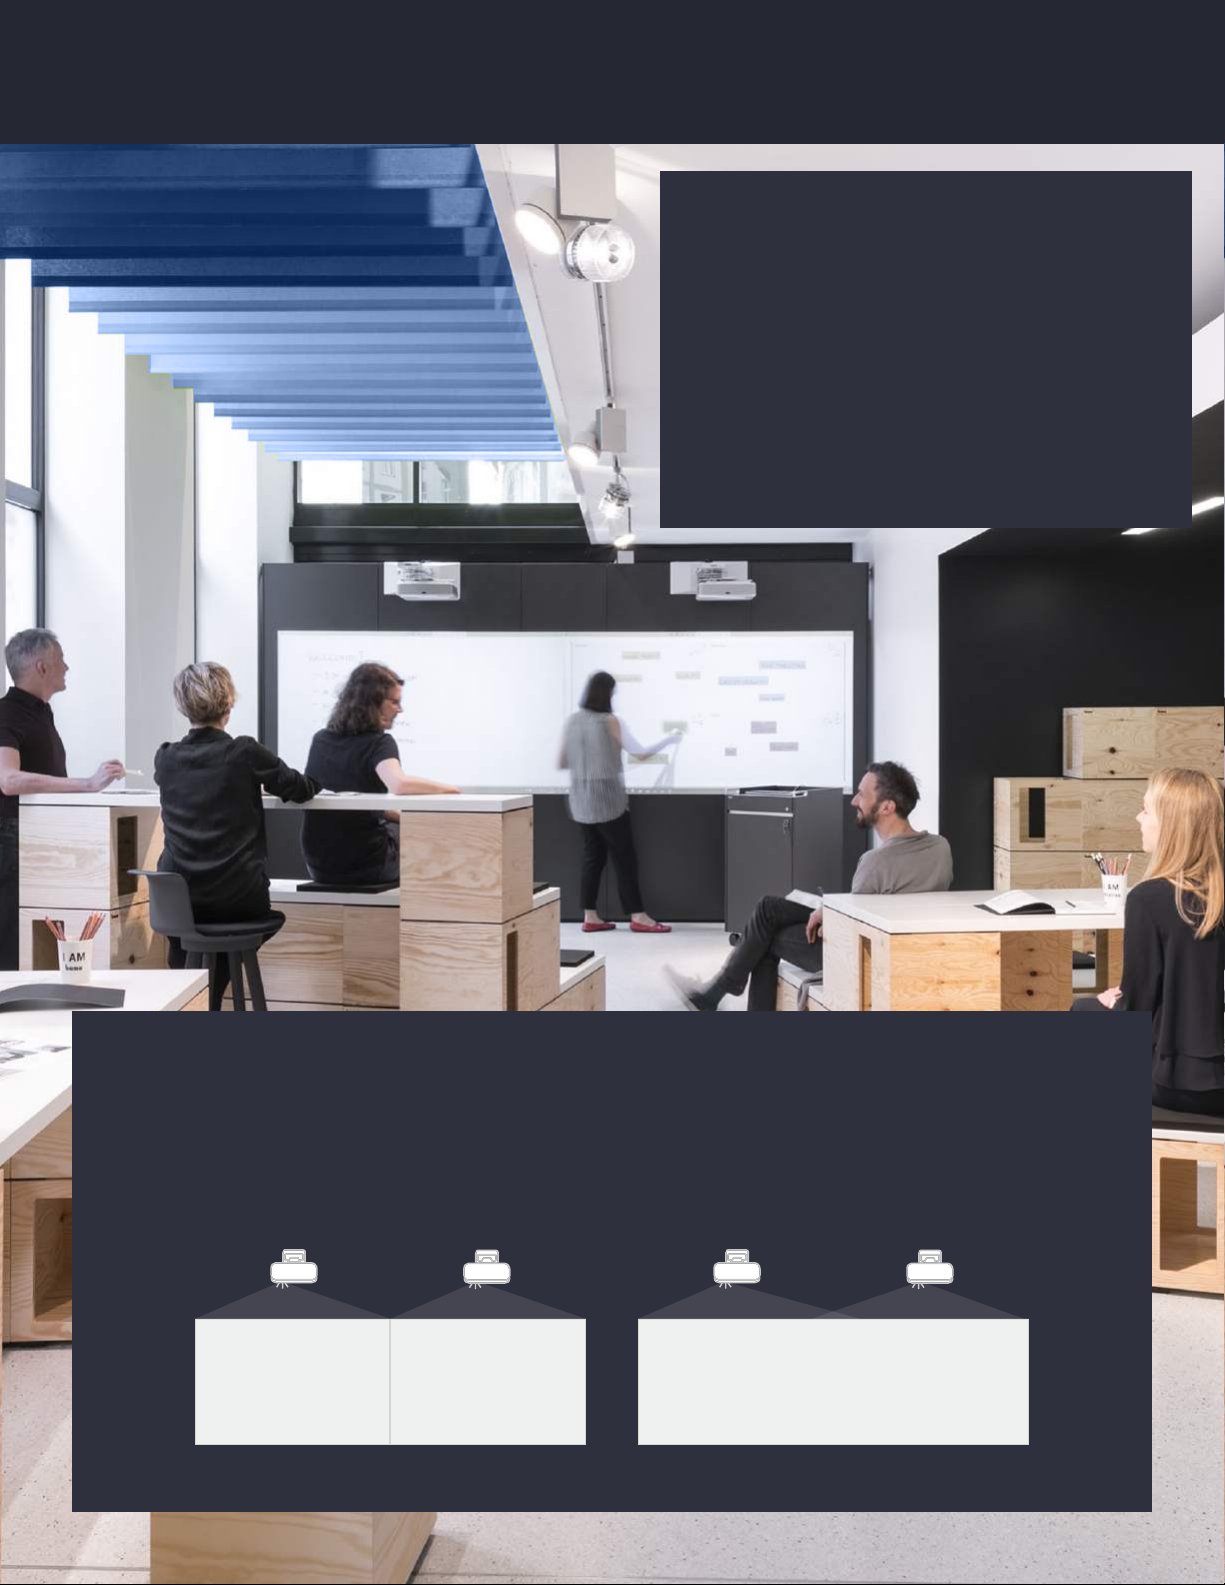
Edge-Butted vs Edge-Blended
The HoyluWall™ comes in two dierent configurations. “Edge-Butted configurations will align the
channels as closely as possible to each other. An Edge-Blended configuration will use projector and
display settings to blend the edges of the channels together to create a seamless experience. Note
that Edge-Blended systems will need to account for overlap.”
1 2 1
4

INSTALLATION
BOARDWALL
FILM
COMPUTER GPU
USB DEVICES
PROJECTORS
(HDMI)
BOARD
PEN
*EDGE-BLENDING ONLY
BOARD
CLEATS
ANGLED
DOWN
WALL
CLEATS
ANGLED
UP
BOARD FILM
WEBCAM
BOARD
Measure, mark, and install your projector(s)
in relation to where the Boards will be
placed.
Measure and mark the placement of the
Wall Cleats.
Install the Wall Cleats - Board Cleats are
angled DOWN while Wall Cleats are angled
UP. (See next)
Hang Boards and use Biscuits to join the
Boards. TIP: Soak biscuits in warm water for
2-3 minutes to make them more pliable.
Clean Boards to make sure no dust is
present before applying Film.
Roll Film directly onto the board. Have a
buddy help you keep the film steady.
After applying the Film, cut the Dot Pattern
material to fit the Boards. Use a vinyl cutter.
Be exact.
Mount the webcam so that it has a clear,
unobstructed view of the HoyluWall™.
Connect your PC to all devices- Bluetooth
Dongle (USB), Projectors (HDMI), and
optional Edge-Blending Camera (USB).
Set up and connect your Hoylu Pens.
(page 8)
Calibrate Dot Pattern via Hoylu Central.Calibrate Dot Pattern via Hoylu Central
*Edge-Blending: Configure (page 8)
VINYL CUTTER
Start Collaborating!
*Refer to your
Projector’s Manual
5

CALIBRATION
Hoylu Central
Pen Calibration
Hoylu Central connects the interactive pens to the system and manages the multiple pen interactions in the
Hoylu Software Suite applications. Central is set to start up and run in the background. If Central stops working,
then the pens will lose communication with the computer.
^
Calibrating the Screen
• Click the icon on the Task bar to reveal hidden icons
• Right click the Hoylu Central Icon and select “Calibrate Wall”
• Select all screens you would like to calibrate
• Tap the dots that appear and be as accurate as possible. If you mis-click, hit ESC and start over.
• When you are done, click “Save and Close”
Power on Pens by
pressing the Power
Button until Pens flash
BLUE
In Hoylu Central, open
“Add Pens”
In the Pen Scanning
dialogue, click “Start
Scanning”
Click “Pair” for each Pen.
Pens will flash TEAL
when paired successfully.
1 2 3 4
6

EDGE-BLENDING
Edge-Blending
Edge-Blending Camera Installation
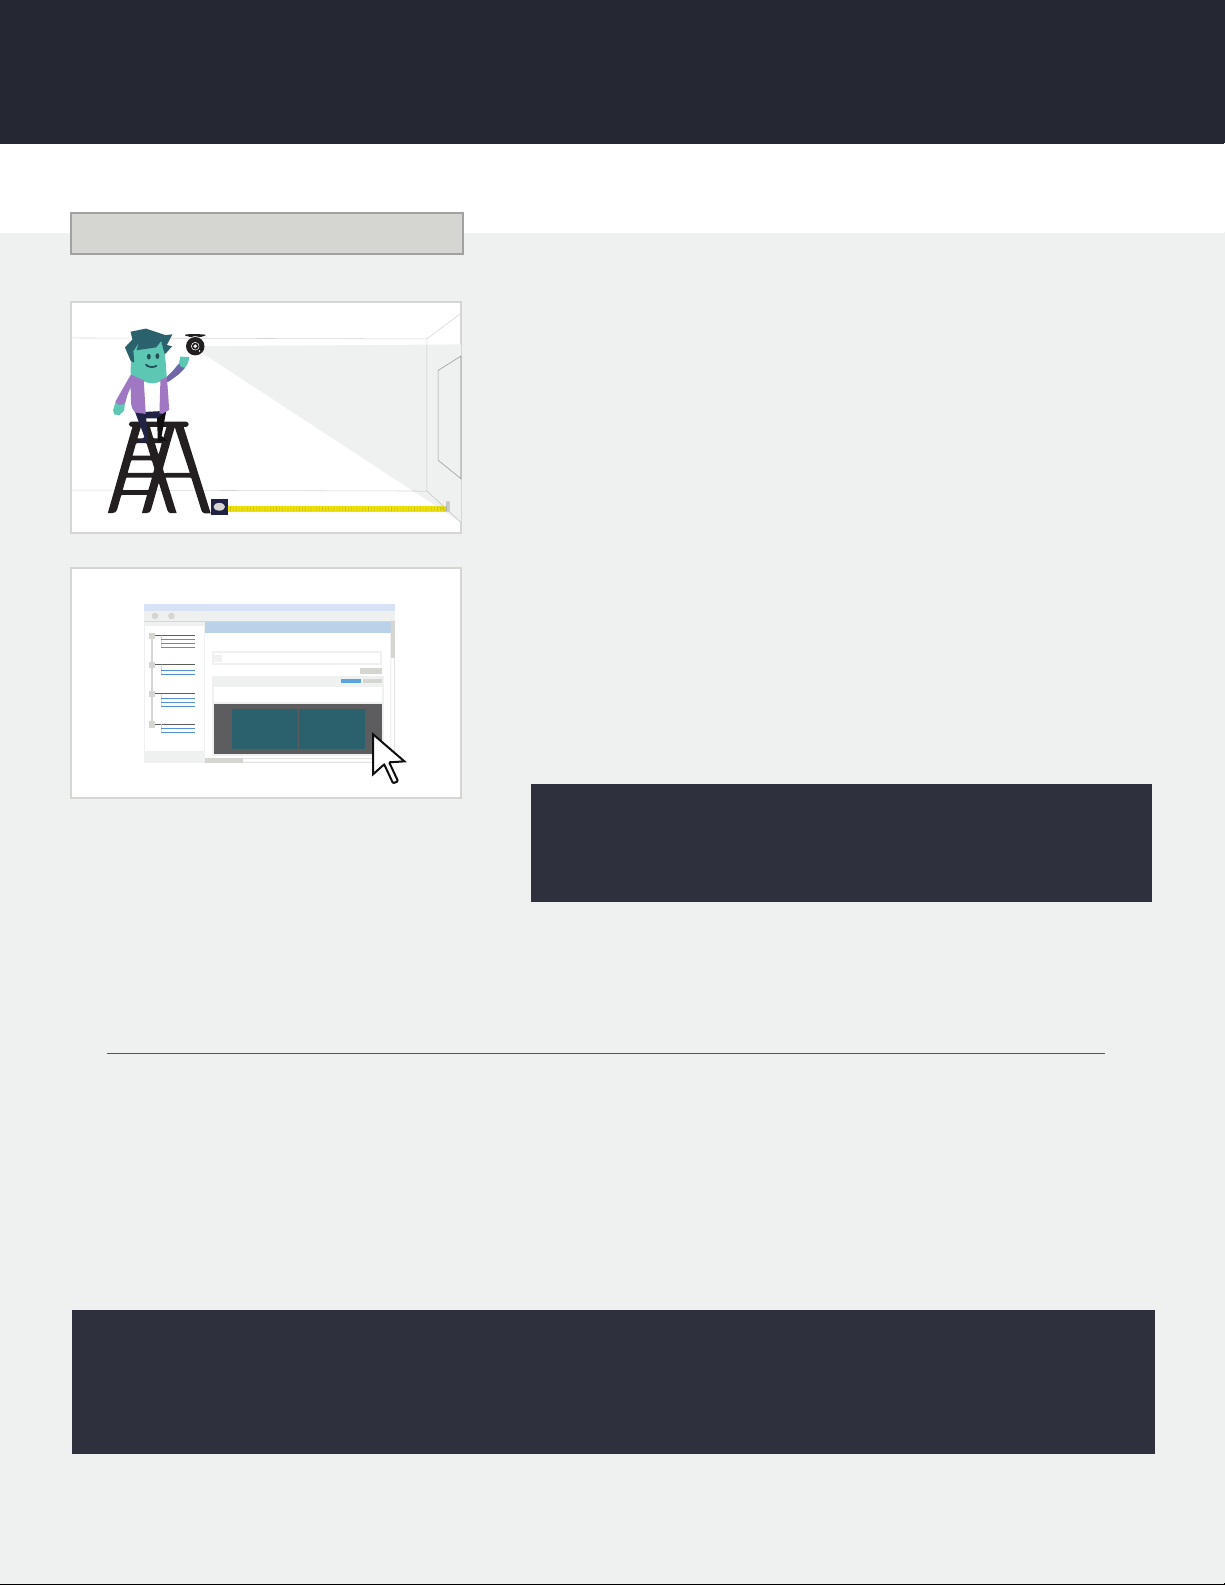
For Edge-Blending systems, a webcam is required for
running an automatic alignment tool. The webcam should be
permanently mounted so that it has a clear, unobstructed view
of the HoyluWall™. Connect the webcam to the PC via the USB
extender.
Nvidia Mosaic
Mosaic creates a single desktop from multiple displays.
• Desktop > Nvidia Control Panel > Setup Mosaic > Create
New Configuration
• Select # of displays
• Select the topology (columns by rows)
• Select Orientation (landscape)
• Next
• Set refresh rate to max (60hz)
• Set resolution to projector resolution (typically 1920x1080)
• Drag the displays in the order you want them to display.
• Apply
If you prefer a video walk-through,
watch the following video:
https://youtu.be/ZhUOvDHpl6E
Setting Up Edge-Blending
1 2
* Make sure a PO has been submitted to Scalable or Vioso for edge-blending. They will use a temporary license until the invoice has
been paid. The system will not be complete until the invoice is paid and you are assigned a permanent license key.
ScalableDesktop Calibration
Next, you will install and configure the ScalableDesktop application. The ScalableDesktop interface will guide
you through the process.
• Follow this link:
http://scalabledisplay.com/downloads/documentation/officialrelease/scalabledesktop/6.0
• When asked for username and password use this:
Username: sdtcustomerdocs
Password: getwarped
• Download ScalableDesktop on the PC connected to the projectors & Install
• Start the Software — Once you see the “license helper” window, click on “request license key”
• Once you receive your license key, start up the software again and enter your details into the “Install a
Software License Key” window.
An installation of an Edge-Blended HoyluWall™ will vary depending on the projectors you use and your
personal preferences surrounding the projections themselves. Make sure to consult your projector
manuals and the ScalableDesktop manual for further information.
7

MEASUREMENTS
(AFF)
250cm
47cm
119cm
75cm
109cm 198cm
21cm
26cm
99cm
198cm
396cm
(AFF)
205cm
47cm
119cm
75cm
109cm 198 cm
21cm
30cm
99cm
198cm
396cm
594cm
(about 10 cm
o-center)
(about 10 cm
o-center)
*These measurements are based on an installation with Optoma ZH500 UST Projectors
8

HOYLU PEN
STATUS LED COLOR
Power ON
Connected
Low Battery
Pairing Mode
Tip Error
Illuminating
Dimming/Pulsing
Flashing
Flashing
Flashing
Interactive Pens
The Hoylu collaboration software works in conjunction with the micro-dot pattern screen material and
interactive pens. The dot pattern is 600 dpi and each dot has it’s own coordinates. The pens have a small
sensor in the tip that detects the dot pattern on the screen and printed dot pattern paper. The dot pattern
then tells the pen where it is in relation to the entire screen. The pens then talk to the PC via Bluetooth, so their
interaction is then reflected on the screen.
The pen has two sets of tips to use. The first is the plastic tip used for interaction with the HoyluWall™screen.
The second is a pen tip used for writing on the printed micro dot pattern paper. It is very important that you
do not use the pen tips on the HoyluWall™itself. The marks made may be permanent and could damage the
surface.
For the optimal performance when using the pen
on the HoyluWall™, make sure that the pen camera
(recessed part of the front the pen) is under the
pen tip and you are angling the pen between 50
and 80 degrees to the HoyluWall™ surface.
When using the pen with the printed micro dot
pattern paper, ensure that the paper is laying
flat and not curved, which can cause the pen to
misread the dot pattern.
Do NOT use the pen tips on the HoyluWall™. Only use the plastic tips on the HoyluWall™.
9

FAQ
Installation FAQ
Q: I used the pen tips, or other permanent ink, on the HoyluWall™. What is the best way to clean o the
HoyluWall™ screen?
A: In most cases the best thing to use is the white eraser that comes included with your accessories box. If that
does not work, you can use a clean rag or paper towel and an ammonia-free spray cleaner.
Q: I’m not installing any shelving beneath the HoyluWall™ and I’d prefer to have the HoyluWall™ projection
extend to the very edges of the boards (“fitted view”). Are there adjustments to the installation
measurements I should make?
A: This configuration can be accomplished by extending the projectors outward from the wall. Extend until the
projection displays as desired.
Q: Can I mount the HoyluWall™ Wall Cleat or Projector Mounts into a plaster wall?
A: It is recommended that you attach the HoyluWall™ cleat to a stud to guarantee the stability of the screen
over time. For the projector mounts, it is required that at least one half of the mounting bolts are drilled into
a stud. Scan a stud finder device across your wall for best results.
Standard 16:9 Ratio
(Room for pen shelving)
“Fitted” View
Use a stud finder device to scan a wall for studs.
10
Indice