IKEA GÖRLIG Manuale utente

GÖRLIG
HK
IN
MY
PH
SG
TH
ENGLISH
For the IKEA appointed Authorized Service Centre, please
refer to www.IKEA.com and select your local store for phone
numbers and opening times.

ENGLISH 4
Contents
Safety information 4
Safety instructions 5
Installation 8
Product description 8
Before rst use 9
Daily use 9
Using the accessories 10
Additional functions 11
Hints and tips 11
Care and cleaning 15
Troubleshooting 17
Technical data 18
Energy eciency 19
Environmental concerns 19
IKEA GUARANTEE 19
Subject to change without notice.
Safety information
Before the installation and use of the appliance, carefully read
the supplied instructions. The manufacturer is not responsible
if an incorrect installation and use causes injuries and
damage. Always keep the instructions with the appliance for
future reference.
Children and vulnerable people safety
•Children should be supervised to ensure that they do not
play with the appliance.
•Keep all packaging away from children and dispose of it
appropriately.
•WARNING: Keep children and pets away from the appliance
when it operates or when it cools down. Accessible parts
become hot during use.
•If the appliance has a child safety device, it should be
activated.
•Children shall not carry out cleaning and user maintenance
of the appliance without supervision.
General Safety
•Only a qualied person must install this appliance and
replace the cable.
ENGLISH 4
•WARNING: The appliance and its accessible parts become
hot during use. Care should be taken to avoid touching
heating elements.
•Always use oven gloves to remove or put in accessories or
ovenware.
•Before any maintenance, cut the power supply.
•WARNING: Ensure that the appliance is switched o before
replacing the lamp to avoid the possibility of electric shock.
•Do not use the appliance before installing it in the built-in
structure.
•Do not use a steam cleaner to clean the appliance.
•Do not use harsh abrasive cleaners or sharp metal scrapers
to clean the glass door since they can scratch the surface,
which may result in shattering of the glass.
•If the mains power supply cable is damaged, it must be
replaced by the manufacturer, its Authorised Service Centre
or similarly qualied persons to avoid an electrical hazard.
•The means for disconnection must be incorporated in the
xed wiring in accordance with the wiring rules.
Safety instructions
Installation
Warning! Only a qualied person
must install this appliance.
• Remove all the packaging.
• Do not install or use a damaged
appliance.
• Follow the installation instructions
supplied with the appliance.
• Always take care when moving the
appliance as it is heavy. Always use safety
gloves and enclosed footwear.
• Do not pull the appliance by the handle.
• Install the appliance in a safe and suitable
place that meets installation
requirements.
• Keep the minimum distance from other
appliances and units.
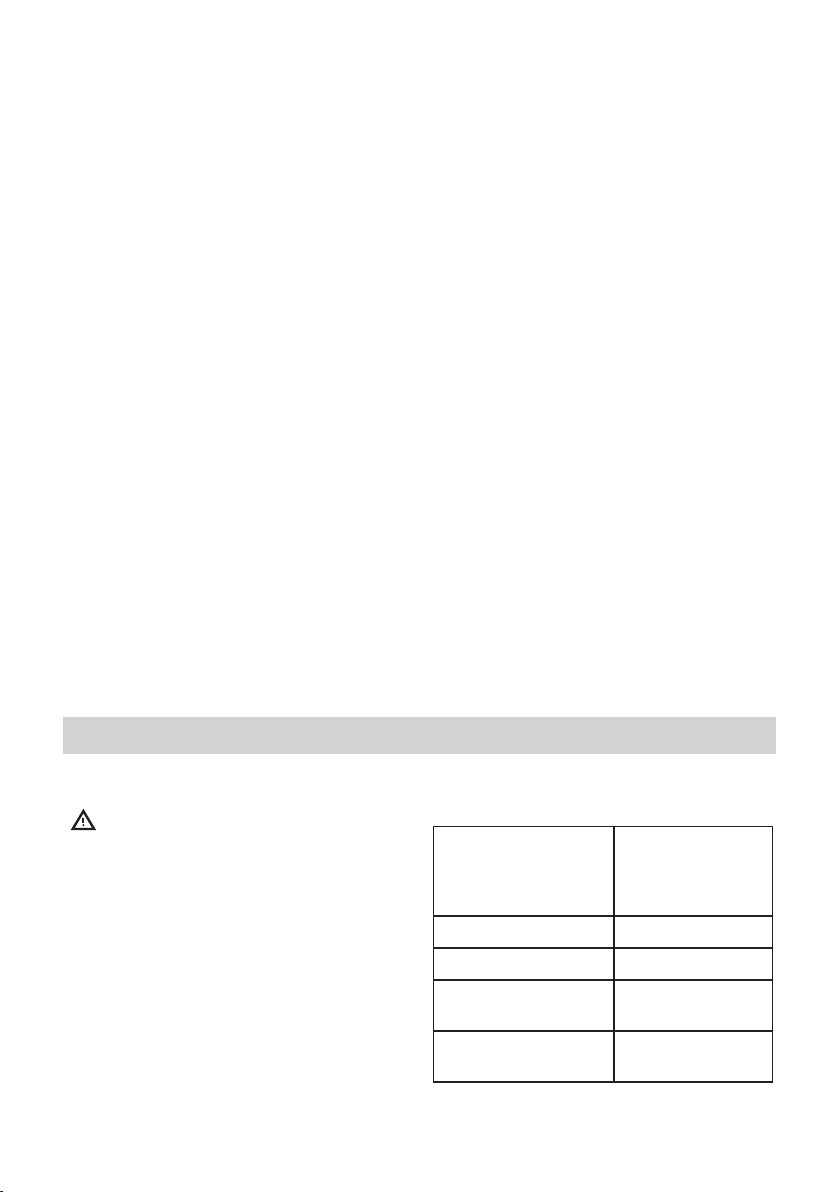
• Before mounting the appliance, check if
the oven door opens without restraint.
Cabinet minimum
height (Cabinet under
the worktop mini‐
mum height)
580 (600) mm
Cabinet width 560 mm
Cabinet depth 550 (550) mm
Height of the front of
the appliance
589 mm
Height of the back of
the appliance
570 mm
ENGLISH 5
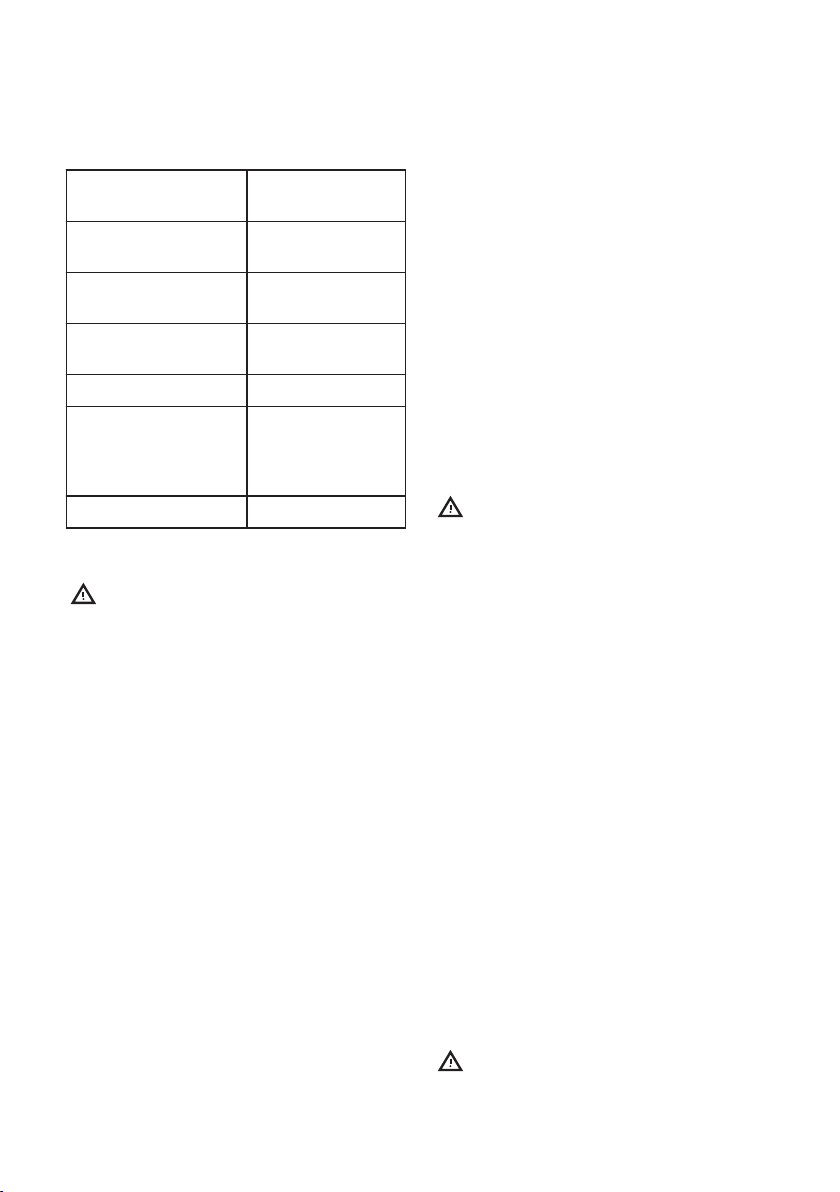
Width of the front of
the appliance
594 mm
Width of the back of
the appliance
558 mm
Depth of the appli‐
ance
561 mm
Built in depth of the
appliance
540 mm
Depth with open door 1007 mm
Ventilation opening
minimum size. Open‐
ing placed on the bot‐
tom rear side
560x20 mm
Mounting screws 2x25 mm
Electrical connection
Warning! Risk of re and electric
shock.
• All electrical connections should be made
by a qualied electrician.
• The appliance must be earthed.
• Make sure that the parameters on the
rating plate are compatible with the
electrical ratings of the mains power
supply.
• Always use a correctly installed
shockproof socket.
• Do not use multi-plug adapters and
extension cables.
• Make sure not to cause damage to the
mains plug and to the mains cable.
Should the mains cable need to be
replaced, this must be carried out by our
Authorised Service Centre.
• Do not let mains cables touch or come
near the appliance door or the niche
below the appliance, especially when it
operates or the door is hot.
• The shock protection of live and insulated
parts must be fastened in such a way that
it cannot be removed without tools.
• Connect the mains plug to the mains
socket only at the end of the installation.
Make sure that there is access to the
mains plug after the installation.
• If the mains socket is loose, do not
connect the mains plug.
• Do not pull the mains cable to disconnect
the appliance. Always pull the mains plug.
• Use only correct isolation devices: line
protecting cut-outs, fuses (screw type
fuses removed from the holder), earth
leakage trips and contactors.
• The electrical installation must have an
isolation device which lets you disconnect
the appliance from the mains at all poles.
The isolation device must have a contact
opening width of minimum 3 mm.
Use
Warning! Risk of injury, burns
and electric shock or explosion.
• This appliance is for household (indoors)
use only.
• Do not change the specication of this
appliance.
• Make sure that the ventilation openings
are not blocked.
• Do not let the appliance stay unattended
during operation.
• Deactivate the appliance after each use.
• Be careful when you open the appliance
door while the appliance is in operation.
Hot air can release.
• Do not operate the appliance with wet
hands or when it has contact with water.
• Do not apply pressure on the open door.
• Do not use the appliance as a work
surface or as a storage surface.
• Open the appliance door carefully. The
use of ingredients with alcohol can cause
a mixture of alcohol and air.
• Do not let sparks or open ames to come
in contact with the appliance when you
open the door.
• Do not put ammable products or items
that are wet with ammable products in,
near or on the appliance.
Warning! Risk of damage to the
appliance.
ENGLISH 6

• To prevent damage or discoloration to the
enamel:
– do not put ovenware or other objects
in the appliance directly on the
bottom.
– do not put aluminium foil directly on
the bottom of cavity of the appliance.
– do not put water directly into the hot
appliance.
– do not keep moist dishes and food in
the appliance after you nish the
cooking.
– be careful when you remove or install
the accessories.
• Discoloration of the enamel or stainless
steel has no eect on the performance of
the appliance.
• This appliance is for cooking purposes
only. It must not be used for other
purposes, for example room heating.
• Always cook with the oven door closed.
• If the appliance is installed behind a
furniture panel (e.g. a door) make sure
the door is never closed when the
appliance operates. Heat and moisture
can build up behind a closed furniture
panel and cause subsequent damage to
the appliance, the housing unit or the
oor. Do not close the furniture panel
until the appliance has cooled down
completely after use.
Care and Cleaning
Warning! Risk of injury, re, or
damage to the appliance.
• Before maintenance, deactivate the
appliance and disconnect the mains plug
from the mains socket.
• Make sure the appliance is cold. There is a
risk that the glass panels can break.
• Replace immediately the door glass
panels when they are damaged. Contact
the Authorised Service Centre.
• Be careful when you remove the door
from the appliance. The door is heavy!
• Clean regularly the appliance to prevent
the deterioration of the surface material.
• Fat and food remaining in the appliance
can cause re.
• If you use an oven spray, obey the safety
instructions on the packaging.
• Do not remove the knobs from the
appliance.
Internal lighting
Warning! Risk of electric shock.
• Concerning the lamp(s) inside this
product and spare part lamps sold
separately: These lamps are intended to
withstand extreme physical conditions in
household appliances, such as
temperature, vibration, humidity, or are
intended to signal information about the
operational status of the appliance. They
are not intended to be used in other
applications and are not suitable for
household room illumination.
• Use only lamps with the same
specications.
Service
• To repair the appliance contact the
Authorised Service Centre.
• Use original spare parts only.
Disposal
Warning! Risk of injury or
suocation.
• Disconnect the appliance from the mains
supply.
• Cut o the mains electrical cable close to
the appliance and dispose of it.
• Remove the door to prevent children and
pets to get closed in the appliance.
•Packaging material:
The packaging material is recyclable.
Plastic parts are marked with
international abbreviations such as PE,
PS, etc. Dispose of the packaging material
in the containers provided for this
purpose at your local waste management
facility.
ENGLISH 7
Installation
Warning! Refer to Safety
chapters.
Assembly
Refer to the Assembly
Instructions for the installation.
Electrical installation
Warning! Only a qualied person
must do the electrical installation.
The manufacturer is not
responsible if you do not follow
the safety precautions from the
Safety chapters.
This oven is supplied without a main plug
and a main cable.
To access the electrical connections unscrew
the 2 T20 screws on the rear panel top and
take the panel out.
Cable
Cable types applicable for installation or
replacement:
H07 RN-F, H05 RN-F, H05 RRF, H05 VV-F, H05
V2V2-F (T90), H05 BB-F
For the section of the cable refer to the total
power on the rating plate. You can also refer
to the table:
Total power (W) Section of the cable
(mm²)
maximum 1380 3 x 0.75
maximum 2300 3 x 1
maximum 3680 3 x 1.5
The earth cord (green / yellow cable) must
be 2 cm longer than phase and neutral
cables (blue and brown cables).
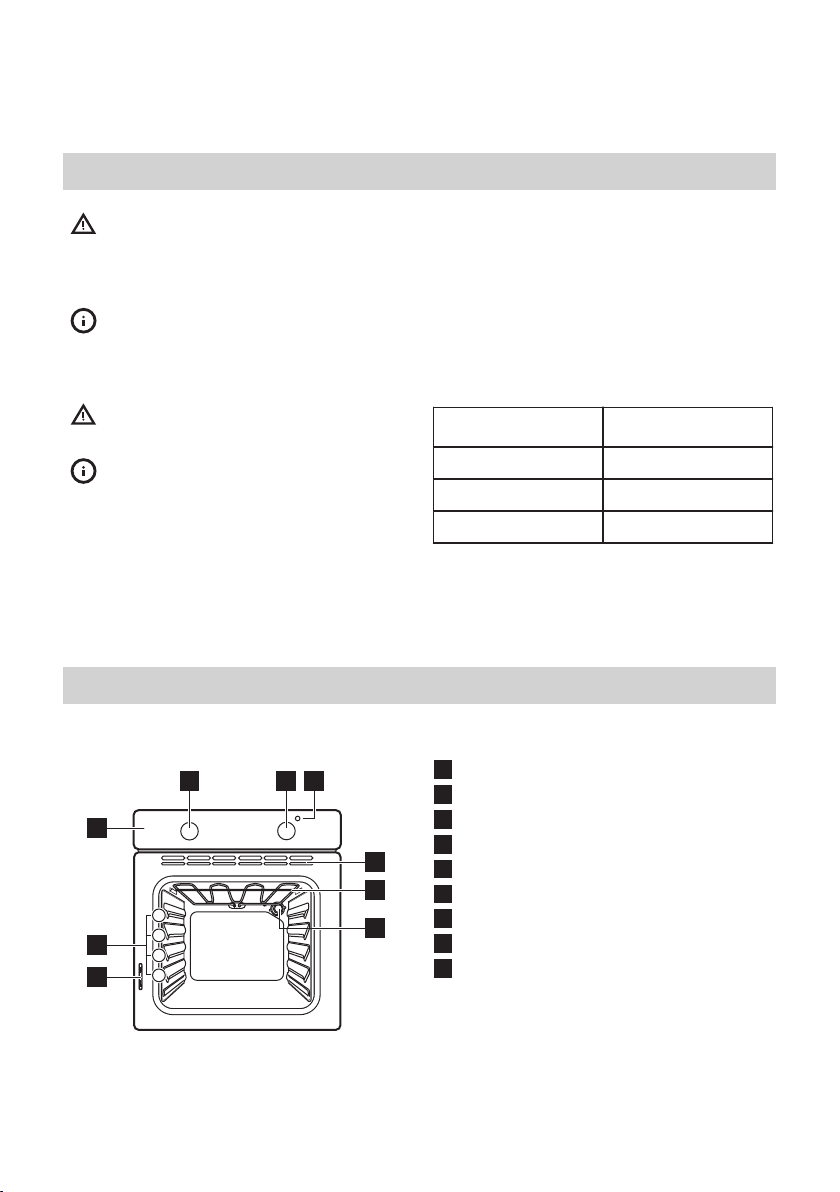
Product description
General overview
1
2 3 4
5
7
8
9
1
2
3
4
6
1Control panel
2Knob for the heating functions
3Control knob
4Temperature indicator
5Air vents for the cooling fan
6Grill
7Lamp
8Rating plate
9Shelf positions
ENGLISH 8
Accessories
•Wire shelf x 1
For cookware, cake tins, roasts.
•Baking tray x 1
For cakes and biscuits.
•Grill pan set x 1
To bake and roast or as pan to collect fat.
Before rst use
Warning! Refer to Safety
chapters.
Initial Cleaning
Remove all accessories from the oven.
Refer to "Care and cleaning"
chapter.
Clean the oven and the accessories before
rst use.
Put the accessories back to their initial
position.
Preheating
1. Set the function and the maximum
temperature.
2. Let the oven operate for 1 hour.
3. Set the function and set the
maximum temperature.
4. Let the oven operate for 15 minutes.
5. Turn o the oven and let it cool down.
Accessories can become hotter than usual.
The oven can emit an odour and smoke.
Make sure that the airow in the room is
sucient.
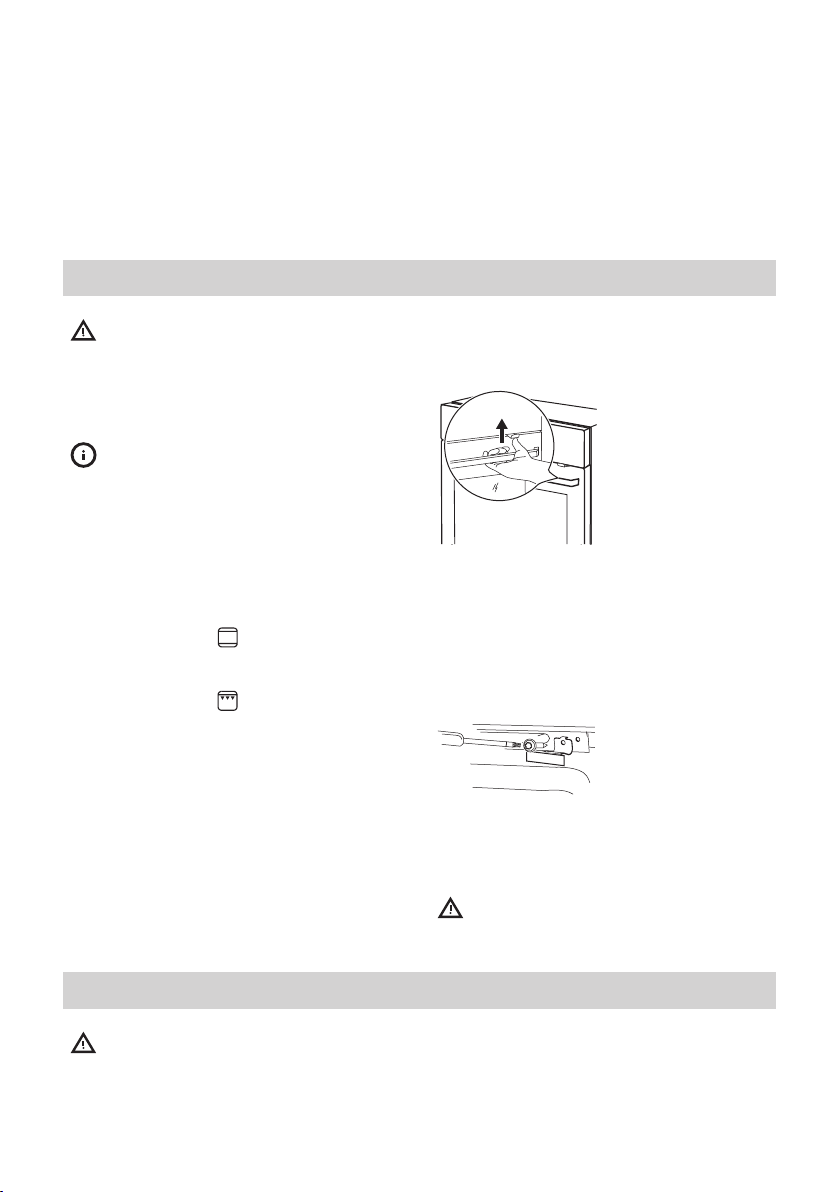
Using the Mechanical child lock
The oven has the child lock installed. It is on
the right side of the oven, below the control
panel.
To open the oven door with the child lock:
1. Pull and hold the child lock handle up as
shown in the picture.
2. Open the door.
Close the oven door without pulling the child
lock.
To remove the child lock, open the oven door
and remove the child lock with the torx key.
The torx key is in the oven tting bag.
Screw back the screw into the hole after
removing the child lock.
Warning! Be careful not to
scratch the control panel.
Daily use
Warning! Refer to Safety
chapters.
Setting a heating function
1. Turn the knob for the heating functions
to select a heating function.
ENGLISH 9
2. Turn the control knob to select the
temperature.
The lamp turns on when the oven operates.
3. To turn o the oven, turn the knobs to
the o position.
Heating functions
Heating func‐
tion
Application
O position
The oven is o.
Bottom Heat
To bake cakes with crispy
bottom and to preserve
food.
Fast Grilling
To grill at food in large
quantities and to toast
bread.
Conventional
(Top and Bot‐
tom Heat)
To bake and roast food on
one shelf position.
Heating func‐
tion
Application
ECO Cooking
This function is designed to
save energy during cook‐
ing. For the cooking in‐
structions refer to "Hints
and tips" chapter, ECO
Cooking. The oven door
should be closed during
cooking so that the func‐
tion is not interrupted and
to ensure that the oven op‐
erates with the highest en‐
ergy eciency possible.
When you use this func‐
tion, the temperature in the
cavity may dier from the
set temperature. The heat‐
ing power may be reduced.
For general energy saving
recommendations refer to
"Energy Eciency" chapter,
Energy Saving.This function
was used to comply with
the energy eciency class
according to EN 60350-1.
When you use this function
the lamp automatically
turns o.
Using the accessories
Warning! Refer to Safety
chapters.
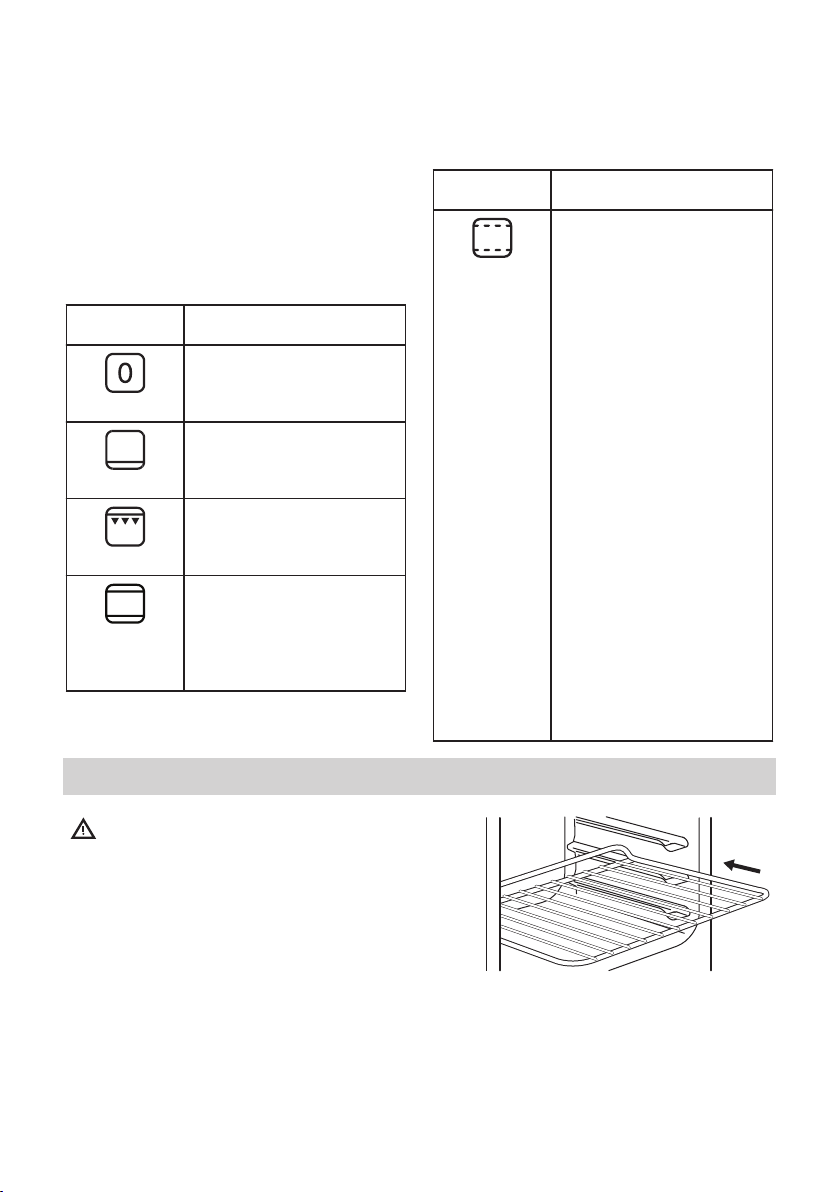
Inserting the accessories
Wire shelf:
Push the shelf between the guide bars of the
shelf support .
Baking tray:
Push the baking tray between the guide bars
of the shelf support.
ENGLISH 10
Altri manuali per GÖRLIG
10
Indice
Altri manuali IKEA Piano cottura

IKEA
IKEA FRAMTID HGA5K Manuale utente

IKEA
IKEA BEJUBLAD Manuale utente

IKEA
IKEA Livsgnista Manuale utente

IKEA
IKEA Livsgnista Manuale utente

IKEA
IKEA FRAMTID Manuale utente

IKEA
IKEA Livsgnista Manuale utente

IKEA
IKEA MATMÄSSIG Manuale utente

IKEA
IKEA LAGAN Manuale utente

IKEA
IKEA BEJUBLAD Manuale utente

IKEA
IKEA HÖGKLASSIG Manuale utente

IKEA
IKEA LAGAN Manuale utente

IKEA
IKEA MOJLIG Manuale utente

IKEA
IKEA ELDSLAGA Manuale utente

IKEA
IKEA FRAMTID HIN4T Manuale utente

IKEA
IKEA DAGLIG Manuale utente

IKEA
IKEA TILLREDA Manuale utente

IKEA
IKEA TREVLIG Manuale utente

IKEA
IKEA LAGAN HGC3K Manuale utente

IKEA
IKEA MATMÄSSIG Manuale utente

IKEA
IKEA GRUNDAD Manuale utente


