Kyocera Mita KM-5050 Manuale utente

Operation Guide
KM-NET for Clients

KM-NET for Clients 1
Legal and General Information
Notice
Unauthorized reproduction of all or part of this guide is prohibited. The information in
this guide is subject to change for improvement without notice.
We cannot be held liable for any problems arising from the use of this product,
regardless of the information herein.
Regarding Trademarks
KYOCERA and KYOCERA MITA are registered trademarks of Kyocera Corporation.
Windows and Windows NT are registered trademarks of Microsoft Corporation. Other
brand and product names contained in this document are registered trademarks or
trademarks of their respective companies.
General Information
When using this utility, the items that can be configured will be different depending on
the printing system model.
Examples in this document are described using Microsoft Windows XP operating
system environment.

2KM-NET for Clients
Table of Contents
1. Features ................................................................................................................. 3
1.1. What is KM-NET for Clients ............................................................................ 3
1.2. Requirements .................................................................................................. 3
2. Installation and Startup ........................................................................................ 4
2.1. Installation ....................................................................................................... 4
2.2. Startup ............................................................................................................ 4
3. Main Screen ........................................................................................................... 5
3.1. Views and Buttons .......................................................................................... 5
3.2. Settings ........................................................................................................... 9
4. Add Printing System Wizard .............................................................................. 11
4.1. Adding the Printing Systems Using Standard Mode ..................................... 11
4.2. Adding the Printing Systems Using Advanced Mode .................................... 12
4.3. Adding the Printing Systems Using History Mode ........................................ 14
5. Properties ............................................................................................................ 15
5.1. Accessing the Properties Dialog Box ............................................................ 15
5.2. Status Tab ..................................................................................................... 16
5.3. Input Tab ....................................................................................................... 17
5.4. Output Tab .................................................................................................... 17
5.5. Media Tab ..................................................................................................... 18
5.6. Printer Tab .................................................................................................... 19
5.7. Copy Tab ...................................................................................................... 20
5.8. Scan Tab ....................................................................................................... 21
5.9. Fax Basic ...................................................................................................... 22
5.10. Fax Advanced Tab ........................................................................................ 24
5.11. Consumable Tab ........................................................................................... 25
5.12. Counters Tab ................................................................................................ 25
5.13. Management Tab .......................................................................................... 26
5.14. Resource ....................................................................................................... 29
5.15. Interface Tab ................................................................................................. 30
6. Job Manager ........................................................................................................ 31
7. Job Viewer ........................................................................................................... 32
8. Broadcast ............................................................................................................ 33
9. Troubleshooting .................................................................................................. 35
10. Specifications ...................................................................................................... 37
10.1. System Requirements ................................................................................... 37
10.2. Support Language ........................................................................................ 37
KM-NET for Clients 3
1. Features
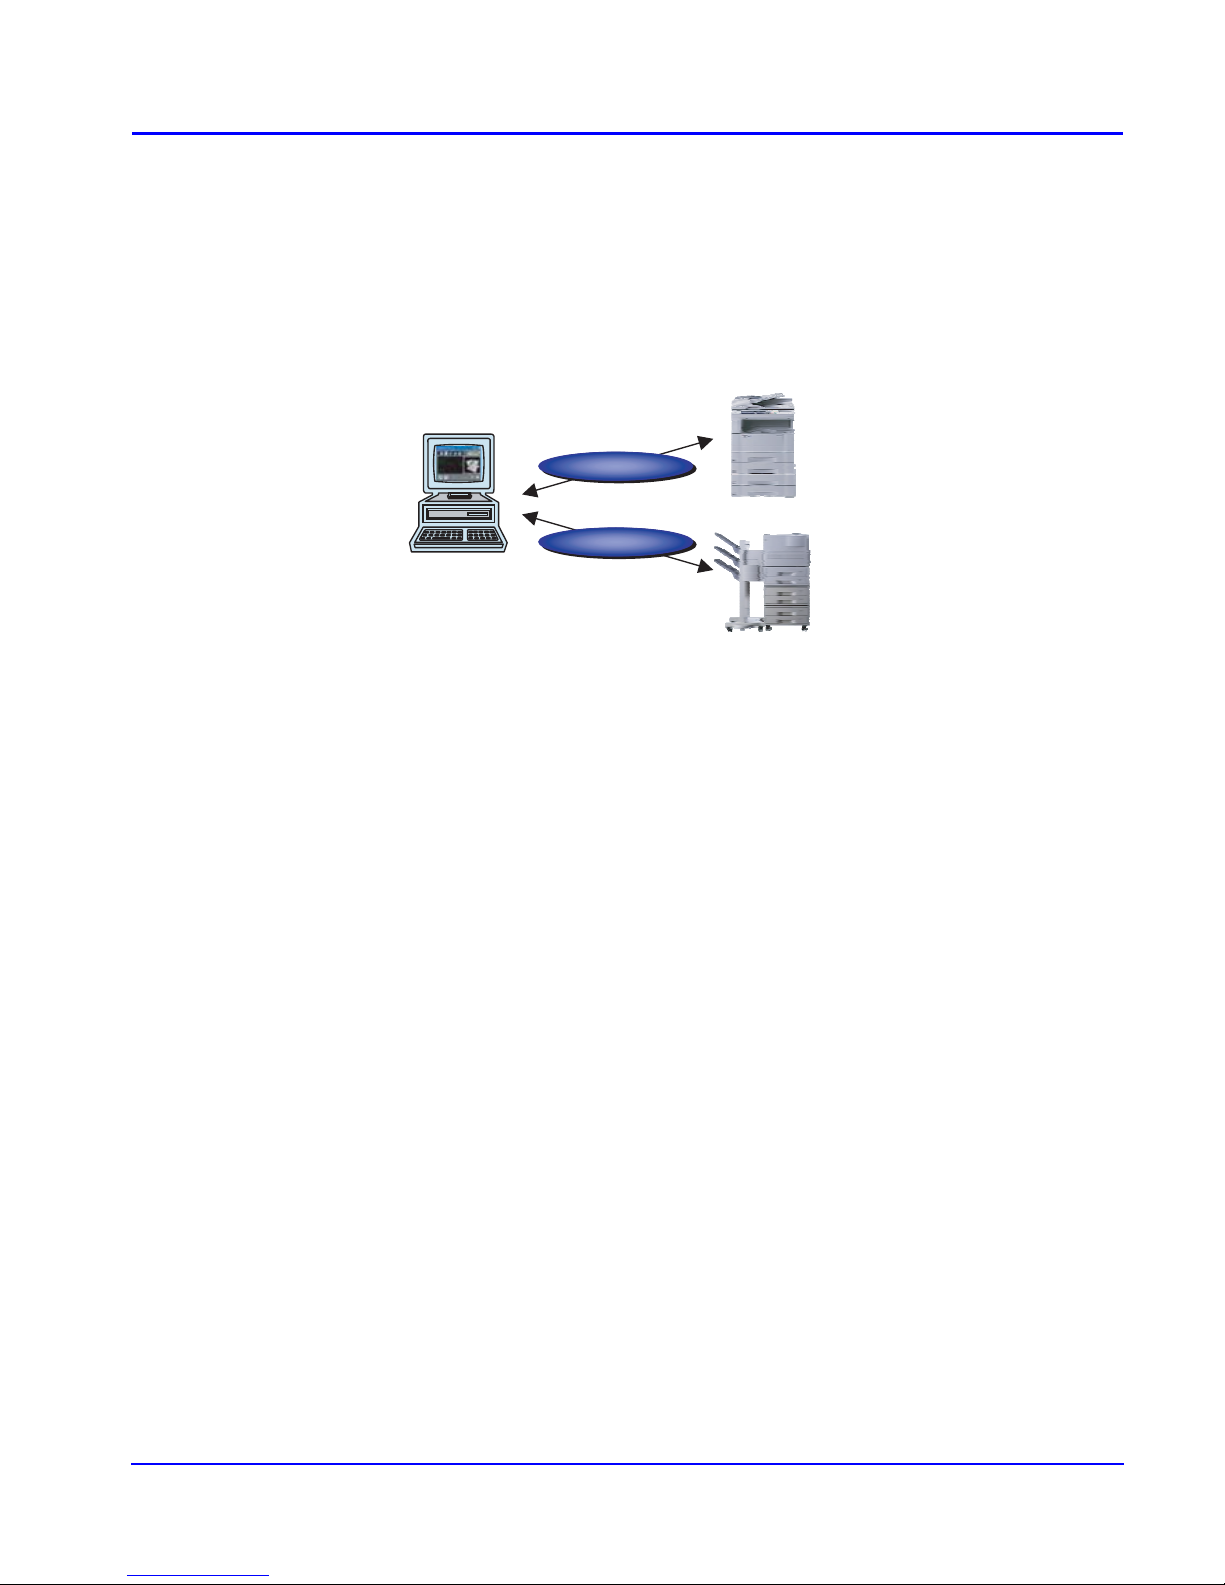
1.1. What is KM-NET for Clients
KM-NET for Clients is a network utility intended for use to monitor and configure the
printing systems and maintain e-MPS (enhanced-Multiple Printing System) jobs in
storage devices. Monitoring the status of the printing system in real-time, confirming
and modifying default settings, and manipulating stored e-MPS jobs can all be
implemented between computers and printing systems.
1.2. Requirements
KM-NET for Clients is designed to run under Microsoft Windows 98/Me/2000/XP or
Windows NT 4.0 operating systems.
When using KM-NET for Clients for the printing system connected via local interface,
ensure that the Kyocera Extended Driver is installed into the computer.
When using KM-NET for Clients for the printing system connected via network
interface, ensure that the TCP/IP protocol is installed into the computer.
For details, refer to System Requirements.
KM-NET
KM-NET
MFP
Printer
4KM-NET for Clients
2. Installation and Startup
2.1. Installation
KM-NET for Clients is provided on the CD-ROM supplied with the printing system.
Perform the following procedure below to install KM-NET for Clients.
1Set the CD-ROM into the optical drive of the computer. The setup window appears
automatically. If the setup window does not appear automatically, double-click
Setup.exe located in the root directory of the CD-ROM.
2Follow the instructions displayed on the window to install KM-NET for Clients.
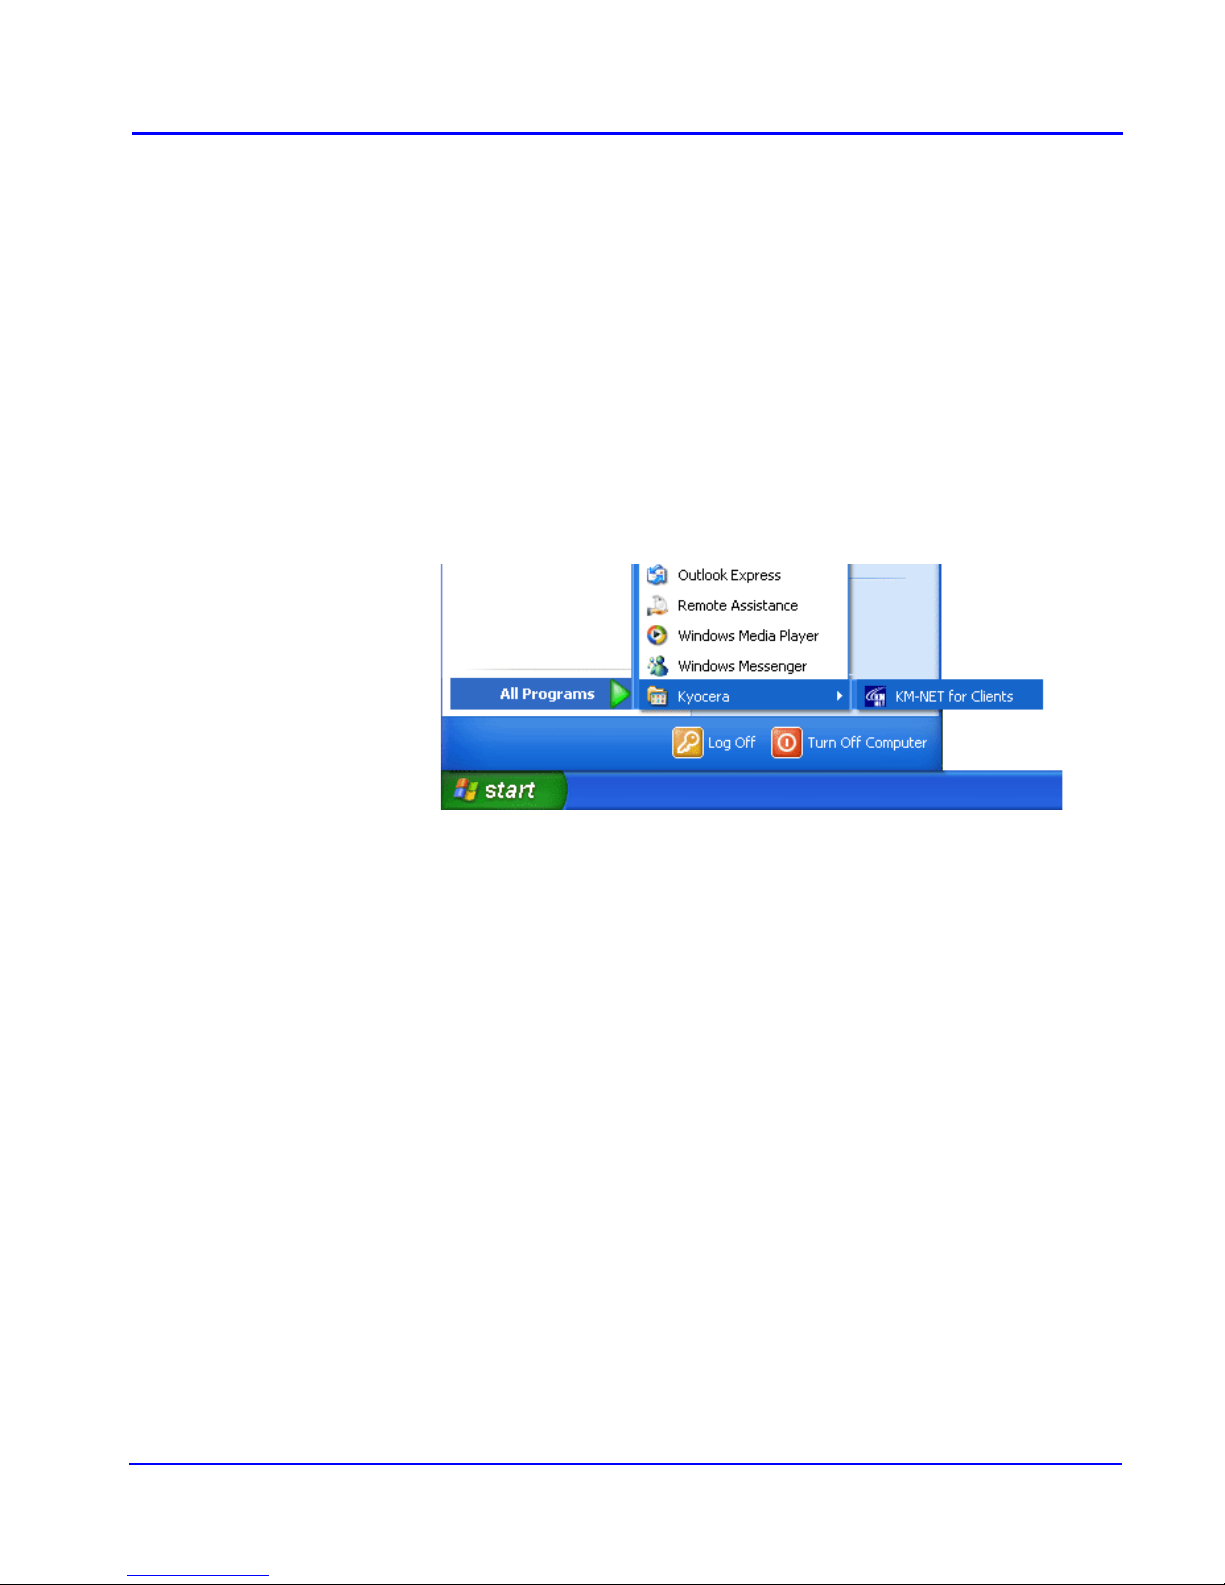
2.2. Startup
When the installation is completed, start the KM-NET for Clients by proceeding from
the start button > All Programs > Kyocera > KM-NET for Clients.

KM-NET for Clients 5
3. Main Screen
3.1. Views and Buttons
The main screen is explained below.
The following table explains the views and buttons on the main screen of KM-NET for
Clients.
The numbers appearing in the figure above are referred to in the Reference Number
column on the following pages.
Note
The explanations of messages appearing in this manual are based on the premise that
the printing system is used over a network. Accordingly, the explanations include some
messages that do not appear when the printing system is used locally.
1
2
4
87
3
56
6KM-NET for Clients
Ref.
No. Name and Icon Description
1Connection View The Connection View displays connected printing
system icons for that have been discovered
through the printer discovery process.
A maximum of five printing system icons can be
displayed in this view. Each icon describes the
status of the printing system.
Add button: To search for a printing system,
click the Add button. The wizard starts.
Remove button: To remove the registered
printing system, follow these steps below.
1. Select the icon for the desired printing system
within the Connection view.
2. Click the Remove button.
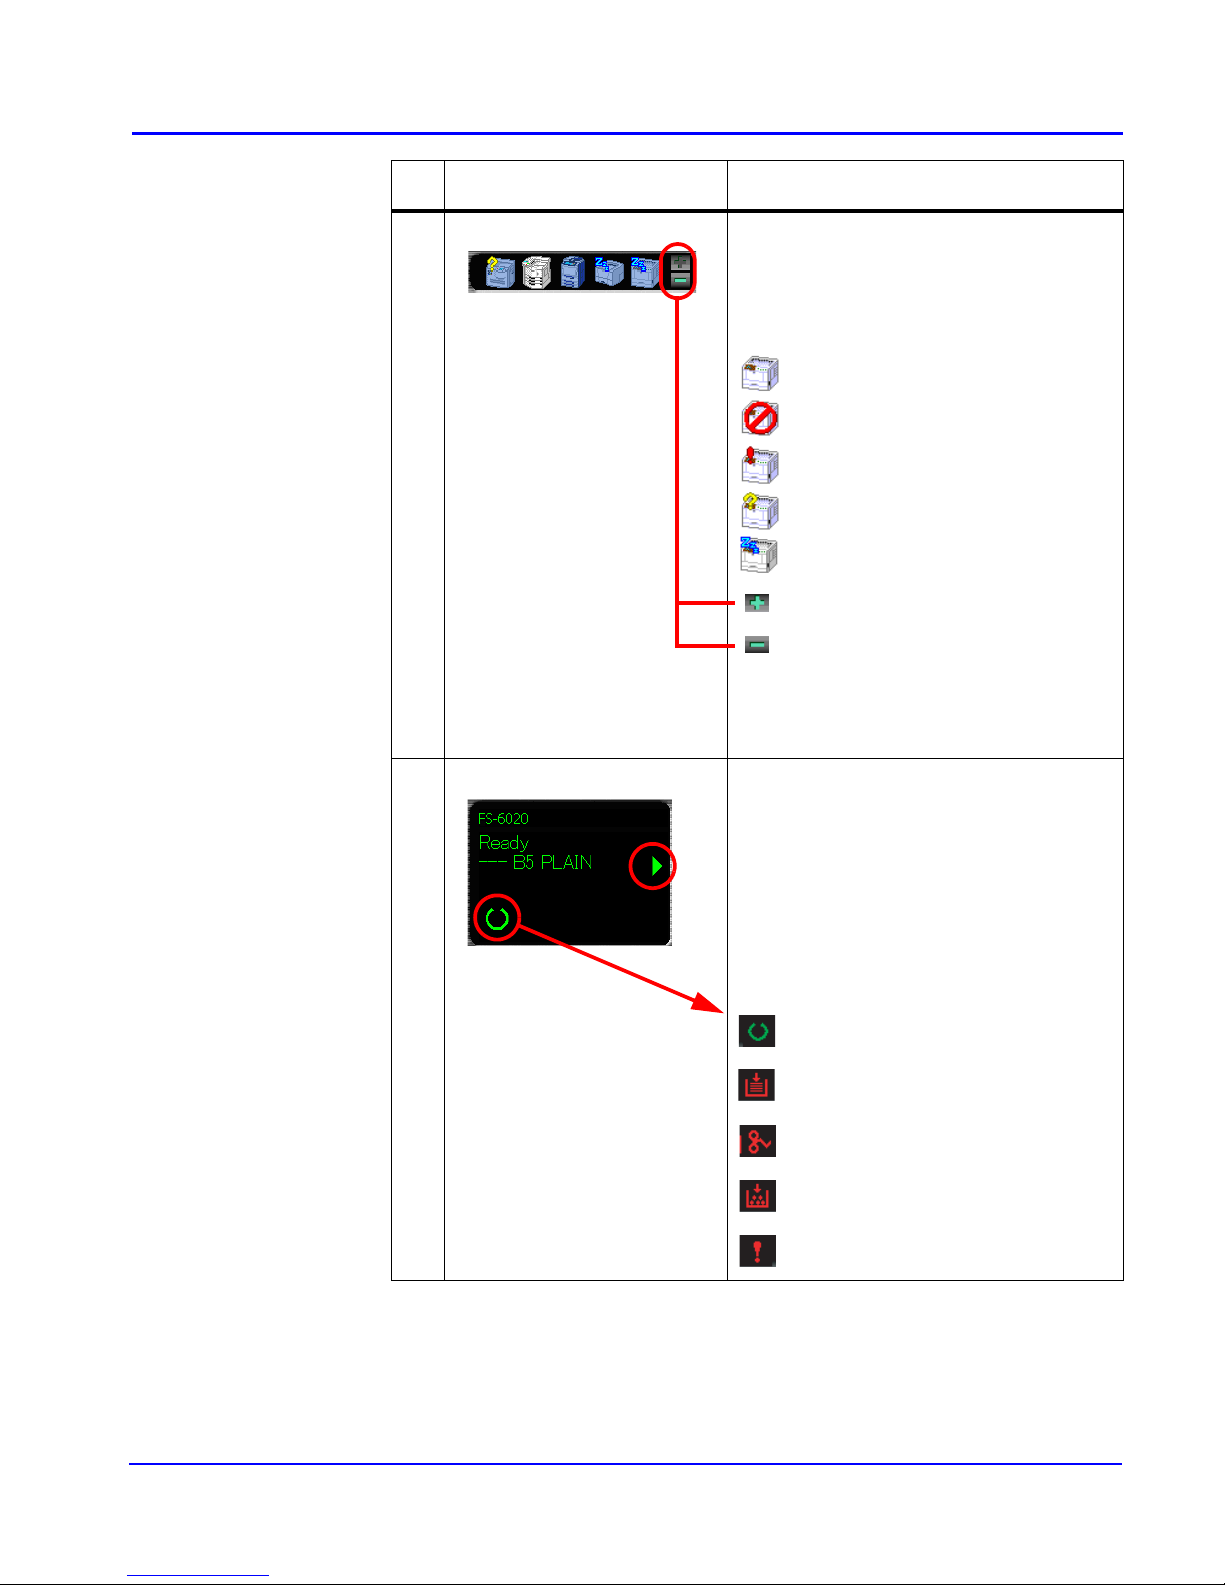
2Information View The Information View is located below the
Connection View and describes the status of the
printing system in greater detail.
Depending on the printing system, the status icons
shown in the information view is different.
Status Icon Pattern 1
The printing system is ready to print.
The paper runs out or the cassette is not
installed properly.
A paper jam has occurred.
Toner is low or runs out.
An error has occurred.
Ready
Not connected
Error
Warning
Sleep

KM-NET for Clients 7
Status Icon Pattern 2
The printing system is ready to print.
An error occurs for printing.
The printing system is ready to scan.
An error occurs for scanning.
The printing system is ready to fax.
An error occurs for fax.
Switch status information by clicking the icons
circled by red in the left images.
33D View 3D View can be set up to display a 3D rendering of
the selected printing system. It displays the status
of the printing system in real-time.
For example, if the top cover of the printing system
is opened, the top cover of the 3D image also
opens.
4Properties Button Click this button to open the properties dialog box.
The dialog box displays detailed information about
the printing system.
For details, refer to the section Properties.
Ref.
No. Name and Icon Description

8KM-NET for Clients
5Job Manager Button Click this button to open the job manager dialog
box.
The dialog box enables the user to obtain job
information and manage jobs on the printing
system connected locally or on a network.
For details, refer to Job Manager.
Job Viewer Button For the printing system which does not support job
manager, the job viewer button is available.
Click this button to open the job viewer dialog box.
The dialog box enables the user to confirmation job
status, scheduled job and job log on the printing
system connected locally or on a network.
For details, refer to Job Viewer.
6Broadcast Button Click this button to open the broadcast dialog box.
For details, refer to Broadcast.
7Setup Button The Setup button has 2 tabs.
For details, refer to Settings.
Status Polling Tab
Set up a polling interval and audible notification for
device error conditions here.
Appearance Tab
Set up a 3D image view and the appearance of this
utility here.
8Help Button The Help button displays the help window.
Ref.
No. Name and Icon Description

KM-NET for Clients 9
3.2. Settings
When operating KM-NET for Clients, you can change settings for polling interval,
audible (error) notification, whether you want to use the 3D virtual printing system to
monitor the printing system status, etc.
1Click SETUP on the main screen. The KM-NET for Clients dialog box
appears.
2Configure the settings for status polling and appearance.
Status Polling Tab
Polling
When Polling is activated (check box checked), KM-NET for Clients logs itself
onto the printing system and automatically recognizes printing system changes at
predetermined intervals. The interval can be configured by moving the slider with
the mouse. The default setting is 5 seconds. Polling should normally be left
activated (check box checked).
Audible Notification
When Audible notification is activated (check box checked), a sound is played
when an error occurs. Specify the wave file (.wav file extension) by clicking the
Browse button and browsing for the folder that contains it.
Questo manuale è adatto per i seguenti modelli
1
Indice
Manuali Software popolari di altre marche


PS Audio
PS Audio PowerPlay Manuale del proprietario

Brady
Brady LOCKOUT PRO 3.0 Manuale di servizio

Avaya
Avaya Interaction Center Manuale utente

Texas Instruments
Texas Instruments TI-83 Plus Silver Edition Manuale

Novell
Novell GROUPWISE 8 - INTERNET AGENT Manuale utente

Oracle
Oracle Application 9i Manuale utente

Acer
Acer RDM Manuale utente

Canon
Canon Vixia HF21 Manuale utente

Canon
Canon ZR950 Manuale utente

Samsung
Samsung Auto Backup Manuale utente

Polycom
Polycom Vortex EF2201 Istruzioni per l'installazione e il funzionamento

Brocade Communications Systems
Brocade Communications Systems Brocade 8/12c Manuale utente