Melink ML1SMC20-1080P Manuale utente

Instruction Manual
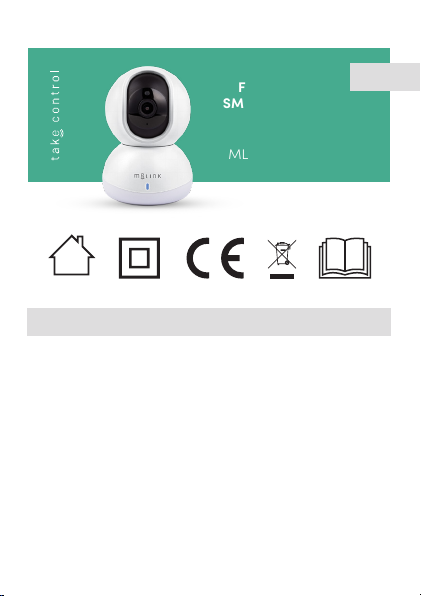
FULL HD WI-FI SMART IP CAMERA
tak
control

2
Take control! Manage your home through the MELINK
application, remotely, from anywhere, at any time. With
one touch in the app or by the selected voice command -
you can control all intelligent MELINK devices at the same
time, including sockets and power strips, cameras, bulbs,
LED strips and others. Customize your own scenes and
automation, group devices in separate rooms, and look
after the house in your absence. MELINK - control and
security at your fingertips.
Przejmij Kontrolę! Zarządzaj domem z pozycji aplikacji
MELINK, zdalnie, z dowolnego miejsca, w dowolnym
czasie. Za jednym dotknięciem w aplikacji lub przez
wybraną komendę głosową - możesz sterować wszyst-
kimi inteligentnymi urządzeniami MELINK jednocześnie,
w tym gniazdami i listwami zasilającymi, kamerami,
żarówkami, taśmami LED oraz innymi. Dostosuj własne
sceny i automatyzacje, grupuj urządzenia w pomieszcze-
niach, doglądaj dom pod Twoją nieobecność. MELINK –
kontorola i bezpieczeństwo na wyciągnięcie ręki.
Assuma o controle! Faça a gestão da sua casa através
do aplicativo MELINK, remotamente, de qualquer lugar,
a qualquer momento. Com um toque na aplicação ou
pelo comando de voz selecionado - pode controlar todos
os dispositivos inteligentes MELINK ao mesmo tempo,
incluindo tomadas e filtros de linha, câmeras, lâmpadas,
LEDs e outros. Personalize as suas cenas e a automação,
agrupe dispositivos em salas separadas e cuide da casa
na sua ausência. MELINK - controle e segurança na ponta
dos dedos.
3
EN
1 Intended use .........................................................................4
2 Technical data .....................................................................4
3 Important safety rules........................................................5
4 Explanation of symbols......................................................7
5 Device components ............................................................8
6 Contents of the package..................................................10
7 Use...........................................................................................10
8 Cleaning and care..............................................................14
9 Repair ....................................................................................14
10 Storage and transport ......................................................14
11 Disposal.................................................................................15
12 CE Declaration of Conformity.........................................16
13 Warranty................................................................................17
TABLE OF CONTENT
FULL HD WI-FI
SMART IP CAMERA
Model:
ML1SMC20-1080P
power
adapter
4
1 Intended use
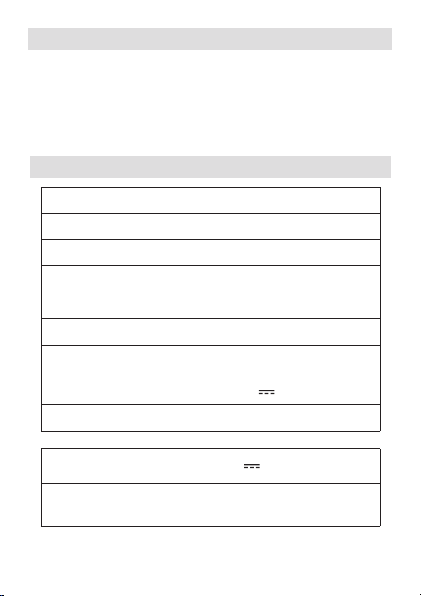
2 Technical data
This camera is intended for monitoring. This device is
intended for private indoor use only and may not be
used for professional purposes. Following the instruc-
tions contained in this manual will ensure safe opera-
tion of the device.
Model ML1SMC20-1080P
Video quality 1080p
Compression H.265
Wireless IEEE
standards:
Wi-Fi 2.4GHz (802.11
b/g/n)
Power adapter: XH005W050100EUCU
Input:
Output:
100-240 V~,
50/60 Hz, 0.2A
5.0 V , 1.0A
Power: 5.0W
Camera power supply: 5V , 1A
Security mechanism: WPA/WPA2/AES128/
TLS1.2

5
3 Important safety rules
1. Read the entire instruction manual before you
start using the device.
2. Do not use the device for any purpose other
than its intended use.
3. Operate the device carefully.
4. The device is intended for indoor use only.
5. The device is not a toy. Children must not play
with the device.
6. The power adapter should be connected only
to an AC network socket. The parameters of
the socket power should comply with the
parameters stated on the power adapter rat-
ing plate and in this instruction manual.
7. Connect the camera only to the included
power adapter.
8. The device can become hot. Do not cover the
device with anything. The device should have
unimpeded access to the surrounding air.
9. Warning! During cleaning or operation, never
immerse the device in water or other liquids.
Danger of electrocution!
Sensor: CMOS 1/4’’ 2 Mpi
SD memory card: up to 32 GB (not
included)

6
10. Do not touch the electric device if it has fallen
into water or becomes flooded. Immediately
disconnect the electric power from the socket to
which the device is connected and unplug the
power adapter.
11. Do not touch the device with wet hands.
12. Protect the device against penetration by water
or other liquids.
13. Protect the device against penetration by dry
materials.
14. Protect the device against vibration and shock
during transport.
15. Regularly check the power adapter and the USB
cable for damage. If the power adapter is dam-
aged, it must be replaced by the manufacturer,
an authorized service centre or a qualified indi-
vidual, so as to avoid hazards.
16. Do not insert any items into the openings on the
device.
17. Prior to cleaning the device, switch it o and dis-
connect it from the power source.
18. Do not clean the product using strong cleaning
agents, solvents etc.
19. Retain the instruction manual and the packag-
ing, if possible.
20. If the device is passed on to another user, it must
be accompanied by this manual.
7
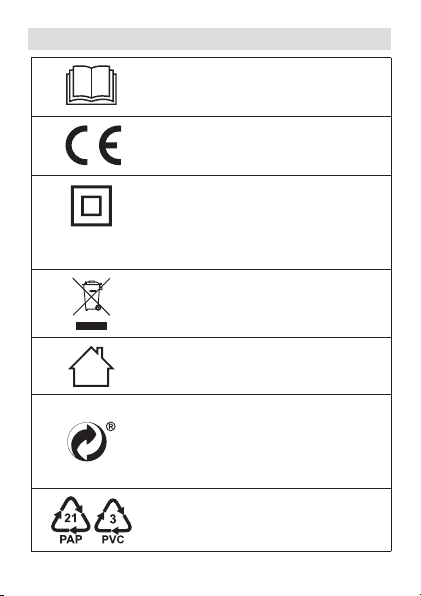
4 Explanation of symbols
Read this instruction manual.
The product complies with the
applicable directives of the
European Union.
power
adapter
Power adapter protection class II:
Protection against electric shock
is ensured by adequate insulation
(double or enhanced), the failure of
which is very unlikely.
Instructions for the disposal of
electric and electronic devices: see
the DISPOSAL section.
The device is intended for indoor
use only.
Symbol indicating that the
manufacturer has contributed
financially to the construction and
operation of a packaging material
recovery and recycling system.
Designation of the packaging
material – cardboard, PVC.

8
5 Device components
1 Light sensor
2 Camera lens
3 Microphone
4 Micro SD card slot
5 RESET Button
6 Indicator light
7 USB / micro USB cable
8 USB plug
9 Micro USB plug
10 Power adapter
11 Micro USB port
12 Power adapter plug
13 Screws, wall plugs
14 Wall bracket

9
1
2
3
4
6
511
8
9
10
7
12 13
14
10
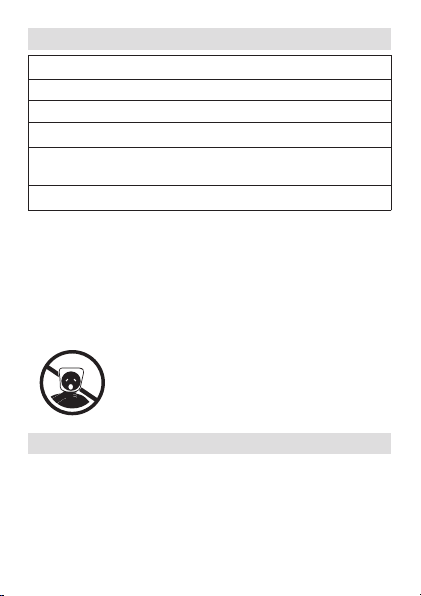
6 Contents of the package
Quantity Element
1 Camera
1 Power adapter
1USB cable
1Mounting set (wall bracket, screws, wall
plugs)
1Instruction manual
Open the packaging and carefully take the device out.
Make sure that the kit is complete and that its com-
ponents are undamaged. Check that plastic parts are
not broken and the power cord is not damaged. If any
part is damaged or missing, contact the dealer and do
not use the device. Retain the packaging or dispose of
it in accordance with local regulations.
Caution! For the sake of children’s safety,
do not leave any packaging materials
accessible and unattended (plastic
bags, cardboard boxes, Styrofoam etc.).
Risk of suocation!
7 Use
Device connection
1. Insert the micro USB plug into the micro USB
port on the back of the camera base.
2. Insert the USB plug into the USB port in the
power adapter.
Indice
Lingue:


