Table of contents
GETTING STARTED.............................................................................................................................................................................1
PACKING CHECKLIST ..............................................................................................................................................................................1
VIEWS OF PROJECTORPARTS.................................................................................................................................................................2
Front-right view.................................................................................................................................................................................2
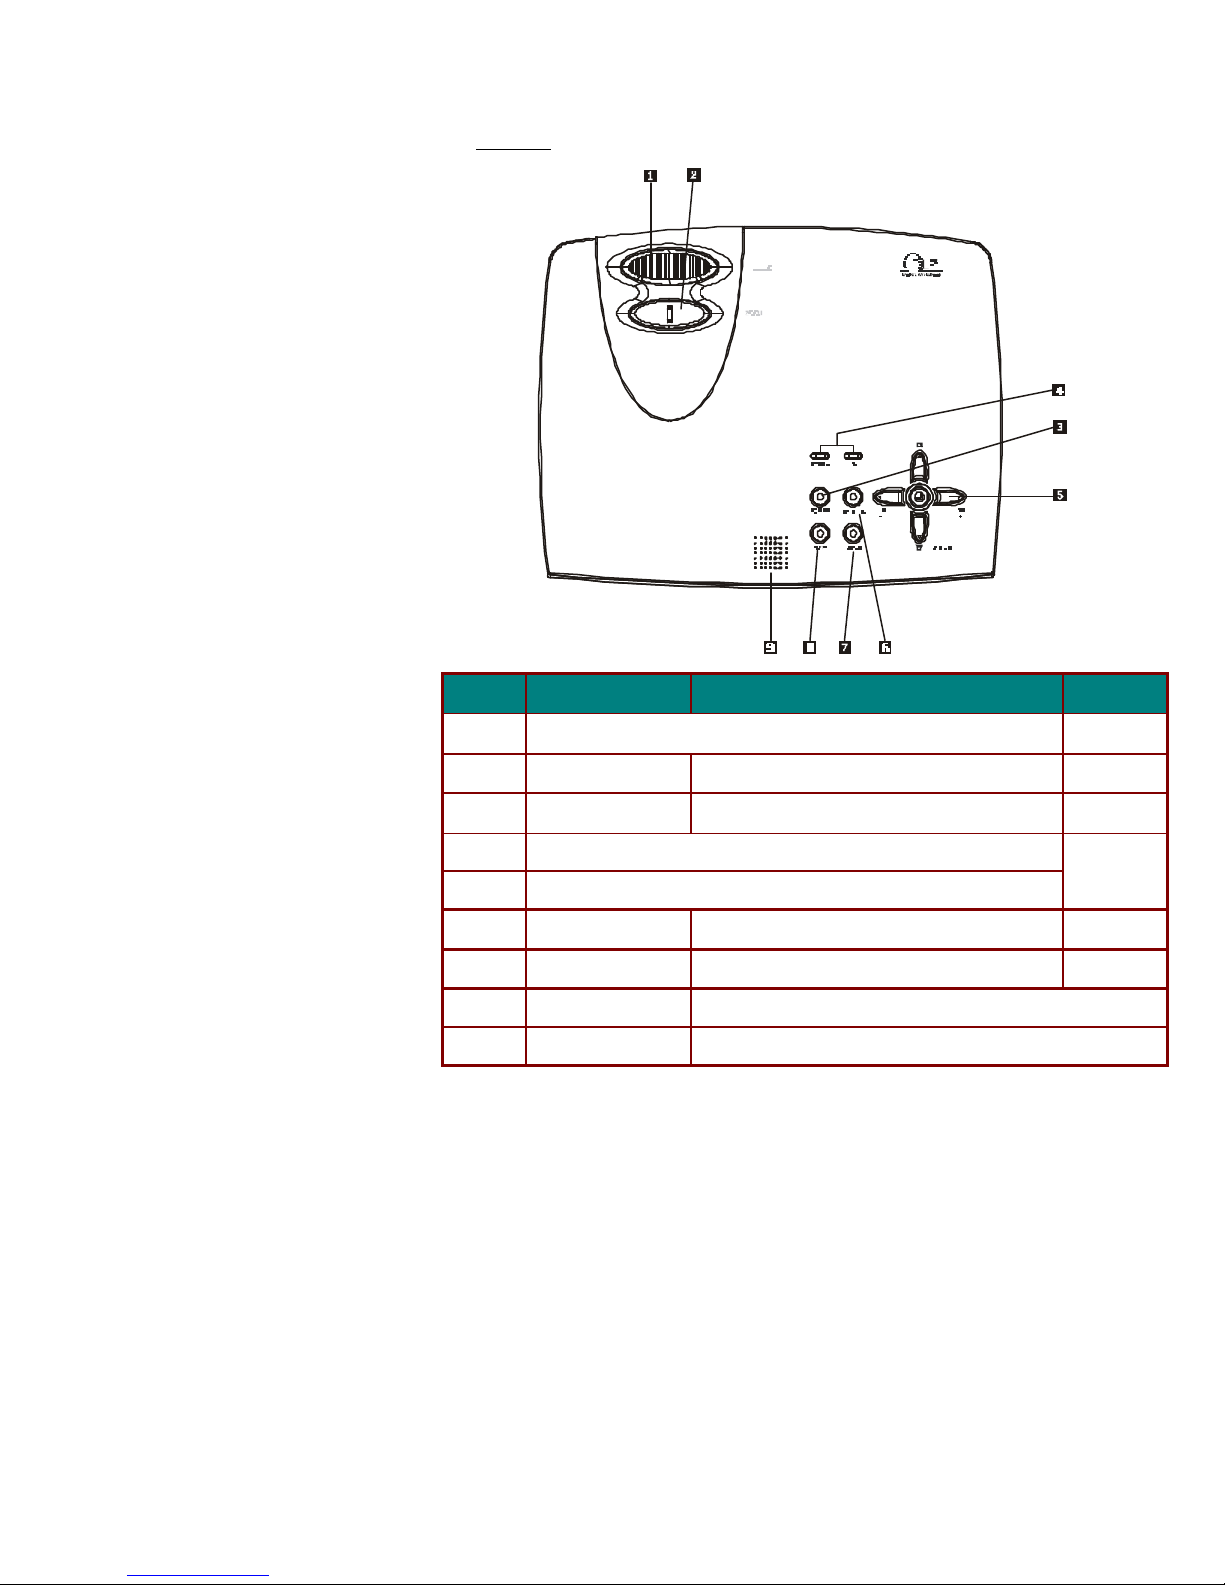
Top view...............................................................................................................................................................................................3
Top view—OSD buttons and LEDs.................................................................................................................................................4
Connectors view.................................................................................................................................................................................5
Bottom view.........................................................................................................................................................................................6
REMOTE CONTROL PARTS
......................................................................................................................................................................7
REMOTE CONTROL OPERATING RANGE...............................................................................................................................................9
PROJECTOR AND REMOTE CONTROL BUTTONS..................................................................................................................................9
SETUP AND OPERATION.................................................................................................................................................................10
INSERTING THE REMOTE CONTROL BATTERY...................................................................................................................................10
CONNECTING INPUT DEVICES..............................................................................................................................................................11
STARTING AND SHUTTING DOWN THE PROJECTOR...........................................................................................................................12
ADJUSTING THEPROJECTOR LEVEL....................................................................................................................................................13
ADJUST THE ZOOM,FOCUS AND KEYSTONE.....................................................................................................................................14
ADJUSTING THE VOLUME.....................................................................................................................................................................15
ON -SCREEN DISPLAY MENUSETTINGS.................................................................................................................................16
ON-SCREENDISPLAY MENU CONTROLS...........................................................................................................................................16
Navigating the OSD.........................................................................................................................................................................16
Setting the OSD Language .............................................................................................................................................................17
Main Menu........................................................................................................................................................................................18
Setup Menu........................................................................................................................................................................................19
Config Menu......................................................................................................................................................................................20
Utility Menu......................................................................................................................................................................................21
Language Menu................................................................................................................................................................................22
Status Menu.......................................................................................................................................................................................23
MAINTENANCE AND SECURITY .................................................................................................................................................24
REPLACING THE PROJECTION LAMP...................................................................................................................................................24
Resetting the Lamp...........................................................................................................................................................................26
CLEANING THE PROJECTOR..................................................................................................................................................................27
Cleaning the Lens.............................................................................................................................................................................27
Cleaning the Case............................................................................................................................................................................28
USING THEKENSINGTON LOCK...........................................................................................................................................................28
TROUBLESHOOTING........................................................................................................................................................................29
COMMON PROBLEMS AND SOLUTIONS................................................................................................................................................29
TIPS FOR TROUBLESHOOTING..............................................................................................................................................................29
LED ERROR MESSAGES.......................................................................................................................................................................30
IMAGE PROBLEMS..................................................................................................................................................................................30
LAMP
PROBLEMS...................................................................................................................................................................................31
REMOTE CONTROL PROBLEMS............................................................................................................................................................31
AUDIOPROBLEMS.................................................................................................................................................................................31
HAVING THE PROJECTOR SERVICED...................................................................................................................................................31
SPECIFICATIONS................................................................................................................................................................................33
SPECIFICATIONS.....................................................................................................................................................................................33
Input/output connectors..................................................................................................................................................................34
PROJECTION DISTANCE V.S. PROJECTION SIZE ................................................................................................................................35
TIMING CHARTS.....................................................................................................................................................................................36
DIMENSIONS...........................................................................................................................................................................................37
REGULATORY COMPLIANCE......................................................................................................................................................38
FCCWARNING......................................................................................................................................................................................38
CANADA ..................................................................................................................................................................................................38
SAFETYCERTIFICATIONS.....................................................................................................................................................................38
EN 55022WARNING.............................................................................................................................................................................38