Mitsumi USB FDD Manuale utente

Mitsumi USB FDD

INSTALLATION MANUAL
1. Product Outline
This product is USB 3.5 inch external Floppy Disk Drive for USB equipped Macintosh
and Windows PCs.
This Drive is USB I/F and is able to connect and disconnect at any time.
This Drive is designed to be bus-powered and does not require any outside power
supply.
With Macintosh "PC Exchange" enabled, Windows (DOS) formatted floppy disk can be
used with your Macintosh PC.
2. Installation: Macintosh
You must install the device driver and restart your Macintosh before connecting your
MITSUMI USB Floppy drive. By connecting your MITSUMI USB Floppy drive after
restarting your Macintosh, you will be able to use the drive.
Insert the attached CD into your CD-ROM drive. A CD-ROM icon will appear on your
display. Double-click the CD-ROM icon, then double-click the "Mitsumi USB FD DRIVER"
icon. Installation will begin.
1. Double-click the “Mitsumi USB FD DRIVER” icon. The following message will appear.
“Easy Install” is selected as a default.

2. Select “Easy Install” or “Custom Install”.
With the “Easy install”, only the “Mitsumi USB FD Driver 1.0.2” will be installed.
Click the "Install" button and the installation will begin.
3. "Custom Install" will install the file of your choice. With “Custom Install,” you can select
“Mitsumi USB FD Driver 1.0.2” or “USB Floppy Enabler 2.1.1”. After selecting the
installation file, click the “Install” button. This will start the installation.
*Use “USB Floppy Enabler” only for Copy Protected Software. If not, click off “USB Floppy
Enabler.”

4. When the installation is complete, the following message will appear on your screen.
To restart your PC immediately, click the "Restart" button.
To restart your PC later, click the "Quit" button.
**Information
* Our USB FDD does not support Flash Path.
3. Installation: Windows 98 / Windows 98 Second Edition
(Do not need to install the Device Driver for Windows ME and 2000)
Turn on your computer and start Windows.
Insert the attached CD to your CD-ROM drive. Connect your MITSUMI USB Floppy drive
to your computer. "MITSUMI USB FDD" will be detected as a new device. Install the
device driver according to the following instructions.
1. After the MITSUMI USB FDD is detected, "New device detected. Search for needed
software" message will appear on the screen. After a few seconds, "Add New
Hardware Wizard" will start and "MITSUMI USB FDD Search screen” will appear.
Click on the "Next>" button.

2. When the following message appears on the screen, select "Search for the best driver
for your device" and click the "Next>" button.
3. When the following message appears on the screen, select "CD-ROM drive" and click
the "Next>" button.
* Remove all other check marks other than “CD-ROM drive.”

4. When the following message appears on the screen, click the "Next>" button. The
program will start installing the driver.
* In the following example, the location of the drive is D.
5. When the installation of the device driver is complete, the following message will
appear on the screen. Click the “Finish” button.

6. "New device detected. Search for needed software" message will appear on the screen
again. After a few seconds, "Add New Hardware Wizard" will start and "MITSUMI USB
FDD search screen" will appear. Click the "Next >" button.
7. When the following message appears on the screen, select "Search for the best driver
for your device" and click the "Next >" button.

8. When the following message appears on the screen, select "CD-ROM" and click the
"Next >" button.
* Remove all other check marks other than “CD-ROM drive.”
9. When the following message appears on the screen, click the "Next>" button.
* In the following example, the location of the drive is D.

10. When installation of the device driver is complete, the following message will appear
on the screen. Click the "Finish" button.
11. Installation of the device driver is complete. Please check by using [My computer] or
[Explorer] whether "3.5 inch FDD" has been added to your PC. Assigned drive is
different according to your system.
4. Uninstalling the device driver
1. About the program
This program is in the Uninst directory of the attached CD. This program is used to
uninstall the device driver installed in Windows 98 or Windows 98 Second Edition. This
program cannot be used for Windows Millennium Edition or Windows 2000.
In the following example, the location of the CD-ROM drive is D.

2. How to uninstall the device driver
You must do the following procedures before uninstalling the device driver.
1) Please close all application.
2) Please do not connect the USB FDD. If the drive is connected, remove the USB FDD
from the USB terminal.
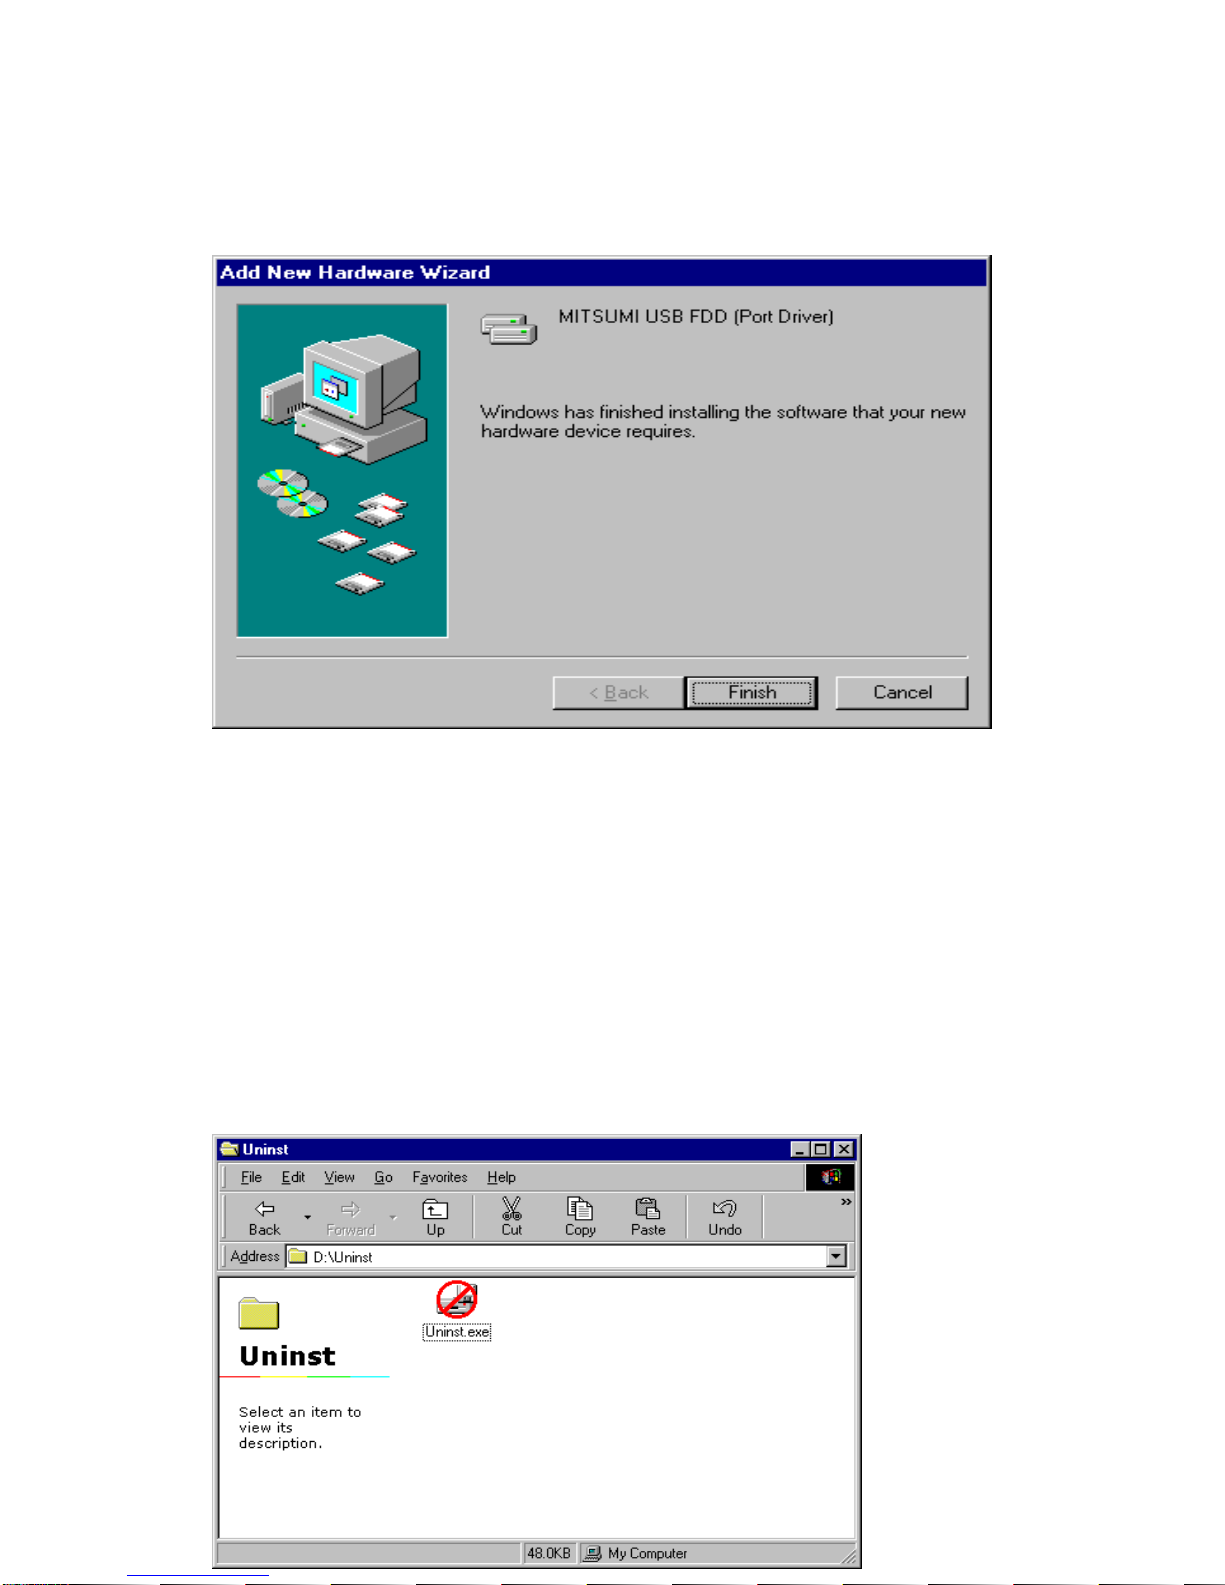
Insert the attached CD into the CD-ROM drive. After the CD is recognized, move to the
Uninst directory in Explorer or My Computer, and uninstall the device driver according to
the following instruction.
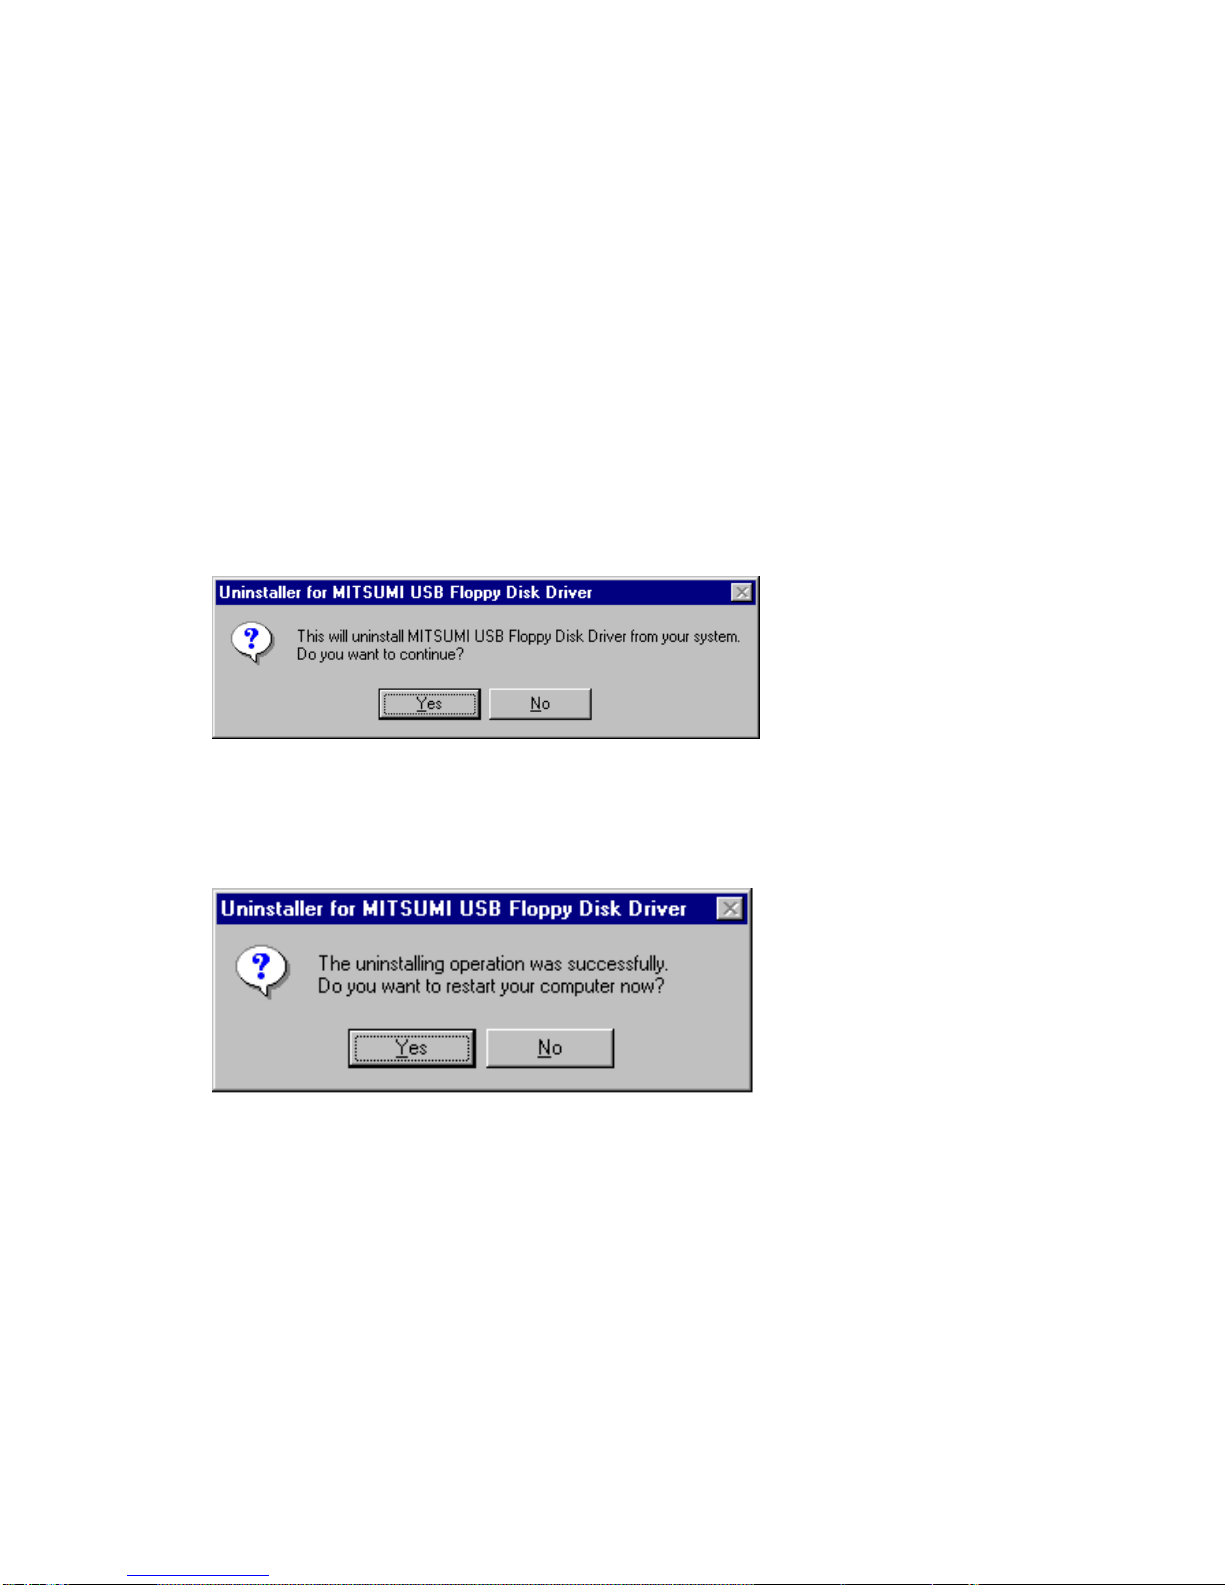
1) Double-click the “Uninst.exe.” The following message will appear.
Click "Yes" to continue the deletion process.
If you choose "No," the device driver will not be uninstalled and the program will close.
2) When the device driver is uninstalled, the following message will appear.
Click "Yes" to restart your computer.
We recommend you restart your computer here. Especially, if you uninstalled the device
driver to update to a later version.
You have successfully uninstalled the device driver.
Indice


