R/Evolution Galaxy 70/70 Manuale utente

1
Content
I. Reference..............................................................4
1.1 General Features...................................................4
1.2 Accessories.............................................................4
2.2 Rear Panel..............................................................5
2.3 Remote Control Unit (RCU)................................. 6
III. STB....................................................................... 7
Ⅳ. Installation......................................................... 7
4.1 Antenna Setting......................................................7
4.2 USALS Setup......................................................... 8
4.3 Factory Default.......................................................8
V. Edit Channels.....................................................9
5.1 Edit Channels......................................................... 9
5.2 Edit Favorites....................................................... 10
5.3 Sort Channels.......................................................10
5.4 Delete Satellite Channels...................................10
5.6 User channel list.................................................. 12
VI.System Setting................................................ 13
6.1 System.................................................................. 13
6.2 OSD....................................................................... 14
6.3 Parental control....................................................15

2
6.4 Timer Adjust....................................................... 16
6.4.1. Time Setup............................................. 16
6.4.2 Event Timer..............................................17
6.4.3 Sleep Timer..............................................17
6.5 About STB........................................................... 18
VII.USB Control.....................................................18
7.1 USB Menu......................................................... 18
7.2 USB Manage........................................................ 19
VIII.Network Setting.............................................20
8.1 Network Setting................................................... 20
8.1.1 IP Setting.................................................... 21
8.1.2 SMB Menu.................................................. 21
8.1.3 3G Setup.....................................................21
8.2 Network Application...................................... 22
IX. Basic Operation..............................................
9.1 RECALL................................................................
9.2 SAT........................................................................
9.3 EPG.......................................................................
9.4 FAV........................................................................ 23
9.5 Audio......................................................................23
9.6 Zoom..................................................................... 23
22
22
22
22

3
9.7 INFO...................................................................... 23
9.8 Subtitle.................................................................. 23
9.9 Teletext..................................................................
9.10 MULTIPIC...........................................................
9.11 Recording........................................................... 24
9.12 Timeshift............................................................. 24
23
23

4
I. Reference
1.1 General Features
DVB-S/DVB-S2 Satellite Compliant (MPEG-II/ MPEG-IV/ H.264)
SCPC & MCPC receivable from Ku and C band satellites
Universal, Single, Single S & C Band Wideband LNB
Sensitive Tuner with Loop-Through
DiSEqC1.0/1.1/1.2/1.3 (USALS)
Blind search supported
Auto DiSEqC Search
PAL/NTSC Conversion
True full Color (32 bits) on screen display (OSD)
8 favorite group and parental lock supported
Multi-language menu supported
Multi-language audio supported
Multi-language DVB Subtitle output
7 days Electronic Program Guide (EPG)
Teletext output through VBI and OSD
Multi-Picture supported
1.2 Accessories
Users manual
Remote Control Unit
Batteries
HDMI Cable

5
II. Product Overview
2.1 Front Panel
1. POWER Switch between operation and standby modes.
2. POWER LED Power Indicator.
3. SIGNAL LED Signal Indicator.
4. DISPLAY
It displays channel number. In standby mode it displays local time.
2.2 Rear Panel
1.TUNER Connect the satellite antenna cable.
2.USB2.0 Two USB2.0 host port
2.LAN
3.DV-OUT Connect to the TV using an HDMI cable.
4.AUDIO/ VIDEO Connect to the TV using an RCA cable.
5.COAXIAL Digital Audio output.
6. RS232 Connect to the computer using serial line.
7.LAN The port of ethernet
8.ON/OFF Power on/off.
2.3 Remote Control Unit (RCU)
1. POWER: Switch between operation and standby modes.
2. MUTE: Mute audio.
3. AUDIO: Display the audio list.

6
4. PAUSE: Freeze the picture.
5. ZOOM: Picture zooming function.
6. INFO : Display the programme information.
7.:Back Backward .
8. :Fast Forward.
9. I I: Play/Pause/time shift.
10. ■/USB: Stop the Music or Movie and Enter USB
menu.
11. I:Previous.
12. I: Next.
13.●:Record.
14. A-B:Jump bookmark
115. Recall: Show the previous viewed channels list.
Or switch to theprevious viewed channel.
16. TEXT: Display the teletext.A-B
17. SUBTITLE: Display the subtitle language list.
18. USB:Enter storage device
19. MENU: Activate main menu or exit to live channel.
20. EXIT: Exit current menu step by step.
21. OK: Confirm the selected operation or display the
channel list while watching a prog-ramme.
22. LEFT/RIGHT VOL+/- : Change volume in viewing mode.
23. EPG: Electronic Program Guide
24. FAV: Display favorite channel list you set before.
25. Find: Search you want to show
26. SAT: Show the scanned satellite list
27. F1: Accessorial function.
28. F2: Accessorial function.
29. Page+/-: Change program list from one page to another page.
30. NUMERIC KEY (0~9): Enter a TV/radio channel number,
31. MULTIPIC: Multi picture display
32. TV/R: Switch between TV and RADIO.

7
III. STB
You should installation the receiver when powering on your product for the first
time after purchase.
Note: The default password is 0000.
Main menu
Press the MENU button to enter the main menu.
Ⅳ. Installation
Press the OK button to enter into the installation menu.
4.1 Antenna Setting
Antenna Setting allows you to configure the antenna setting parameters.
1. Satellite: Select the satellite which you want to setup.
2. Transponder: press OK button into TP list then press CH+/CH- button to

8
change the TP, then press CH+/CH- button to Add/Delete/Edit TP.
3. Motor Mode: Press the VOL+/VOL- button to select motor mode(DiSEqC
1.2 or USALS) input.
4. LNB Freq: Press the VOL+/- button to change the LNB frequency.
5. DiSEqC Type: It used to set DiSEqC1.0 port ,press the VOL+/VOL- button
to select the required .
6. DiSEqC 1.1: Press the VOL+/VOL- button to select the required
DiSEqC1.1 input.
7. Network search:Press VOL+/VOL- button to select the Network search
Yes/No.
8. 22KHz: It used to control the 22 KHz switch
9. LNB Power: Select the required LNB power.
4.2 USALS Setup
If you set the Motor Mode to USALS, you need set the longitude and the
latitude in USALS Setup.
Setup by Country: Press the RED button, you can choose the country, press
OK button to select.
4.3 Factory Default
You can restore the product to the factory default and you can also setup it
according to the wizard.
Note: Please note that once you perform All, all data and settings will be

9
Highlight the option you want and press the OK button to execute it.
1. All: All data and settings will be deleted.
2. Channels List only: All channels data will be deleted.
3. Radio Channel only: All radio channels data will be deleted.
4. Scramble Channels only : All scramble channels data will be deleted.
V. Edit Channels
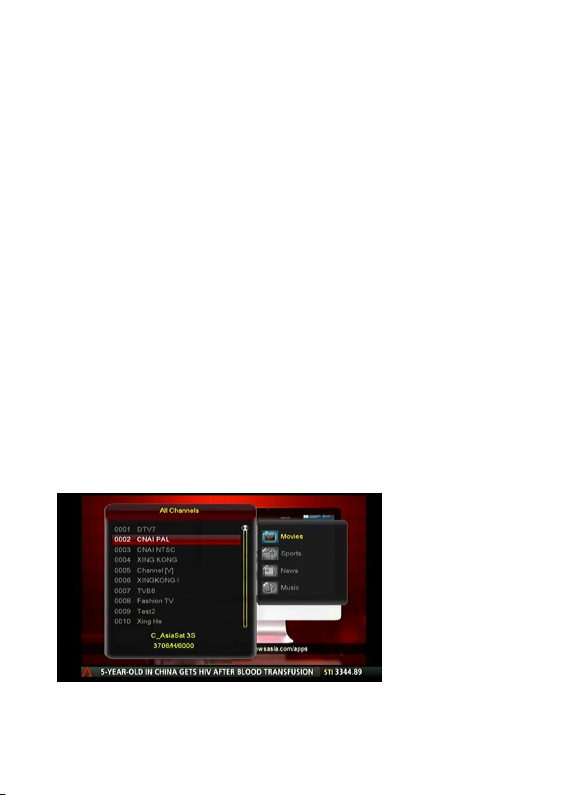
5.1 Edit Channels
Menu-> Edit Channel ->Edit Channels
Edit Channels enables you to delete, rename, move lock/unlock or hide the
channels in the channel list.
10
1. Delete Channels: Press the RED button, and press the EXIT button, here,
select Yes will delete the chosen channels.
2. Move Channels: Press the BLUE button, and press the OK button to
select the channel. Press the CH+/- button or press the NUMERIC(0-9) buttons
to the destination in the channel list and press the OK button. Move Group
Channels:Press the BLUE button two times to sign the channel, and press the
CH+/- to highlight the second channel you want to group move. Press the
BLUE button to sign the channel. Press the CH+/- button to the destination in
the channel list and press the OK button.
3. Lock and Unlock Channels: Press the GREEN button input the password
to lock the channel.
Note: If the highlighted channel is locked, press the GREEN button is
switched into Unlock.
4. Rename Channels: Press the YELLOW button to enter a channel name
directly using the keyboard displayed on the screen. Press the RED button to
complete.
5.2 Edit Favorites
Press the colorful button to add the Favorite channel you want to set up ,then
press the Vol+/Vol- button can change the types
Indice
Altri manuali R/Evolution Ricevitore


