4
Instruction Manual
For Canon Printers
IP3000, IP4000, IP5000, MP760, MP780, I860 & I865 -100ml Series
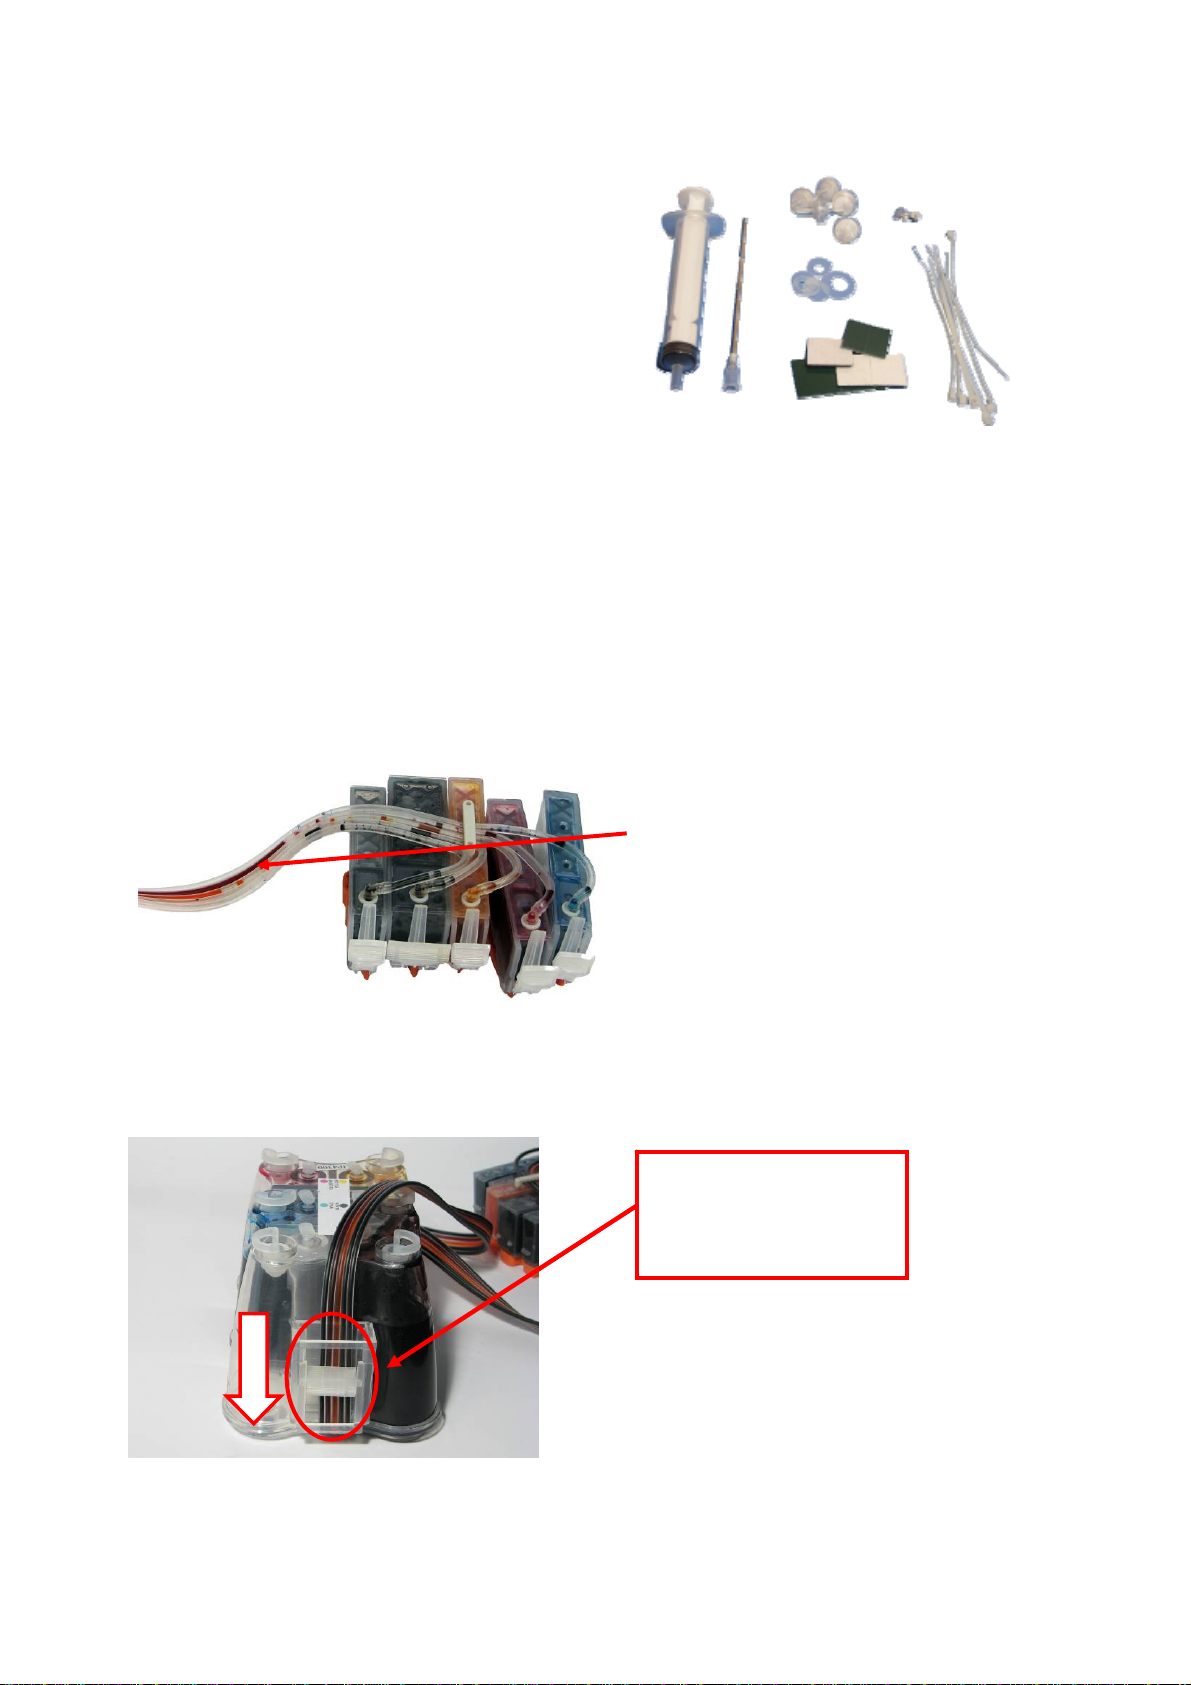
Congratulations on your purchase of a RIHAC Continuous Ink Supply System (CISS).
Before using the system please read this manual carefully. It will help you install the
system correctly and ensure trouble free printing.
Great care is taken to prepare your CISS for trouble free installation. Your CISS has
been primed (Australian customers only) and should be ready for immediate
installation into your printer.
Please be aware that some of the pictures in this manual may not represent the
printer you are working with. Throughout the installation process please feel free to
contact us or refer to our website- www.rihac.com.au for any troubleshooting and
frequently asked questions. If you are installing this unit into an MP760 or MP780 you
will require an additional instruction sheet with specific details for those printers.
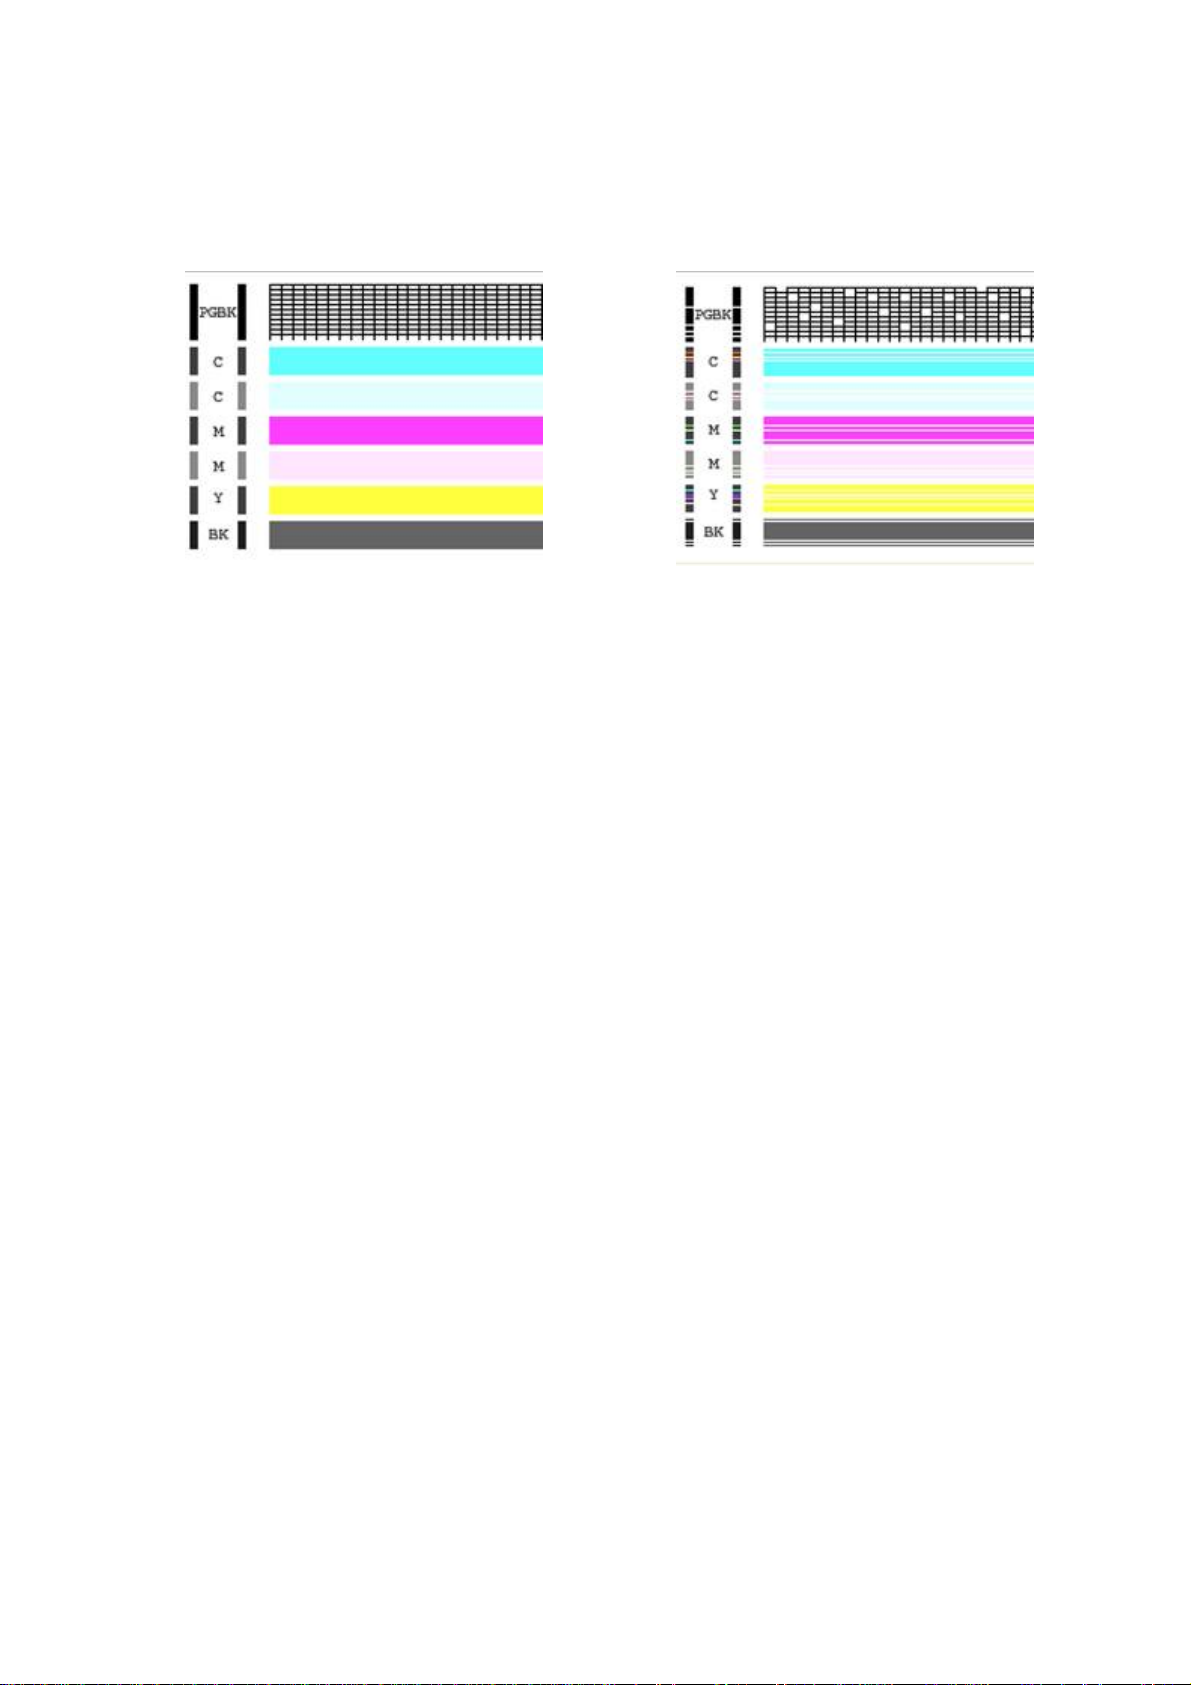
1) Printer pre-check.
Before opening your CISS, please perform the following print tests to ensure your
printer heads are in good condition.
a) Perform a printer head clean.
For Windows XP users, this is done by accessing your printer properties
through the start menu on the bottom left of your screen and choosing the
control panel. Select the printers and faxes option and locate your printer.
Right click your mouse button on the printer icon and choose Properties from
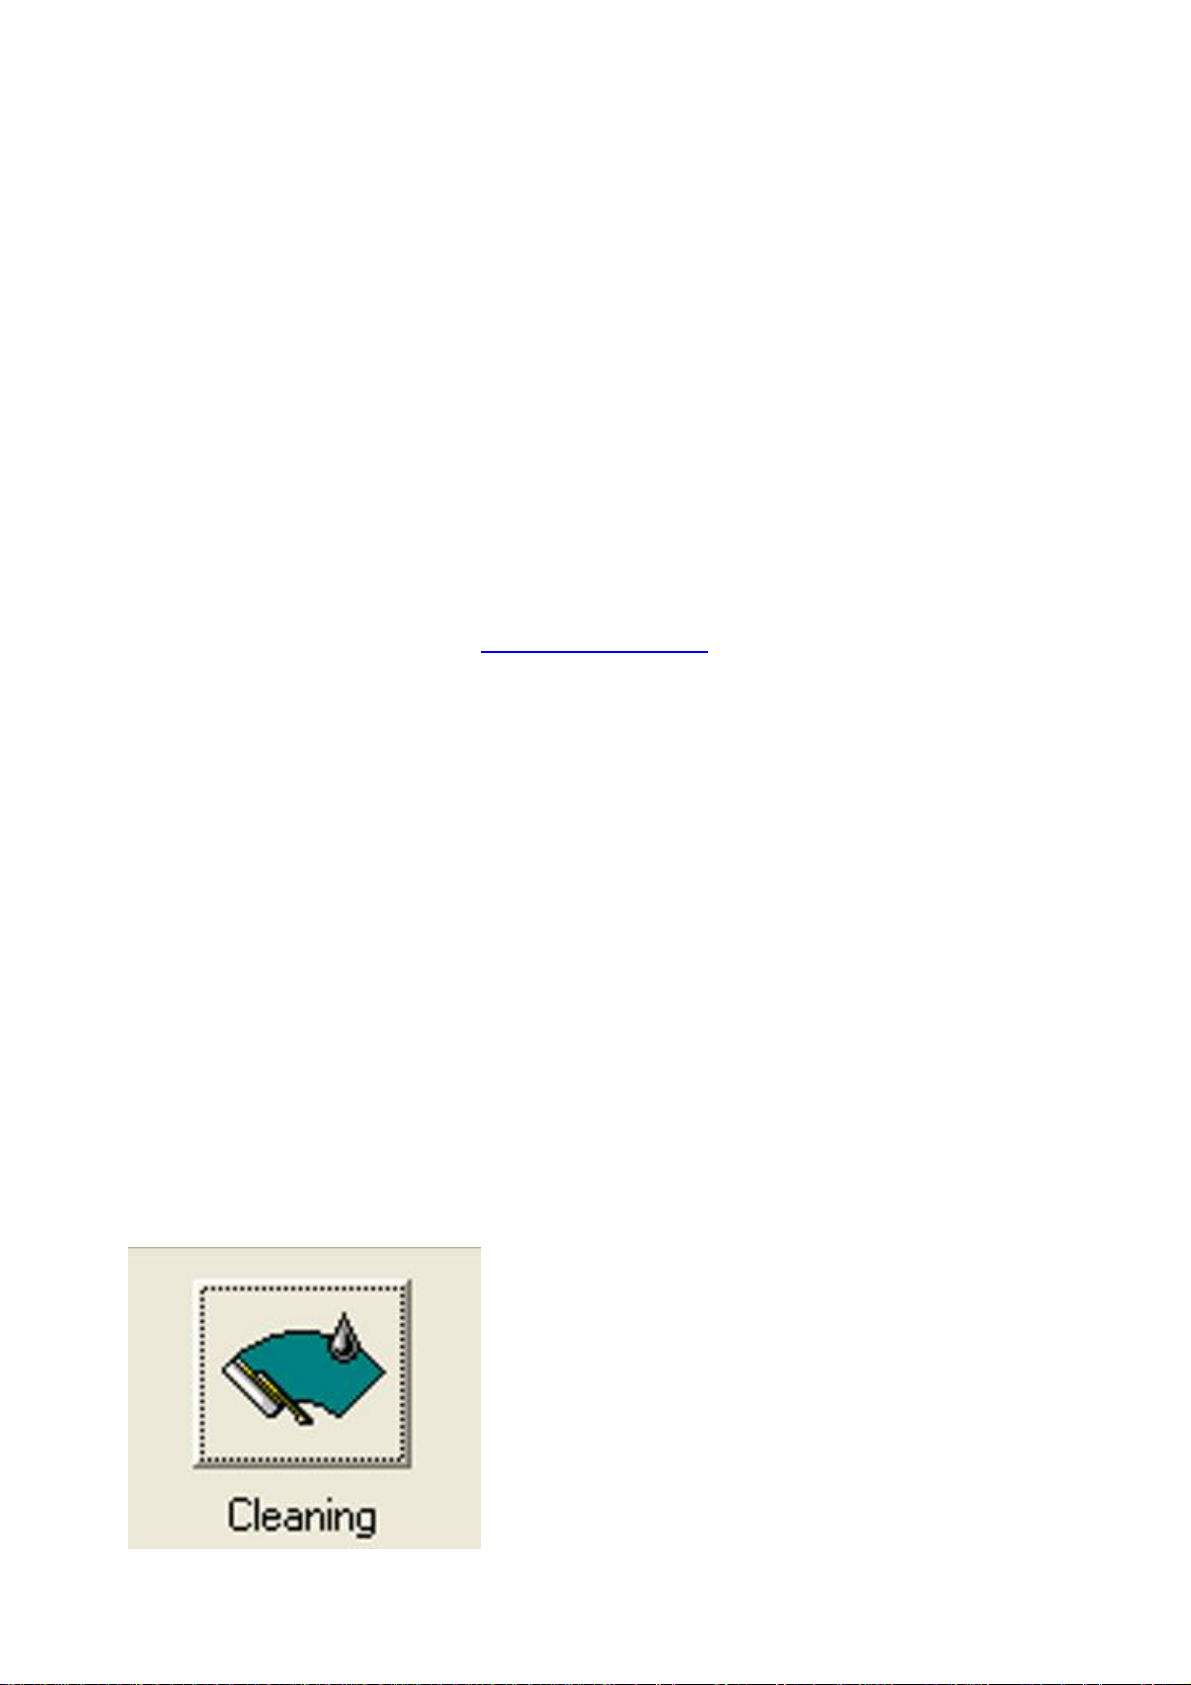
the menu. Select the Maintenance tab. Click on the cleaning icon which will be
similar to the one pictured below. Choose to perform a head clean on All
Colours and then execute the clean.