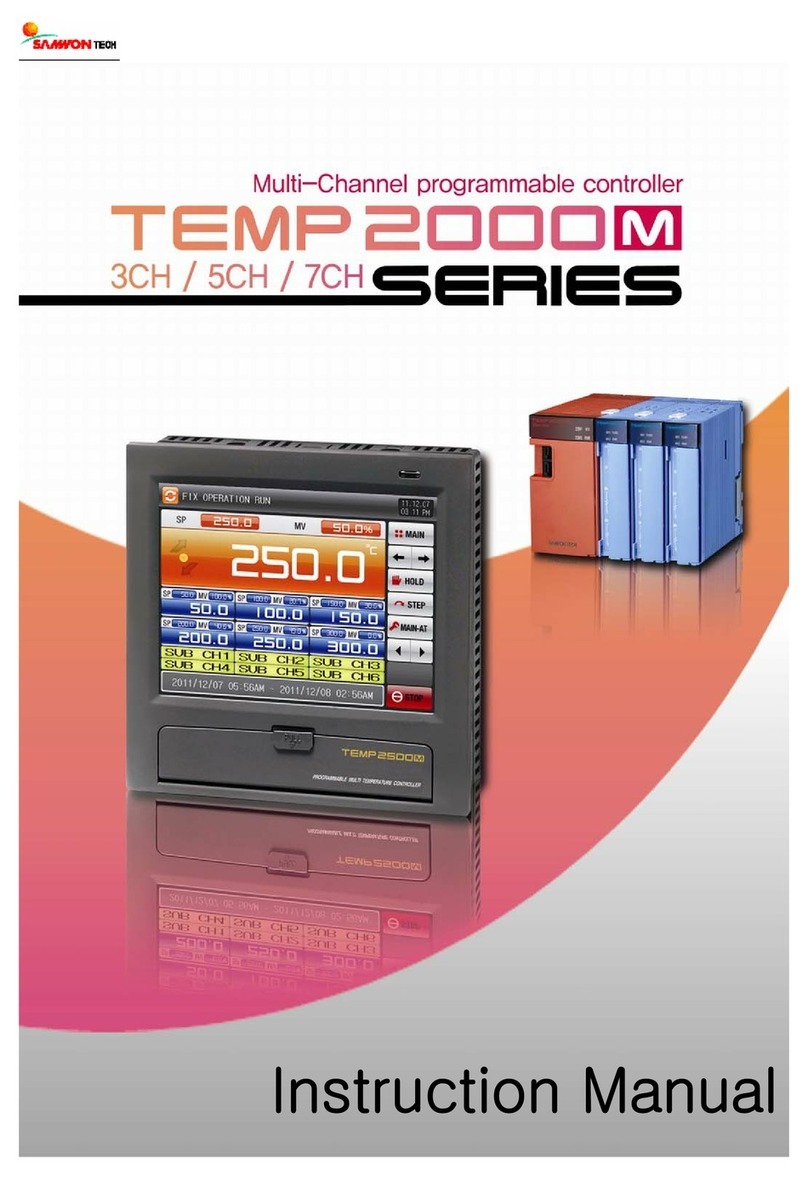
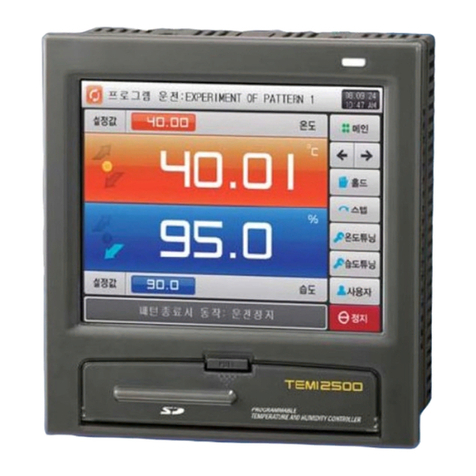
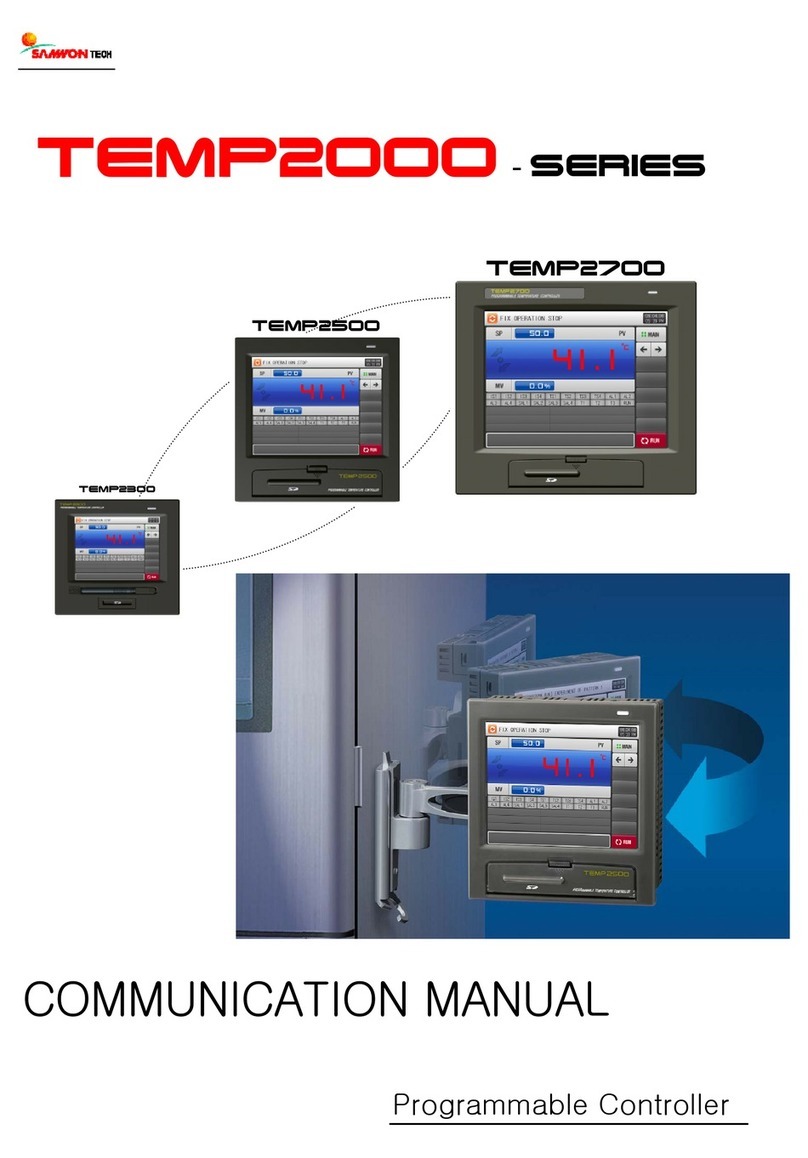
Samwontech Nova Series Manuale utente

Instruction Maunal

Contents
1. Safety Guide 3
2. Control Keys and Display 5
5. Setting Up Parameter in each Group
6
5.1 Input Group(G.IN) 9
5.2 Output Group(G.OUT) 13
5.5 PID Group(G.PID) 21
5.6 Auto Tuning Group(G.AT) 25
5.7 Alarm Group(G.ALM) 27
5.8 Retransmission Group(G.RET) 30
5.9 Communication Group(G.COM) 31
3. Parameter Map
9
6. Display Error and Correction 33
7. Installation 34
7.1 Dimension and Panel Cutout
7.2 How to install Mount 39
7.3 Power Cable Specification 40
7.4 Terminal Specification 40
7.5 Terminal Arrangement and External Wiring 41
34
4. Flow of Operating Display 8
5.3 Control Group(G.CTL) 16
5.4 SP Group(G.SP) 19

7.7 Analog Input Connection
7.8 Analog Output Connection 47
7.9 External Contact Output Connection(RELAY) 48
7.10 External Contact Input Connection(DI) 48
7.11 Use an Auxiliary Relay 48
7.12 Communication Wiring(RS485) 49
46
Attach. Table of D-Register 50
7.6 Grounding and Power Cable Connection 46
Table 1 : Type of Input Sensor 9
Table 2 : DI Operation 16
Table 3 : Type of Alarm 28
Fig 2 : Example of Piece Bias Formula 11
Fig 3 : Example of Control Output (CT = 10 sec) 14
Fig 4 : Reserve Function of Running 16
Fig 5 : Overshoot Suppressing by Fuzzy Function 21
Fig 6 : Ex. Both Heat and Cool is under PID Control 23
Fig 7 : Ex. Heat = ON/OFF, Cool = PID Control 23
Fig 8 : Ex. Heat = PID, Cool = ON/OFF 24
Fig 9 : AUTO TUNING 25
Fig 10 : AT GAIN 26
Fig 11 : Alarm Operation 28
Fig 1 : Example of Piece Bias 11

(1) This Manual should be passed on the end User and keep a suitable place for operator to
study and check the function of the product.
(2) Operator should carefully study, understand how to operate this product before
(3) This manual is describing the functions of the product. We, Samwontech, does not warrant
that the functions will suit a particular purpose.
(4) Under absolutely no circumstance may the contents of this manual in part or in whole be
transcribed or copied without permission.
(5) All contents of this manual has been made to ensure accuracy in the preparation, However,
should any errors or omissions come to the attention of the user, feel free to contact our
sales representatives or our sales office
(1) In order to protect this product and the system controlled by it against damage and ensure
its safe use, make certain that all of the safety instructions and precautions in this manual
are strictly adhered to.
(2) We, Samwontech, are not guarantee safety if the products are not handled according to
this instruction manuals
(3) If separate protection or safety circuits are to be installed for this product or the system
which is controlled by this product, ensure that such circuits are installed external to the
product.
(4) Don’t try to make modifications or additions internal to the product. It may becomes
electric shock, burn or out of order.
(5) In case of replacement parts or consumables of the product, must call to our sales office.
(6) Protect this product from moisture. It may becomes out of order.
(7) Protect any kind of shock and vibration to the product. It may becomes product defects
and out of order
(1) Samwontech co. Ltd does not make any warranties regarding the product except Warranty
conditions those mentioned in this manual.
(2) We assumes no liability to any party for any loss or damage, direct or indirect, caused by
the use or any unpredictable defect of the product.
The following safety symbols are used in this manual
(A) If this symbol is marked on the product, the operator must investigate the explanation given in this
manual to protect injury or death to personnel or damage to instrument.
(1) For Production : it should be marked when operator must refer the explanation in the
manual to avoid loss of life or damage to instrument.
(2) For Instruction Manual : it marks to avoid operator’s loss of life and injury that may result
comes from Electric Shock.
(B) Functional earth terminal Equipment protected by double or reinforced insulation
It marks the terminal must be connected to Ground prior to operating the equipment.
(C) It marks additional Information on the operation and features of the product.
(D) It marks for further information on the current topic and pages

(1) Be sure to operate the controller installed on a panel to prevent electric shock.
(2) To install the controller, do select a location where;
■ No one may accidentally touch terminal.
■ Mechanical vibrations are minimal.
■ No corrosive gas is prevent.
■ Temperature fluctuation is minimal.
■ Temperature can be maintained. (50 ℃ below / 10 ℃ over)
■ No direct heat radiation is present.
■ No magnetic disturbances are caused
■ No water is splashed.
■ No flammable materials are around.
■ No wind blows. (prevent Dust with salt)
■ No ultraviolet rays are present.
■ Pollution Degree 2
■ Installation Category II
■ Do not block openings
■ If the equipment is used in a manner not specified by the manufacturer,
the protection provided by the equipment may be impaired.
■ A switch or circuit-breaker acting as the disconnect device shall be included in the
application or the building installation
■ Keep the input circuit wiring as far as possible away from power and ground circuit.
■ Keep the controllers in 10℃ ~ 50℃/ 20 % ~ 90 % RH,
Warming up needed to use controller when temperature is below 10℃ in advance.
■ Do not mount front panel facing downward.
■ To prevent electric shock, be sure to turn off and the source circuit breaker before wiring.
■ The power consumptions are 100-240VAC, 50/60Hz, 10VAmax and operate without power
switching in advance.
■ No work in wet hands ( it caused electric shock)
■ Follow operation by precaution in the manual to avoid fire, electric shock, loss of life etc.
■ Requested to follow mounting and operation methods just indicated in this manual.
■ Refer the way of grounding connection, however, keep away for grounding to Gas pipe,
water pipe, lightening rod etc.
■ Be sure not to power connection before finishing of wiring between each contact point.
■ Not close and wrapping the heat hole in back case of controller.
(1) The guaranteed period of the production quality assurance is (1) one year after end user
buy it and it will be free to fix defected product under regular usage described
by this manual.
(2) It will be charged to fix defected product after warranty period. This charge will announced
by our actual cost to be calculated during the fixing time.
(3) It will be charging even if within warranty period as following events.
(3.1) Defect by operator and user’s default.(forget password, production initialize)
(3.2) Natural disaster.(fire, water flow etc)
(3.3) Additional shift after 1st installed.
(3.4) Improperly repaired, or altered, modified in anyway.
(3.5) Power failure in unstable power condition.
(4) Feel free to contact our sales office whenever it need to make A/S.

LED Contents
SP2,3,4
EV1,2,3
OUT
MAN
- Lights on during SP operation.
- Lights on during EVENT occurs.(such as signal occur for alarm)
- Lights on when Control Output occur.
- Lights on when Manual Mode operates.
Or, LED blinking during AUTO-TUNING process.
⊙ Control Keys
⊙ LED Display
KEY Contents
- Used in switching between parameters or registering parameter settings.
- Pressing SET/ENT Key at least 3 sec. switches between an operating display
and an operating parameter setting display
- Used to change the value of parameters.
- Used to move between GROUP and change SP value.
- Used when shifting position to modify value.
▲/▼
(UP/DOWN)
◀ (SHIFT)
SET/ENT
(ENTER)

* : When I=0, When H/C, all time indicate
: OPTION
** : When type of OUT2, 3 is Heat or Cool
*** : Option display for ST570, ST540
**** : No Option in ST540
: H/C Type
AT
AT-G
A
ARW
FUZY
PID
1.P
1.I
1.D
1.MR
1.RP
2.P
2.I
2.D
2.MR
PID=1 PID=2
**
▲▼
S-TM
P-TM
A/M
U.PWD
US1
US2
LOCK
DI.SL
OSTS
PWD
G.PID G.CTL
DSP.H
R-S
SPSL
SP1
SP2
SP3
SP4
SPRH
TMU
U.SLP
D.SLP
G.SP
G.AT
1.Pc
1.Ic
1.Dc
1.DB
2.Pc
2.Ic
2.Dc
2.DB
DSP.L
INIT
▲▼
▼
SPRL
▲▼
SET/ENT SET/ENT SET/ENT SET/ENT
ONOF
3.P
3.I
3.D
3.MR
RHY
4.P
4.I
4.D
4.MR
PID=3 PID=4
**
3.Pc
3.Ic
3.Dc
3.DB
4.Pc
4.Ic
4.Dc
4.DB
2.RP RDV
C.MOD

OUT1
OUT2 HEAT
OUT3
▲▼
HEAT
SUB1
SUB2
O.ACT
CT
OH
OL
PO
G.OUT
ALT1
AL-1
A1DB
ALT2
▲▼
G.ALM
RET
RETH
RETL
▲▼
G.RET
COM.P
BAUD
PRTY
▲▼
SBIT
DLEN
ADDR
RP.TM
G.COM
AL-2
A2DB
ALT3
AL-3
AL3.H
▼
A
COOL
COOL
**
POc
HYS
CTc
A1DY
A2DY
AL3.L
***
****
**
SET/ENT SET/ENT SET/ENT SET/ENT
IN-T
IN-U
IN.RH
IN.RL
G.IN
IN.DP
IN.SH
IN.SL
IN.FL
BSL
RSL
BSP1
BSP2
BSP3
BS0
BS1
BS2
BS3
BS4
SET/ENT
HYS.H
HYS.L
*****
*****
A3DB
A3DY
AL2.H
AL2.L
AL1.H
AL1.L
D.FL
O.LED
RBS

ENT
ENT
ENT
▼
When setting the controller,
parameter G.IN and G.Out
should be setting up prior to
any others
US1,US2 can be setting up
by Operator for modifying
parameters and set up in
G.CTL refer to Table of
D-Register as attached
in this manual
ENT
H.OUT Value
……
▼ or ▲
(*note 1: Display ‘STOP’ when operates stopping.)
- it can be able to change SP Value when STOP operates)
(*note 2: Operation Display-1 : Initial display after power on ; can set SP value.)
(*note 3: Operation Display-2 : Output Control Display.)
(*note 4: Heating Output Display in H/C type.)
(*note 5: Cooling Output Display in H/C type.)
(*note 6: When User Screen-1 is registered.)
(*note 7: When User Screen-2 is registered.)

5.1 Input Group(G.IN)
Press SET/ENT Key to select input group after press ▲ or ▼ Key in Menu
display. (Refer to parameter Map in chapter 3.)
The parameter to select type of temperature sensor and its initial setting is
type TC,K1.
Refer to following ‘Table of Input Sensor’ and select No shown in Table 1.
Change setting up parameters should be done for the first stage because it is
suspended initializing parameters in other group around.
G.AT ↔ G.SP ↔ G.PID ↔ PWD ↔ G.CTL ↔
↑ ↕
G.COM ↔ G.RET ↔ G.ALM ↔ G.OUT
▲▼ ▲▼ ▲▼
▲▼ ▲▼
▼
▲▼
▲▼
▲▼
▲▼
No.
1
2
3
4
5
6
7
8
9
10
11
12
13
15
16
17
18
19
20
21
22
23
24
TYPE
K1
K2
J
E
T
R
B
S
L
N
U
W
Platinel Ⅱ
PtA
PtB
PtC
JPtA
JPtB
0.4∼2.0V
1∼5V
0∼10V
-10∼20mV
0∼100mV
Temp.Range(℃)
-200∼1370
-199.9∼999.9
-199.9∼999.9
-199.9∼999.9
-199.9∼400.0
0∼1700
0∼1800
0∼1700
-199.9∼900.0
-200∼1300
-199.9∼400.0
0∼2300
0∼1390
-199.9∼850.0
-199.9∼500.0
-19.99∼99.99
-150.0∼150.0
-199.9∼500.0
Temp.Range(°F)
-300∼2500
0∼2300
-300∼2300
-300∼1800
-300∼750
32∼3100
32∼3300
32∼3100
-300∼1600
-300∼2400
-300∼750
32∼4200
32∼2500
-300∼1560
-199.9∼999.9
-4.0∼212.0
-199.9∼999.9
-199.9∼300.0
0.400∼2.000V
1∼5V
0∼10V
-10∼20mV
0∼100mV
Group
T/C
RTD
DCV
mV
DISP
TC.K1
TC.K2
TC.J
TC.E
TC.T
TC.R
TC.B
TC.S
TC.L
TC.N
TC.U
TC.W
TC.PL
PTA
PTB
PTC
JPTA
JPTB
2V
5V
10V
20M
100M
14 C0~2320 32∼4200 TC.C
Questo manuale è adatto per i seguenti modelli
5
Indice
Altri manuali Samwontech Controllori

Samwontech
Samwontech TEMP2020 series Manuale utente

Samwontech
Samwontech NOVA541 Manuale utente

Samwontech
Samwontech TEMP2020M Series Guida rapida

Samwontech
Samwontech TEMI770 Manuale utente

Samwontech
Samwontech TEMP2000 Series Manuale per l'uso e la cura

Samwontech
Samwontech TEMP1000 Series Manuale per l'uso e la cura

Samwontech
Samwontech TEMI1000 Series Manuale utente

Samwontech
Samwontech TEMI 300 Manuale utente

Samwontech
Samwontech TEMI2000 Series Manuale utente

Samwontech
Samwontech Temp 2000 M Manuale utente