SUNSTONE SUNCHDZ28 Manuale utente

Read all instructions before you operate your grill.
Save these instructions!
For Residential Outdoor Use Only
To installer or person assembling grill: Leave this manual with grill for future reference.
To consumer: Keep this manual for future reference.
www.sunstonmetalproducts.com
28" Dual Zone 304 Stainless Steel
Charcoal Grill
Item No. SUNCHDZ28

Page 2
Welcome & Congratulations
Congratulations on your purchase of a new grill! We are very proud of our product and we are completely
committed to providing you with the best service possible. Your satisfaction is our #1 priority. Please read
this manual carefully to understand all the instructions about how to install, operate and maintain for
optimum performance and longevity. We know you’ll enjoy your new grill and thank you for choosing our
product. We hope you consider us for future purchases.
How to Obtain Service
Before you call
Have your read through this product manual?
Please make sure you have the following information:
Model Number | Date of Purchase
For warranty service, contact SUNSTONE Customer Service Department at (888)-934-9449 or email
service@texasbbqwholesalers.com, we will response back within 24 hours.
.
1. Cut black plastic straps and lift grill from pallet (WARNING: Grill is very heavy, you will need
help), and position grill near your island where the grill is being installed.
2. Remove the green straps from around the grill box carton.
3. Remove the plastic wrap that protects the grill.
4. Raise hood and unpack all parts
5. Cut plastic ties that hold the warming rack, side shelves and spit rod.
6. Remove warming rack at the back of grill by lifting up and sliding out.
7. Reposition the warming rack at the back of the grill
Unpacking and Assembly
Your grill arrives nearly ready to use and requires little assembly. Carefully follow these steps, unpack
the grill, removing all packing material and protective film.
Must keep copy of your sales slip for proof of purchase.
YOU’RE NAME_________________________________ DATE OF PURCHASE _______________________
ADDRESS_______________________________________________________________________________
MODEL NO_____________________________
COMPANY THAT YOU PURCHASED FROM ________________________________________________

Page 3
INDEX DIRECTORY
Installation / Assembly
Grill Safety-----------------------------
4
Island Safety --------------------------
-
6
Prevailing Wind----------------------
--------
7
Positioning-----------------------------
8
Locating Grill--------------------------
-
9
Cooking Zones------------------------
-
11
Grill Start-up & Safety Checks
Pre-Grilling Guide -------------------
--------
12
Building your Fire -------------------
--------
13
Lighting the Grill
Charcoal Grill Starters --------------
-------------
14
Lighter Fluid Starting ---------------
------------
15
Electric Starter -----------------------
----
16
Chimney Starter ---------------------
------
17
Using Your Grill
Types of Cooking---------------------
------
18
Optional Components
Rotisserie Installation --------------
-------
21
Grill Specifications
28” Dimensions ----------------------
-----
22
28” Parts Diagram ------------------
------
23
28” Parts List -------------------------
-----
24
Care & Maintenance
Rust-Brown Marks ------------------
---------
25
Annual Cleaning----------------------
27
27
Troubleshooting
Question & Answer -----------
-----------------
29
Product Warranty
Warranty -------------------------
--
31
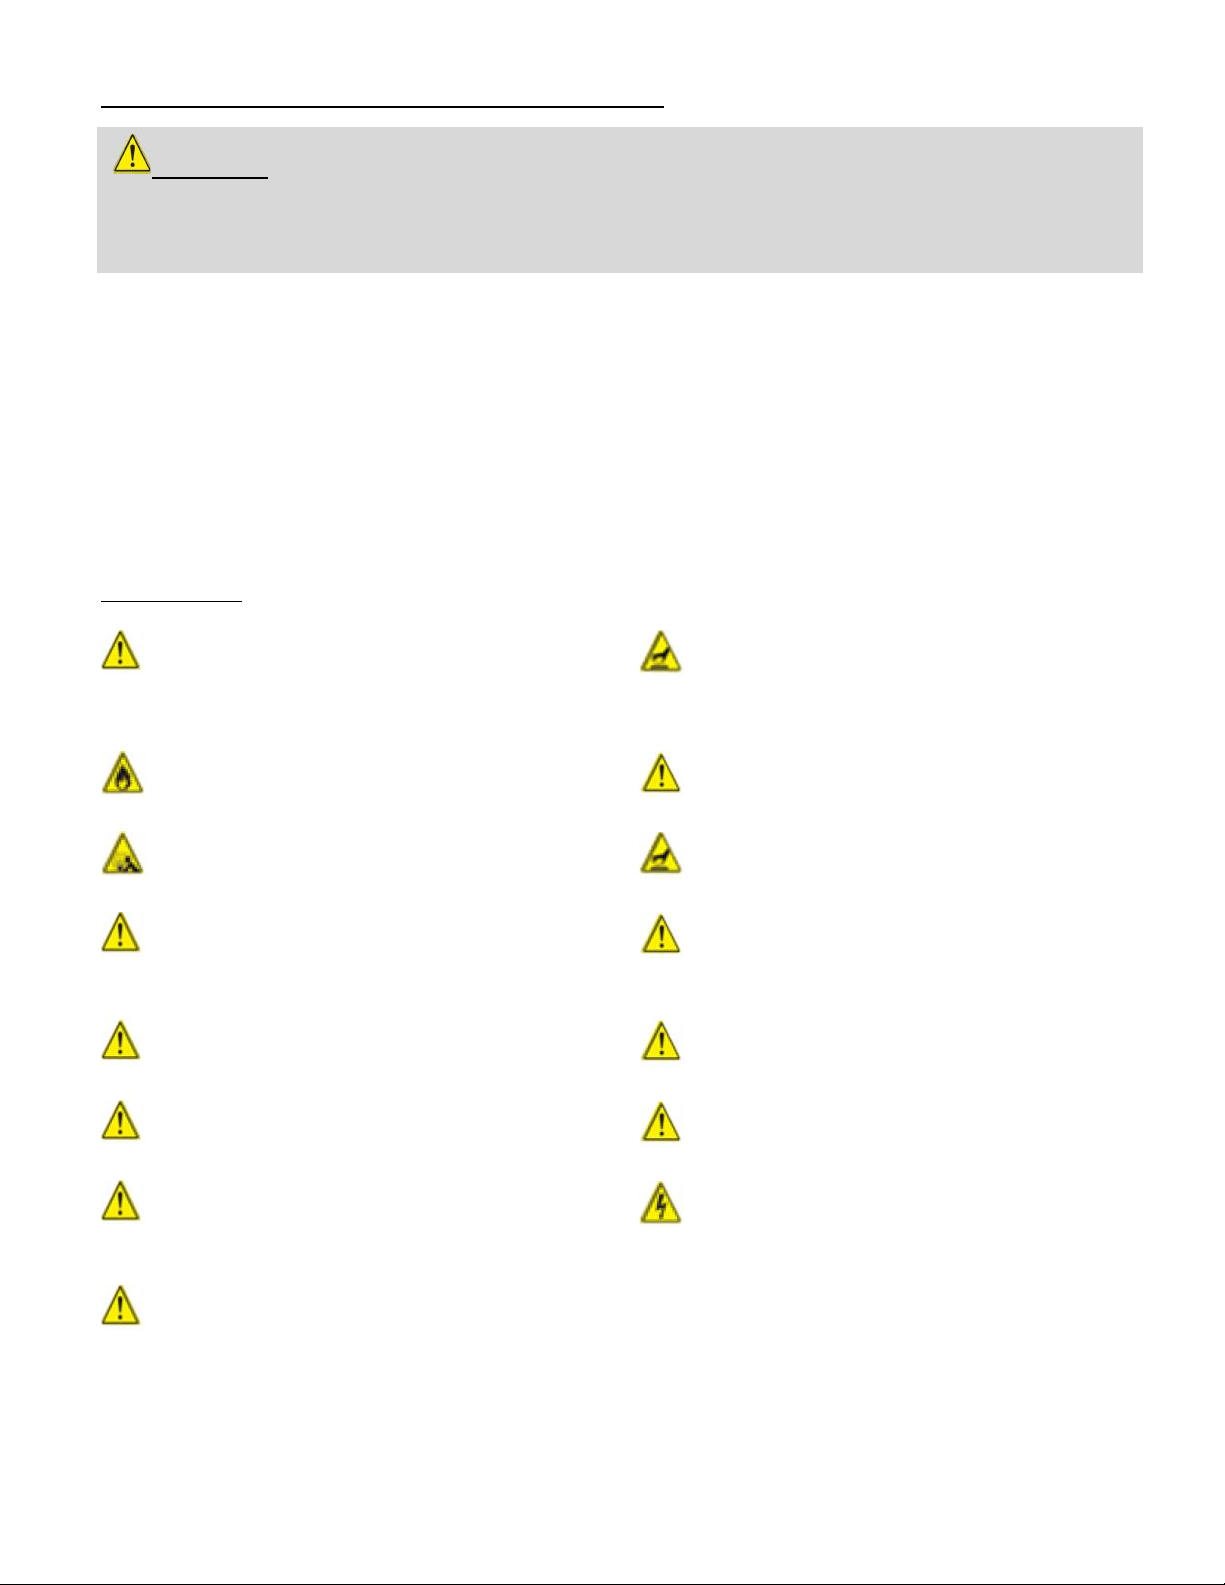
ATTENTION: Indicates a potentially hazardous
situation which, if not avoided, may result in minor or
moderate personal injury, or property damage.
WARNING: Indicates an imminently hazardous
situation which, if not avoided, will result in death or
serious injury.
EXPLOSION: Indicates an imminently hazardous
situation which, if not avoided, will result in possible
explosion and cause death or serious injury.
BODILY INJURY: Indicates a potentially hazardous
situation which, if not avoided, may result in minor or
moderate personal injury, or property damage.
HOT SURFACE: Indicates an imminently hazardous
hot surface which, if not avoided, will result in serious
burn or injury.
OPEN FLAME: Indicates an imminently hazardous
situation which, if not avoided, will result in death or
serious injury.
28-29
30
Page 4
INSTALLATION AND ASSEMBLY - Grill Safety
Safety Tips
There are several ways to get the charcoal ready to use. Charcoal chimney starters allow you to start the
charcoal using newspaper as a fuel. If you use a starter fluid, use only charcoal starter fluid. Never add
charcoal fluid or any other flammable liquids to the fire. Keep charcoal fluid out of reach of children and
away from heat sources. There are also electric charcoal starters, which do not use fire. Be sure to use an
extension cord for outdoor use. When you are finished grilling, let the coals completely cool before
disposing in a metal container.
WARNINGS:
Do not add charcoal starter fluid or charcoal
impregnated with charcoal lighter fluid to hot
or warm coals. Cap starter fluid after using and
place a safe distance away from the oven.
Barbecue mitts or hot pads should always be
used to protect hands while barbecuing,
opening the fire door, or adjusting the dual
draft vents.
Do not use gasoline, alcohol, or other highly
volatile fluids to ignite charcoal.
Use proper barbecue tools with long, heat
resistant handles.
Do not leave infants, children, or pets
unattended near a hot oven.
Never touch the cooking or charcoal grates, or
the oven, to see if they are hot.
Do not remove ashes until all coals are
completely burned out and are fully
extinguished.
Burning charcoal inside can kill you. It gives off
carbon monoxide, which has no odor. NEVER burn
charcoal inside homes, vehicles, or tents
.
Do not wear clothing with loose flowing
sleeves while lighting or using the oven.
To extinguish coals, close the hood, fire door,
and dual draft vents. Do not use water.
Do not use this charcoal grill in high
winds.
To control flare ups, if necessary, close the hood
and, the fire door and dual draft vents.
Do not store combustible materials (charcoal,
Firelighters, etc.) in the storage area under the
ash pan while using the oven.
Handle and store hot electric starters carefully.
Keep electrical cords away from the hot
surfaces of the oven
Open the lid of the oven while lighting and
getting the coals started.
ATTENTION: Sunstone™ safety instructions are located on the front control panel face panel.
Always read all instructions and warnings before proceeding, or serious safety hazards can occur. Read
all instructions in this manual and front face of grill control panel before use. We recommend that a
licensed contractor install your Sunstone™ grill.

Page 5
INSTALLATION AND ASSEMBLY - Island Safety
ATTENTION:Improper installation, adjustment, alteration, service or maintenance can cause injury
or property damage. Read the installation, operating and maintenance instructions thoroughly before
installing or servicing this equipment.
Placement and Location
•Never locate this island in an enclosed room, under any sealed overhead structure, or any type of
enclosed area such as a garage, shed, or breezeway, and keep clear of trees and shrubs.
•Do not build or place island under or near windows or vents that can be opened into your home.
•Maintain sufficient distance as to not overheat any overhead combustible material such as a patio
cover.
•The area surrounding your island should be kept clean and free from flammable liquids and other
combustible materials such as mops, rags or brooms, as well as solvents, cleaning fluids, and
gasoline.
•Do not use the island cabinet for storage of flammable or plastic items.
•Do not store the liquid propane (LP) cylinder in the vicinity of the grill or other appliance when it is
not being used.
•Do not block any island vent in such a way that will cause ventilation issue. Fresh air must be able to
pass through installed vents to safeguard against residual gas accumulation.
WARNING: Either for Modular or Built-in island installation, you MUST install proper air ventilation
at the upper side and lower side of island face wall, if adequate air ventilation is not installed, risk of fire,
injury or explosion may result.
For Built-in Installations
Outdoor Kitchen Island should be built with NON-Combustible applications, including masonry stone or
brick. Never build deck below grill; grill is supported by counter edge. It is recommended that the
enclosure have several ventilation holes or vents to prevent gas build-up in the event of a leak. (See Fig.
A-page 7) The deck ledges and counter should be flat and level in reference to the floor. If your grill is
equipped with a rotisserie or lights, electrical service should be provided. GFCI electrical plugs are
required for outdoor use. If your grill is equipped with a rotisserie, a minimum of 24" (609.6mm) of
clearance is needed on each side of the grill for the motor and skewer.
For Modular Installations
Outdoor Kitchen Island should be built with Non-Combustible applications, including Steel Welded
Frame, or Steel Stud Frame finished with Cement Board. For modular installations, a moisture barrier is
recommended, using pressure treated composite board under base of island. Interior should be lined
with ABS plastic liner as additional protection. No deck below grill is required; grill is supported by
counter edge. It is recommended that the enclosure have several ventilation holes or vents to prevent
gas build-up in the event of a leak. (See Fig. A-page 7) The deck ledges and counter should be flat and
level in reference to the floor. If your grill is equipped with a rotisserie or lights, electrical service should
be provided. GFCI electrical plugs are required for outdoor use. If your grill is equipped with a rotisserie, a
minimum of 24" (609.6mm) of clearance is needed on each side of the grill for the motor and skewer.

Page 6
INSTALLATION AND ASSEMBLY - Island Safety
ATTENTION: Upper and lower air vents (20 sq. in. minimum each) MUST BE PROVIDED on both sides
of built-in construction. The height from upper air vent to top surface of island is 5", and the height from
lower air vent to the bottom is 5”.
Island units must have vents cut into the island sides. If no vent openings are made in the island unit, the grill
will overheat and cause a fire hazard!
•Do not use an extension cord to supply power to your island, or appliance. Such use may result in a
fire, Electrical shock or other personal injury.
•Do not install a fuse in the neutral or ground circuit. A fuse in the neutral or ground circuit may result
in an Electrical shock hazard.
•Use only Ground Fault Interrupter (GFI) protected circuit with this outdoor kitchen island.
•Keep all electrical components covered and secured away from any water or other liquids.
•Use only extension cords with a 3 prong grounding plug, rated for power of equipment, and approved
for outdoor use with a W-A marking.
Page 7
INSTALLATION AND ASSEMBLY – Prevailing Wind
CAUTION: Wind blowing into or across the rear oven lid vent can cause poor performance and/or
dangerous overheating. Orient the grill so that the prevailing wind blows toward the front of grill.
Windy Conditions
Your Sunstone™ charcoal grill is specially designed to draw fresh air in through the front drawer face, and
in direct to the interior burn trays. When grilling the hot gases are then released through the controlled
side hood vents, or through back of grill through a venting system. Using your grill in windy conditions may
disrupt the front-to-back air flow.
CAUTION: Any damage resulting from windy conditions causing overheating, including warping
of steel components. Also any discoloration from heat buildup, is excluded from warranty coverage.
NOTICE: Ensure grill is installed with proper air flow for correct combustion air and cooling
airflow. Airflow MUST be maintained for the grill to perform as it was designed. If airflow is blocked,
poor combustion will result.
Location
Locate the grill only in a well-ventilated area. Never locate the charcoal grill in a building, garage, shed or
other such enclosed areas without an approved ventilation system. During heavy use, the charcoal grill
will produce a lot of smoke while hood is up. Ensure there is adequate area for it to dissipate.

Page 8
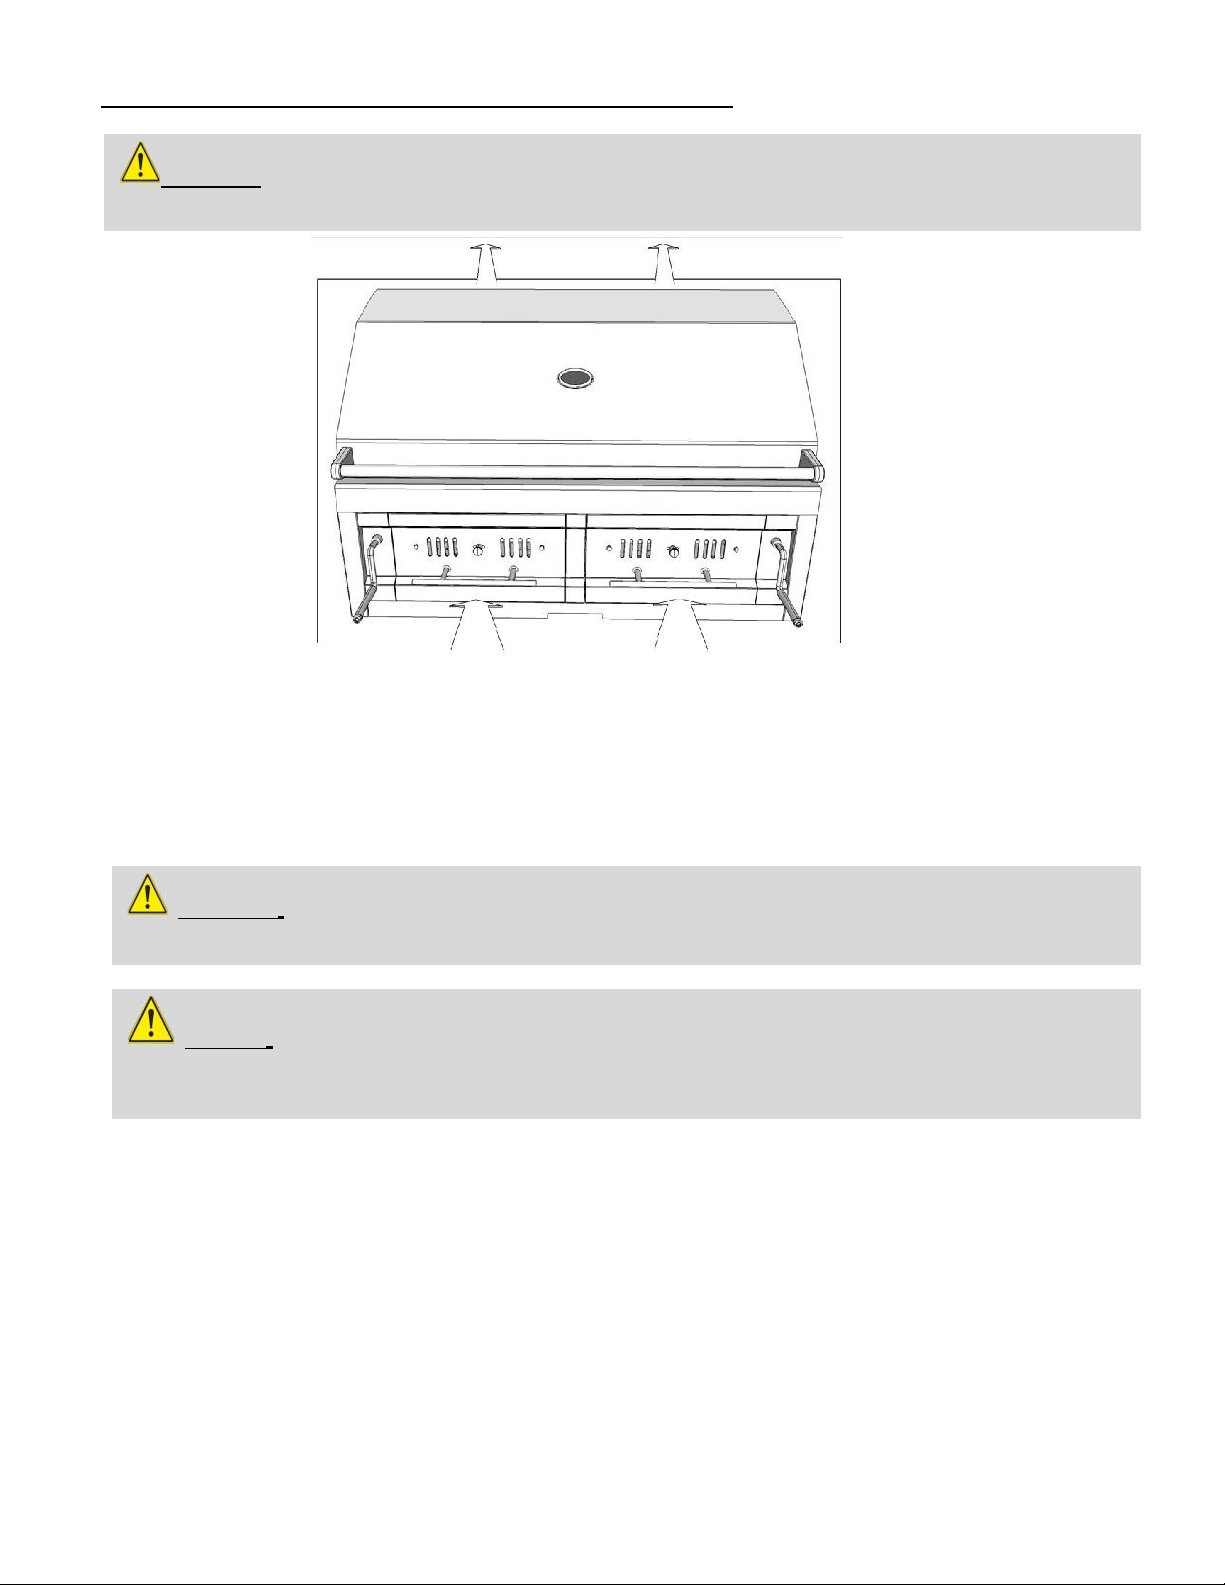
INSTALLATION AND ASSEMBLY – Positioning
2. Allow for Ventilation
Your Sunstone™ grill is engineered with special vents on
the back of unit, which allow proper airflow out of the
back of grill, also increased airflow into Infra-red Burner
gas chamber. Be sure you allow a minimum of 4" behind
grill for proper air ventilation. Slide grill all the way into
cut-out, so there are no gaps present to inside of island
frame.
1. Slide Grill in Place
Your Sunstone™ grill is specially designed with an internal
built in hanger lip located at the Right, Left and Back sides.
The grill lip allows it to hang by the three supported edges
on the right, left and back. The front control panel requires
no supporting edge; it is designed to hang down the front of
your cut-out.
3. Securing in Place
The control panel is designed to sit flush against the island face. If counter top extends beyond the islands face,
creating a countertop overhang, it must be cut flush with the island face where the width of the control panel or a
gap will be created exposing the forward portions of the left and right side firewalls.
NOTICE: Ensure grill is installed with proper air flow for correct combustion air and cooling airflow.
Airflow MUST be maintained for the grill to perform as it was designed. If airflow is blocked,
overheating will occur and poor combustion will result. DO NOT INSTALL PLATFORM DIRECTLY UNDER
GRILL.

Page 9
INSTALLATION AND ASSEMBLY – Locating Grill
Minimum Clearances
When installing the charcoal grill in any area was an exterior wall, or overhead structure is nearby, pay
close attention to the minimum distance requirements. For installations with a wall behind grill, it is
especially important to allow enough room for adequate airflow, or issues may occur. For islands that
are built using combustible materials, you must not surround same materials around any appliance, or
risk fire. You MUST use Non-Combustible building materials within 24" around all sides of appliance, ie.
Stone blocks, steel studs. Never locate the grill where the exhaust will be difficult to clean. If you wish to
use the rotisserie option, the space is essential for motor and skewer clearance.
Minimum Requirements
See Diagram (Page 10)
From Back Cut-Out Grill Line to Wall
8" Min. Clearance
From Counter to Outdoor Vent Hood
36" Min. Clearance
From Floor to Counter Top
38" Min. Clearance
From Grill to Vent Hood Width
4”-6" Min. Clearance
From Appliance to Appliance
12" Min. Clearance
From Appliance to Combustible Material
24" Min. Clearance
ATTENTION: This grill MUST NOT be located in any fully enclosed area of any kind. There should
be a minimum of 4-6 feet clearance from the top hood of grill and any overhead combustible
structure.
Vent Hood Exhaust
If installed or used under a patio roof, the cooking grid area must be fully covered by an exhaust hood
with a vent. An exhaust fan with a rating of a minimum 1,000 CFM (cubic feet per minute) (472 liters
per second) or more may be necessary to effectively remove smoke and other cooking by-products
from the area under the unprotected overhead combustible construction.

Page 10
INSTALLATION AND ASSEMBLY – Locating Grill
Indice
Altri manuali SUNSTONE Griglia

SUNSTONE
SUNSTONE SUNCHSZ30 Manuale utente

SUNSTONE
SUNSTONE 304 series Manuale utente

SUNSTONE
SUNSTONE ruby series Manuale utente

SUNSTONE
SUNSTONE OUTDOOR CHARCOAL GRILL Manuale utente

SUNSTONE
SUNSTONE SUNPLT40 Manuale utente

SUNSTONE
SUNSTONE SUN4B Manuale utente

SUNSTONE
SUNSTONE SUN3B-LP Manuale utente

SUNSTONE
SUNSTONE Ruby Companion Pro Manuale utente


