1
TableOfContents
Important Safety Instructions..................................................................................................................................... 2
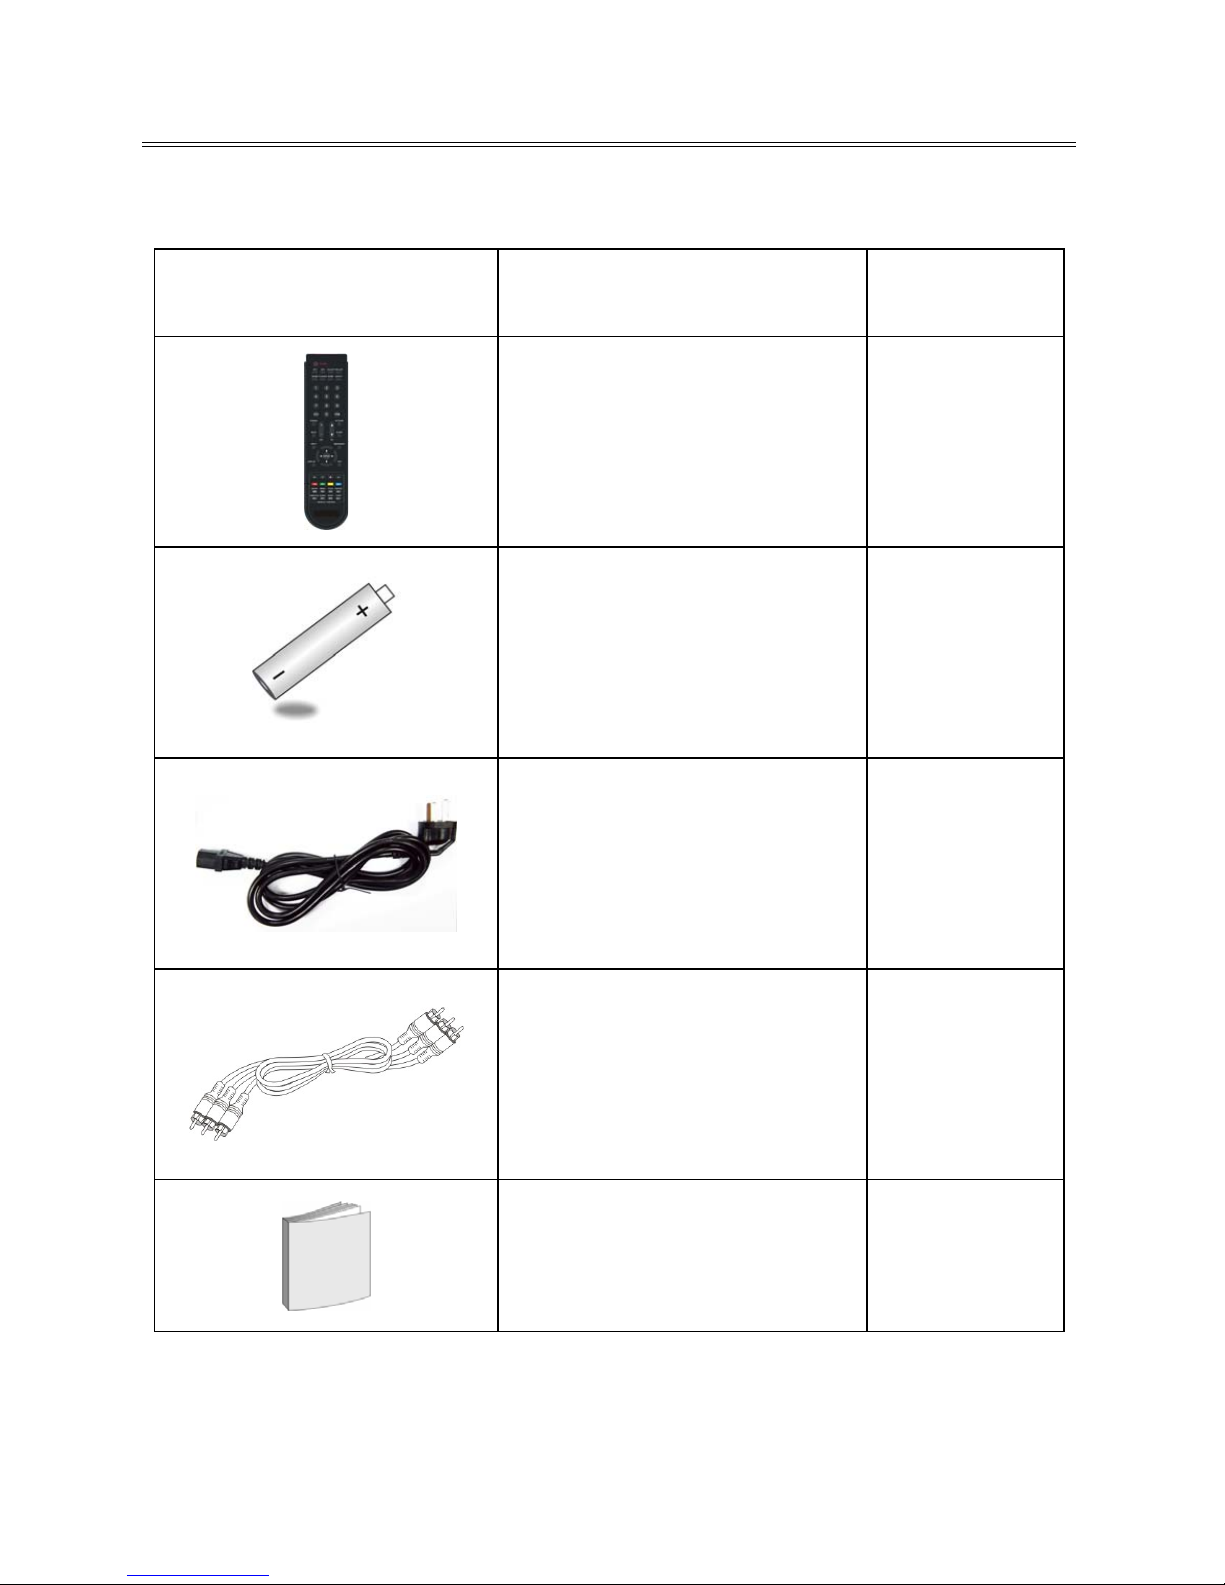
Supplied Accessories ................................................................................................................................................... 4
View of Unit ..................................................................................................................................................................5
Right Side Panel........................................................................................................................................................................................... 5
Left Side Panel.............................................................................................................................................................................................. 6
Rear Panel ...................................................................................................................................................................................................... 7
Front Panel..................................................................................................................................................................................................... 8
Special Feature of DVD Module .................................................................................................................................. 9
Disc Information.........................................................................................................................................................10
Remote Control ..........................................................................................................................................................11
Remote Control Drawing .......................................................................................................................................................................11
Preparation of Remote Control............................................................................................................................................................14
Using of Remote control.........................................................................................................................................................................14
System Connections...................................................................................................................................................15
Connecting to the Power Supply ........................................................................................................................................................15
Connecting to a TV Antenna.................................................................................................................................................................15
Connecting to an External AV Signal Source (AV1/S-Video)......................................................................................................16
Connecting to an External AV Signal Source (AV2).......................................................................................................................17
Connecting to an External AV Signal Source (YPbPr) ..................................................................................................................18
Connecting to an External AV Signal Source (HDMI) ...................................................................................................................19
Connecting to an External Signal Source (AV Output)................................................................................................................20
Connecting a Coaxial Digital Output.................................................................................................................................................21
Connecting to a PC...................................................................................................................................................................................22
Connecting a USB Device for Upgrading .........................................................................................................................................23
Input Source Selecting...............................................................................................................................................24
TV Function.................................................................................................................................................................25
Preparations................................................................................................................................................................................................25
Installation Guide......................................................................................................................................................................................25
Channel Setting.........................................................................................................................................................................................26
Picture Setting............................................................................................................................................................................................28
Sound Setting.............................................................................................................................................................................................31
Time Setting................................................................................................................................................................................................32
Option Setting............................................................................................................................................................................................33
EPG Function ..............................................................................................................................................................35
NICAM Function..........................................................................................................................................................36
DVD Playback Operation...........................................................................................................................................37
Preparation..................................................................................................................................................................................................37
DVD Playback .............................................................................................................................................................................................37
CD Playback.................................................................................................................................................................................................39
JPEG Playback.............................................................................................................................................................................................40
AVI Playback................................................................................................................................................................................................41
USB and SD/MS/MMC Card Function ................................................................................................................................................42
DVD System Setup .....................................................................................................................................................43
Troubleshooting.........................................................................................................................................................48
Specifications .............................................................................................................................................................49