
Tecnet TJ-3100V Manuale utente

11535 W. 83rd Terrace, Lenexa, KS 66214
Toll-Free: 800-456-2071 (US Only), 913-859-9515 (Outside US)
Website: www.tecnetusa.com
Printed in Korea
Rev.120605C
11535 W. 83rd Terrace, Lenexa, KS 66214
TJ-3000 Series
User Manual
TJ-3000 Series
User Manual
VHF/ UHF Professional Radio
TJ-3100V (VHF)
TJ-3400U (UHF)

FCC Regulations
FCC REGULATIONS
LICENSING - The FCC requires the owners of TJ-3000 Series radios to obtain a station license
before using them.
The station licensee is responsible for ensuring that transmitter power, frequency and deviation are
within the limits specified by the station license. The station licensee is also reponsible for proper
operation and maintenance of the radio equipment. This includes checking the transmitter
frequency and deviation periodically, using appropriate methods.
To get a FCC license for VHF or UHF frequencies, submit FCC application Form 600 as indicated
in the block below.
SAFETY STANDARDS - The FCC has adopted a safety standard for RF energy exposure
awareness and control information, and operational instructions for FCC occupational use require-
ments.
Service - Federal law prohibits you from making any internal adjustments to the transmitter, and
/ or from changing transmit frequencies unless you are specifically designated by the licensee.
If your radio equipment fails to operate properly, contact your authorized dealer or TECNET
INTERNATIONAL.
HOW TO OBTAIN AN FCC RADIO LICENSE
Federal Communications Commission (FCC) Licensing Information
Because your radio operates on Private Land Mobile frequencies, it is subject to the Rules and
Regulations of the FCC, which requires all operators of these frequencies to obtain a station
license before operating their equipment. Make application for your FCC license on FCC
Forms 600 and 159.
To have forms and instructions faxed to you by the FCC, call the FCC Fax-On-Demand
system at 202-418-0177 from your fax machine: request Document 000600 & Form 159
To have Document 000600 & Form 159 mailed to you call the FCC Forms Hotline at
800-418-FORM (800-418-3676)
For help with questions concerning the license application, contact the FCC at
888-CALL-FCC (888-225-5322) or go to the FCC’S website:
www.fcc.gov/services/personal/generalmobile/licensing.html
You must decide which radio frequency(ies) you can operate on before filling out your
application.
www.tecnetusa.com
1
2
3
4
5
9
13
14
15
Table of Contents
Thank you for purchasing the TJ-3000 Series Job-Site radio.
1. Before operating the radio, please read the user manual carefully.
2. The functions and specifications are subject to be changed without
notice for improvement of the radio performance.
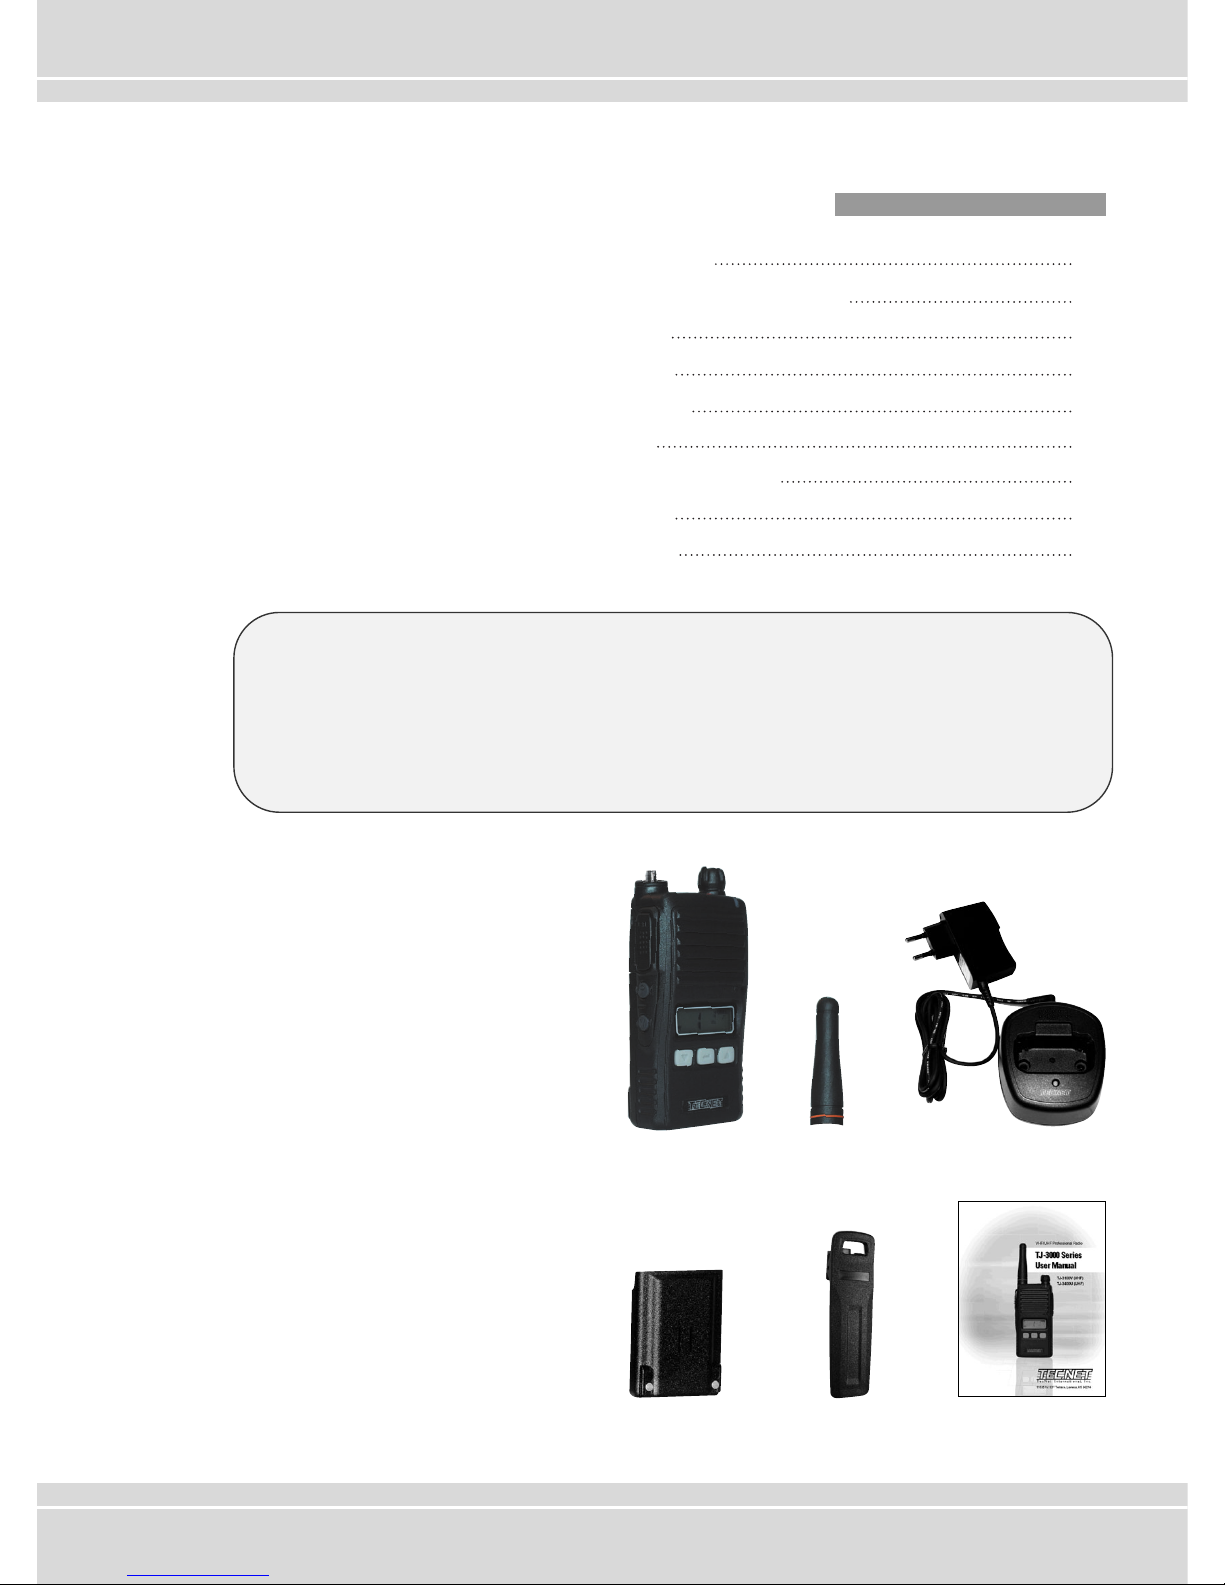
Charging adaptor &
charger cradle
Belt ClipBattery pack
Anntenna
Radio
User Manual
1. Controls & LCD Display
2. Operation of the TJ-3000 Series Radio
3. Battery Installation
4. Recharging Battery
5. Function & Operation
6. Frequency Charts
7. CTCSS and DCS Code Tables
8. For Safe Operation
9. Warranty Statement
www.tecnetusa.com

1
Figure 1-1) AppearanceTJ-3000 Series Radio
Figure 1-2) LCD Indication of TJ-3000 Series Radio
Speaker Jack
LCD Display
Mic Jack
Antenna
Battery Pack
Battery Locker
Belt Clip
Menu (P)
Monitor (M)
Antenna Connector
Red Button
(WX)
PTT Button
Power ON/OFF, Volume Switch
LED Status
Power ON/OFF
Volume Switch
Channel Down (▼) Call / Enter ( ) Channel Up (▲)
RSSI
SCAN
DTMF
Battery Capacity
DCS Inverter
Channel Display Compender (N/A)
CTCSS
DCS
Scramble (N/A)
SUB TONE Channel
KEY Sound
KEY Lock
VOX
1. Controls & LCD Display

2
www.tecnetusa.com
2. Operation of the TJ-3000 Series Radio
1. Power on/off, Volume control switch
Turns the radio on and off, and adjusts audio volume level.
2. PTT (Push-To-Talk)
Radio transmission button
3. Menu Button (P, Program-Menu Button)
Pressing for more than 1 second, the radio will be entered into Menu programming mode.
Repeated presses of the (P) button will advance the menu as follows:
4. Monitor Button (M)
The monitor function will be enabled and disabled by pressing the Monitor (M) button.
Normal mode: Pressing the M button for less than 2 seconds, checks the receiving status.
Continuous mode: Pressing the M button for more than 2 seconds, the radio will go into continuous
monitor mode with beep tone. To exit from continuous monitor mode, press the
M button again.
5. Channel Up/Down Buttons
The channel button will have 2 functions.
(1) To move channels upward or downward
(2) To move feature list while the radio is in Menu mode.
6. Speaker Mic Jack
This jack is used when connecting external speaker-mic or ear-mic/audio accessories.
7. LED Status
The LED indicates various status' of the radio.
(1) RX - Green color
(2) TX - Red color during PTT
(3) CTCSS, DCS Error - Green color blinking
(4) Low Battery - Red color blinking with beep tone
Tone VOX SCAN Beep Tone DTMF
(CTCSS/DCS/DCS Inverter Sub-channel)
Call Roger Beep Squelch
→→ → →
→→ →

3
3. Battery Installation
Figure 3-1) Installation and Removal of the Battery
Installation of the Battery
Removing the Battery
Please read the user manual carefully before using TJ-3000 Series radio.
This user manual contains important and useful information about the radio.
To install battery, slide up the battery pack towards top of the radio until battery latch is locked.
To remove the battery, slide the battery latch located on the bottom of the radio to the open
position as shown in the figure 3-1.
The battery pack will be removed by pressing it against and sliding it towards the bottom of the
radio as shown in figure 3-1.
▶
Battery installation and Removal

4
www.tecnetusa.com
4. Recharging Battery
▶
Charging battery
Connect AC/DC adaptor to charger cradle.
Charge the battery before initial use of radio.
Place the radio into the charger cradle. When you charge the battery, the radio should be in the
off position.
* Status of LED on charging cradle:
Charging - Red color
Fully charged - Green color
▶
Proper time for recharging
A low level of battery voltage will lower the radio's performance.
Please charge the battery if the following items occur:
(1) When you think performance of the radio becomes lower
(2) When the LED on radio blinks red
(3) When the battery status icon on LCD display blinks
(4) When “beep” sound is generated while the radio is in use
▶
Safety Notes
(1) The battery pack of TJ-3000 Series radios has high performance and reliability.
This battery pack has been designed for included and optional chargers offered.
(2) Do not charge the battery with non TecNet chargers. Using non Tecnet charger will cause
damage to the battery pack and the radio.
▶
Charger Specifications
(1) Input Voltage : DC5V, 750mA
(2) Operating Temp : - 0 C ~ 50 C
(3) Charging time : 4 hours
(4) Size : 76mm(L) X 85mm(W) X 37mm(H)
(5) Charging current : 750mA

5
5. Function & Operation
NO
1
2
3
4
5
6
7
8
9
LCD Display
Function
Power on/off
Transmit (TX)
Receive (RX)
Channel Selection
Scan
Monitor
Key Lock
Call
WX Radio
Button & LED status
Power on/off, Volume switch
PTT button
Red LED
Green LED
Up (▲) / Down (▼) button
To start Scan, Menu (P) + Enter ( )
To end Scan, Just press Menu (P) button
Monitor button
Green LED
To enable, Menu (P) + Up button
To disable, Menu (P) + Down button
Call/Enter ( ) Button
(10 different call tones you can select)
Red Button
(Do a quick press to enable WX channels)
Short time monitor : Press monitor
button temporarily.
Continues monitor : Press monitor
button for 2 sec.
Red LED On

6
www.tecnetusa.com
▶
5.1 CTCSS/DCS/DCS Invertor sub-tone channel selection:
Press Menu (P) button for more than 1 second and the radio will go into function setting mode.
Press UP (▲) or DOWN (▼) button to select Type of Sub-Channel.
CTCSS Sub-Channel : ( )
DCS Sub-Channel : ( )
DCS Inverter Sub-Channel : ( )
No setting Sub-Channel : ( )
To select CTCSS tone sub-channel, select ( ) by pressing UP (▲) or DOWN (▼) button, and
Press Enter ( ) button to confirm.
Sub-Tone channel LCD digit will be blinking
Press Up or DOWN to select your desired CTCSS tone (1~38), and press Enter ( ) button to
confirm.
To exit from menu, press M button or PTT switch.
Use same method to set up DCS ( ) or DCS Invertor ( ) Sub-Tone Channels.
▶
5.2 VOX function On/Off selection:
Press Menu (P) button for more than 1 second and the radio will enter into function setting mode.
Press Menu (P) button again. Then VOX setting Icons will be blinking.
By pressing UP (▲) or DOWN (▼) button, you can select on or off. Press Enter ( ) button
to confirm. To exit from menu, press M button or PTT switch.
▶
5.3 Scan On/Off selection:
Press Menu (P) button for more than 1 second and the radio will enter into function setting mode.
Press Menu (P) button 2 times. Radio will go to Scan setting menu mode.
By presssing UP (▲) or DOWN (▼) button, you can select On or Off.
Select On and press Enter ( ) button to confirm Scan On.
To exit from menu, press M button or PTT switch.
With Scan On, you may enable the Scan operation by pressing Menu (P) and Enter ( )
buttons at the same time. The SCAN icon will appear and the radio will begin to Scan all channels
(27 for VHF and 89 for UHF).
Questo manuale è adatto per i seguenti modelli
1
Indice
Altri manuali Tecnet Radio


