TriBrer AFD600 Manuale utente

Fiber Cable Detector
USER'S GUIDE
You are cautioned thatchanges or modificationsnot espressly approvedin this document
could void youtauthority to operatethis equipment.
To reduce the risk of fire or electric shock,do notexpose this apparatus to rain or moisture.
To avoid electrical shock, do not open the cabinet. Refer servicing to qualified personnel only.
As the laseris harmful to the eyes, do not attempt to disassemble the cabinet.
Precautions for Use
Use Power
As much aspossible, avoid suddentemperature changes. Donot attempt touse the driveimmediately after movingit from acold
to a warm location, to raising the room temperature suddenly, as condensation mayform with in the drive. If the temperature
changes suddenly whileusing the drive,stop using itand take outbatteries for atleast an hour.
1
NOTENOTE
WARNINGWARNING
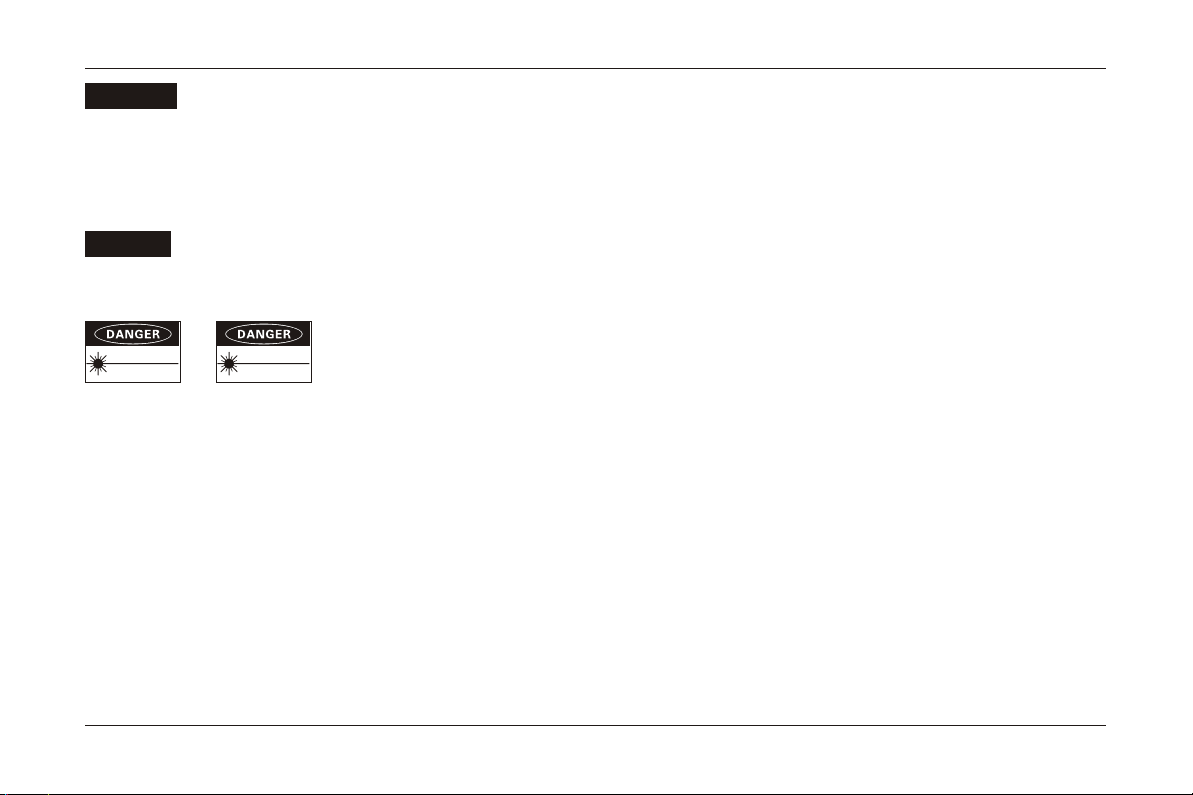
Wavelength:635-650nmWavelength:635-650nm
VISIBLE LASER RADIATIONVISIBLE LASER RADIATION
SEMICONDUCTOR LASERSEMICONDUCTOR LASER
AVOD EYE OR SKIN EXPOSUREAVOD EYE OR SKIN EXPOSURE
TO DIRECT OR SCATTERED RADIATIONTO DIRECT OR SCATTERED RADIATION
Wavelength:800-1700nmWavelength:800-1700nm
INVISIBLE LASER RADIATIONINVISIBLE LASER RADIATION
SEMICONDUCTOR LASERSEMICONDUCTOR LASER
AVOD EYE OR SKIN EXPOSUREAVOD EYE OR SKIN EXPOSURE
TO DIRECT OR SCATTERED RADIATIONTO DIRECT OR SCATTERED RADIATION
CLASS I LASER PRODUCTCLASS I LASER PRODUCT
When long timeno use,must takeout the batteriesto avoid destroyingthe device.
This device shoulduse special lithiumbatteries. To avoid explosion, no use of the non-original batteries. No altering, dismantling or
maintaining operations unlessprofessionals. Please useDC power adapterwhich is 9.5V~10.5V, electric current over 2A to charge the
device. There isblameless charge controllingcircuit inside.
Avoiding condensation problems
Storage

Fiber Cable Detector
USER'S GUIDE
2
Host
Power AdapterLithium Batteries
Power Adapter
Instructions Packet
Optical Reflector(the PCinterface)
Check the accessories
Standard Edition
CHARGE
MENUMENU STARTSTART ENTERENTER
ESCESC

1
2
3
4
14
7
8
9
5
6
10
12
11
13
15
1
2
3
4
5
6
7
8
9
10
11
12
13
14
15
3
USB port
TF(MicroSD) card slot
Power adapter socket
Menu button
Power button
Start/Shutdown measuring button
Confirming button
Cancelling button
Shifting up button
Shifting right button
Shifting down button
Shift left button
Charging indicator
3.5 inch LCD
FC/APC
Description
CHARGE
MENUMENU STARTSTART ENTERENTER
ESCESC

1. The Power Button is used to turning on/off and rebootingthe device.
2. Long pressthe power button2 second ormore when thedevice is off,
it will turn on.
3. Short press the power button will turn off the device.
4
Power button
On/Off and Rebooting
CHARGE
MENUMENU STARTSTART ENTERENTER
ESCESC

Stand-bying and measuring
5
1. After turning on the device, it will
stay at standby screen, as shown
in left picture.
2. When press the measuring button,
the device will start measure
automatically. The screen will display
shaking spectrum and the earphones
will have some notifying voice at the
same time.
2014.01.01 12:052014.01.01 12:05
VOL:VOL: TEST: ONTEST: ON
CHARGE
MENUMENU STARTSTART ENTERENTER
ESCESC

2014.01.01 12:052014.01.01 12:05
VOL:VOL: TEST: ONTEST: ON
Main measuring interface
6
Date and time Power indicator
There are 20 Channels in spectrum display
area. The horizontal axis represents frequencies
which are gradually increasing from left screen
to right. The spectrum range is the frequency of
beating cable. The vertical axis represents extent.
The spectrum area shows the extent of each
frequency component in real time. It can judge
whether beating the cable or not.
Pressing up or down button can adjust
earphones volume. The earphones volume has
no relation with spectrum extent.
Press measuring button, it will show
"TEST: ON" at the right bottom which means
starting testing. Press this button again, it will
show "TEST: OFF" which means stopping testing.
Spectrum
display area
Current measurement state
Earphone volume

7
Menu setting
Press Menu button, it will enter into
the menu setting screen, as shown in
left picture. Press up or down button
can control the black arrow to select
the setting item.
2014.01.01 12:052014.01.01 12:05
Data SettingData Setting
Time SettingTime Setting
BrightnessBrightness
Software VersionSoftware Version
Hareware VersionHareware Version
2014 04 042014 04 04
12 0512 05
0404
SEN1A21V0.1SEN1A21V0.1
TEN1A21V0.1TEN1A21V0.1
CHARGE
MENUMENU STARTSTART ENTERENTER
ESCESC

8
Date and time setting
Press the confirming button when
the black arrow is stopping at date
setting item, it will enter into setting
the date. Press left or right button to
select the year, month and day. Press
up or down button can modify the
current value. Pressthe confirming
button again after finishing setting,
it will quit the setting mode. Usethe
same way can set the time.
2014.01.01 12:052014.01.01 12:05
12 0512 05
0404
SEN1A21V0.1SEN1A21V0.1
TEN1A21V0.1TEN1A21V0.1
2014 04 042014 04 04
CHARGE
MENUMENU STARTSTART ENTERENTER
ESCESC
Data SettingData Setting
Time SettingTime Setting
BrightnessBrightness
Software VersionSoftware Version
Hareware VersionHareware Version

9
Brightness setting
Press the confirming button when
the black arrow is stopping at brigh-
tness setting item, it will enter into
setting the brightness. This device
has four levels of brightness, 01 is
the darkest and 04 is the brightest.
2014.01.01 12:052014.01.01 12:05
12 0512 05
0404
SEN1A21V0.1SEN1A21V0.1
TEN1A21V0.1TEN1A21V0.1
2014 04 042014 04 04
CHARGE
MENUMENU STARTSTART ENTERENTER
ESCESC
Data SettingData Setting
Time SettingTime Setting
BrightnessBrightness
Software VersionSoftware Version
Hareware VersionHareware Version
Indice
Altri manuali TriBrer Sensore di sicurezza


