
VST FDUSB-M Manuale utente

User’s Guide
VST USB
Floppy Drive
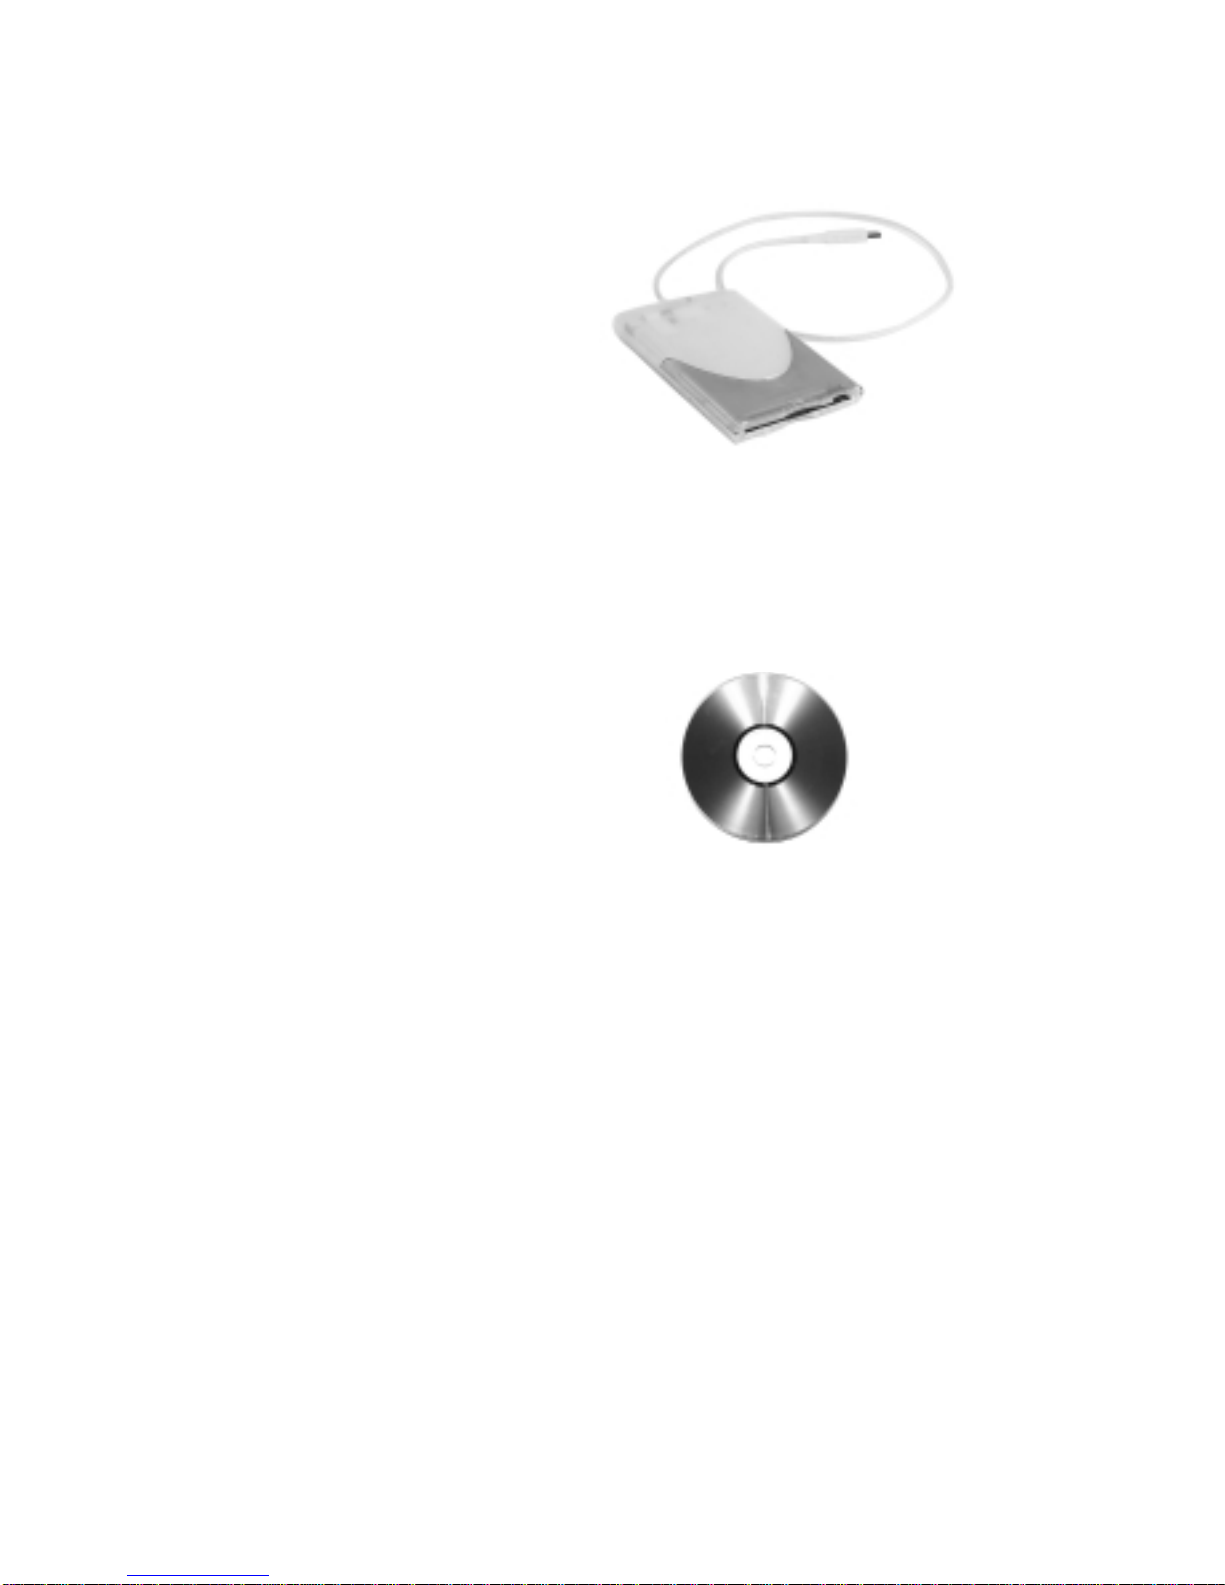
What’s Inside The Box:
USB Floppy Drive
Snap-on Color Kit
(with 6 colors)
Installation Software CD
QuickStart Card
Note: The VST USB Floppy Drive User Guide is included on the
Installation Software CD.
© 1999 VST Technologies, Inc.

Introduction . . . . . . . . . . . . . . . . . . . . . . . . . . . . . . . . . . . . . . . . . . . . . . . .2
Installation . . . . . . . . . . . . . . . . . . . . . . . . . . . . . . . . . . . . . . . . . . . . . . . . .3
Changing the Snap-On Covers . . . . . . . . . . . . . . . . . . . . . . . . . . . . . . . .4
Using your new VST USB Floppy Drive . . . . . . . . . . . . . . . . . . . . . . . . .5
Formatting Disks
Erasing Disks
Ejecting Disks
Compatibility . . . . . . . . . . . . . . . . . . . . . . . . . . . . . . . . . . . . . . . . . . . . . . .7
Bootable Disks
Supported Disk Formats
Electronic Compliance . . . . . . . . . . . . . . . . . . . . . . . . . . . . . . . . . . . . . . .8
Limited Warranty . . . . . . . . . . . . . . . . . . . . . . . . . . . . . . . . . . . . . . . . . . .9
Contents
1

2
Introduction
Congratulations on the purchase of your new VST USB Floppy Drive! You
can now use standard 1.4MB floppy disks on your USB-equipped com-
puter. The handy plug-and-play design means you can connect it or dis-
connect it whenever you want, without having to shut down your com-
puter.
The snap-on color kit allows you to color coordinate your USB Floppy
Drive with the other equipment on your desktop. Enjoy!
System Requirements
For proper operation, the VST USB Floppy Drive requires:
Mac OS Users:
• A Macintosh with USB support
• Mac OS 8 5.1 or higher
Windows PC Users:
• A Windows PC with USB support
• Windows 98 or higher

Installation
To get started, follow these easy steps:
Mac OS Users:
1. Insert the VST USB Floppy Drive Installation CD into the CD-ROM Drive.
2. Double-click on the VST USB Floppy Drive Installer icon and follow the
directions, then restart your computer.
3. A USB cable is attached to the back of your USB Floppy Drive. Plug the
free end of the USB cable into the USB port on your Macintosh.
(see note below)
4. Insert a formatted floppy diskette into the floppy drive. A floppy icon
will appear on your Macintosh desktop.
Note: The USB ports on the Mac keyboard do not supply enough
power for the VST USB Floppy Drive. It must be connected to one of
the ports on the Mac itself, or to a powered USB hub.
Windows PC Users:
1. A USB cable is attached to the back of your USB Floppy Drive. Plug the
free end of the USB cable into the USB port on your PC.
2. Windows will recognize that a USB Floppy Drive is connected to your
computer, and assign it the next available drive letter.
3. Insert the VST USB Floppy Installation CD into the CD-ROM drive.
4. Follow the instructions recommended by Windows to install the USB
Floppy Drivers that are located on the Installation CD. When Windows
asks you where to search for the drivers, check the box labeled "CD-
ROM Drive".
Note: If the setup program has trouble installing files, insure that the
"Copy files from"box correctly identifies the designator for your CD-
ROM Drive. If necessary, change the drive designator.
5. You will see the USB Floppy Drive icon in My Computer or Windows
Explorer. Click on the icon to access your USB Floppy Drive.
Congratulations!
You are now ready to use your VST USB Floppy Drive.
3

4
Your VST USB Floppy Drive includes six snap-on covers in a variety of colors. If
you want to change the color of your floppy drive, follow these instructions:
1. The cover is attached to the case
using a latch, as shown in Figure 1.
2. Place the drive on a flat surface.
3. a. Using your thumb:
Insert your thumbnail between the cover
and the case at the crevice, as shown in
Figure 2. Lift up the cover to release the
latch and slide the cover towards the front
of the case and remove.
or
3. b. Using a small paper clip:
Insert the small paper clip between the
cover and the case at the crevice, as shown
in Figure 3. Lift the free end of the paper
clip up and forward to release the latch.
Slide the cover towards the front of the
case and remove.
4. To install the new cover, slide the cover
along the grooves on the sides of the drive,
as shown in Figure 4.
Caution: Please remove cover with care to avoid damaging the drive
or cover.
Enjoy your VST USB Floppy Drive’s new color and change covers as
often as you wish!
Changing the Snap-On Covers
Figure #3
Figure #1
Figure #4
Figure #2

Using your new VST USB Floppy Drive
5
Plug your VST USB Floppy Drive into your computer at any time and it is
immediately operational.
To use the drive, insert a floppy disk (label side up) until it is all the way
into the drive and the Eject button pops out. After three to four seconds
the disk icon will mount on the desktop signifying that the VST Floppy
Drive is available for use.
Formatting Disks
To format a floppy disk:
Mac OS Users:
1. Insert an unformatted disk into the floppy drive.
2. After a moment, a dialog box will appear asking if you want to
initialize the disk.
3. Specify a name for the disk and click Initialize to format the disk,
or click Eject to cancel.
Windows PC Users:
1. Insert an unformatted disk into the floppy drive.
2. Click on the icon for the USB floppy drive.
3. A dialog box will appear explaining that the disk is not formatted
and asking if you want to format it now.
4. Follow instructions to format the disk.
Erasing Disks
To reformat a previously formatted disk:
Mac OS Users:
1. Insert the disk into the floppy drive.
2. Click on the disk’s icon and then choose the Erase Disk.. command
from the Finder’s Special Menu.
3. Specify a new name for the disk (if desired) and click Erase to completely
erase the disk, or click cancel if you don’t want to erase the disk.

6
Window’s PC Users:
1. Insert the disk into the floppy drive.
2. Using your mouse, right-click on the USB Floppy Drive icon.
3. Click on the "Format" option and follow instructions.
Ejecting disks
Mac OS Users:
The preferred method for ejecting a disk is as follows:
1. Use the Put Away command from the Finder’s File menu to unmount
the disk, or drag the disk’s icon to the trash to dismount it.
2. Once it is unmounted, you can push the eject button to remove the
disk from the drive.
Note: You can also simply push the eject button on the front of the
drive. The disk will automatically be unmounted and will eject.
However, if you eject a disk that is in use, you will see an error
message that explains "This disk contains files or programs that are
in use." If this happens, reinsert the disk and close any open files
before ejecting again.
PC Windows Users:
1. Close any open files that are stored on the floppy disk.
2. Push the eject button to remove the disk from the drive.

In general, the VST USB Floppy Drive works the same as any other floppy
disk drive. Here are the exceptions:
Bootable Disks
Booting from USB devices is not supported by Mac or Windows operating
systems. You can not start your computer from a bootable floppy disk in
the VST USB Floppy Drive.
Supported Disk Formats
The VST USB Floppy Drive reads and writes to 1.44 MB disks (both PC and
Mac format) and 720 KB PC formatted disks. 800 KB Mac formatted disks
are not supported.
For additional information, please read the VST USB Floppy Drive Read Me
file on the Installation CD.
7
Compatibility

Portions re-printed with permission from Apple Computer, Inc.
(c)1999 Apple Computer, Inc. All rights reserved.
Apple, the Apple logo, FireWire, Mac, Macintosh and QuickTime are trademarks of Apple Computer,
Inc., registered in the U.S. and other countries. The FireWire logo is a trademark of Apple Computer,
Inc. All other product names are trademarks or registered trademarks of their respective holders.
Mention of non-Apple products is for informational purposes and constitutes neither an endorsement
nor a recommendation. Apple assumes no responsibility with regard to the selection, performance,
or use of these products.
8
Electronic Compliance
Federal Communications Commission
Verified to comply with FCC Rules for Radiated and Conducted Emission, Part 15,
Subpart B, for Class B Equipment.
EC-EMC Declaration of Conformity
We VST Technologies
125 Nagog Park
Acton, MA 01720
declare under sole responsibility that the VST USB Floppy Drive model number
FDUSB-M
to which this declaration relates, meet the essential requirements and
are in conformity with the relevant EC Directives listed below using the
relevant section following EC standards and other normative documents:
EU EMC Directive 89/336/EEC
Essential health and safety requirements relating to electromagnetic compatibility
EN 55022 (1987) Class B
Limits and methods of measurements of Radio interference characteristics of
information technology equipment
IEC 801-2 (1991)
Electrostatic discharge requirements for industrial process measurement and
control equipment
EC 801-3 (1984)
Radiated electromagnetic field requirements for industrial process measurement
and control equipment
IEC 801-4 (1988)
Electrical fast transients for industrial process measurement and control equipment
EN 50082-1 (1992)
EC generic immunity requirements, category A&B
The CE marking has been affixed on the device according to article 10 of the EC Directive 89/336/EEC.
Indice


