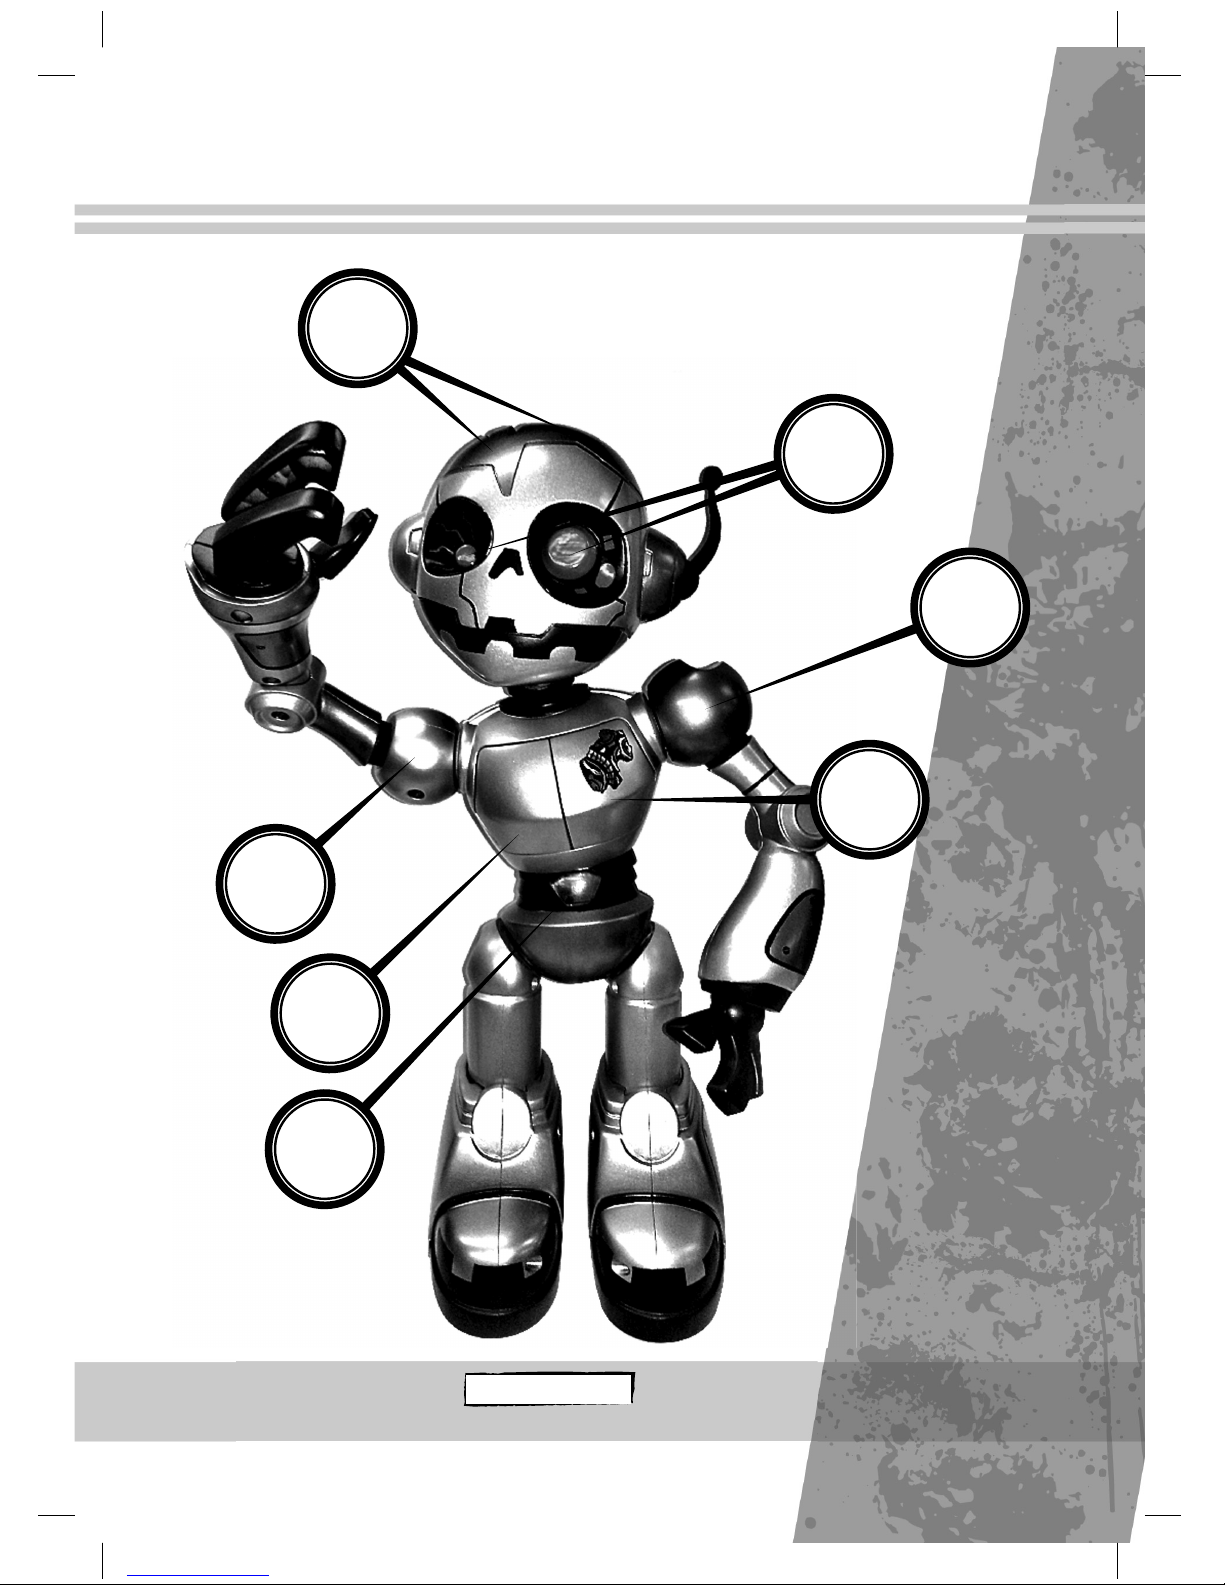
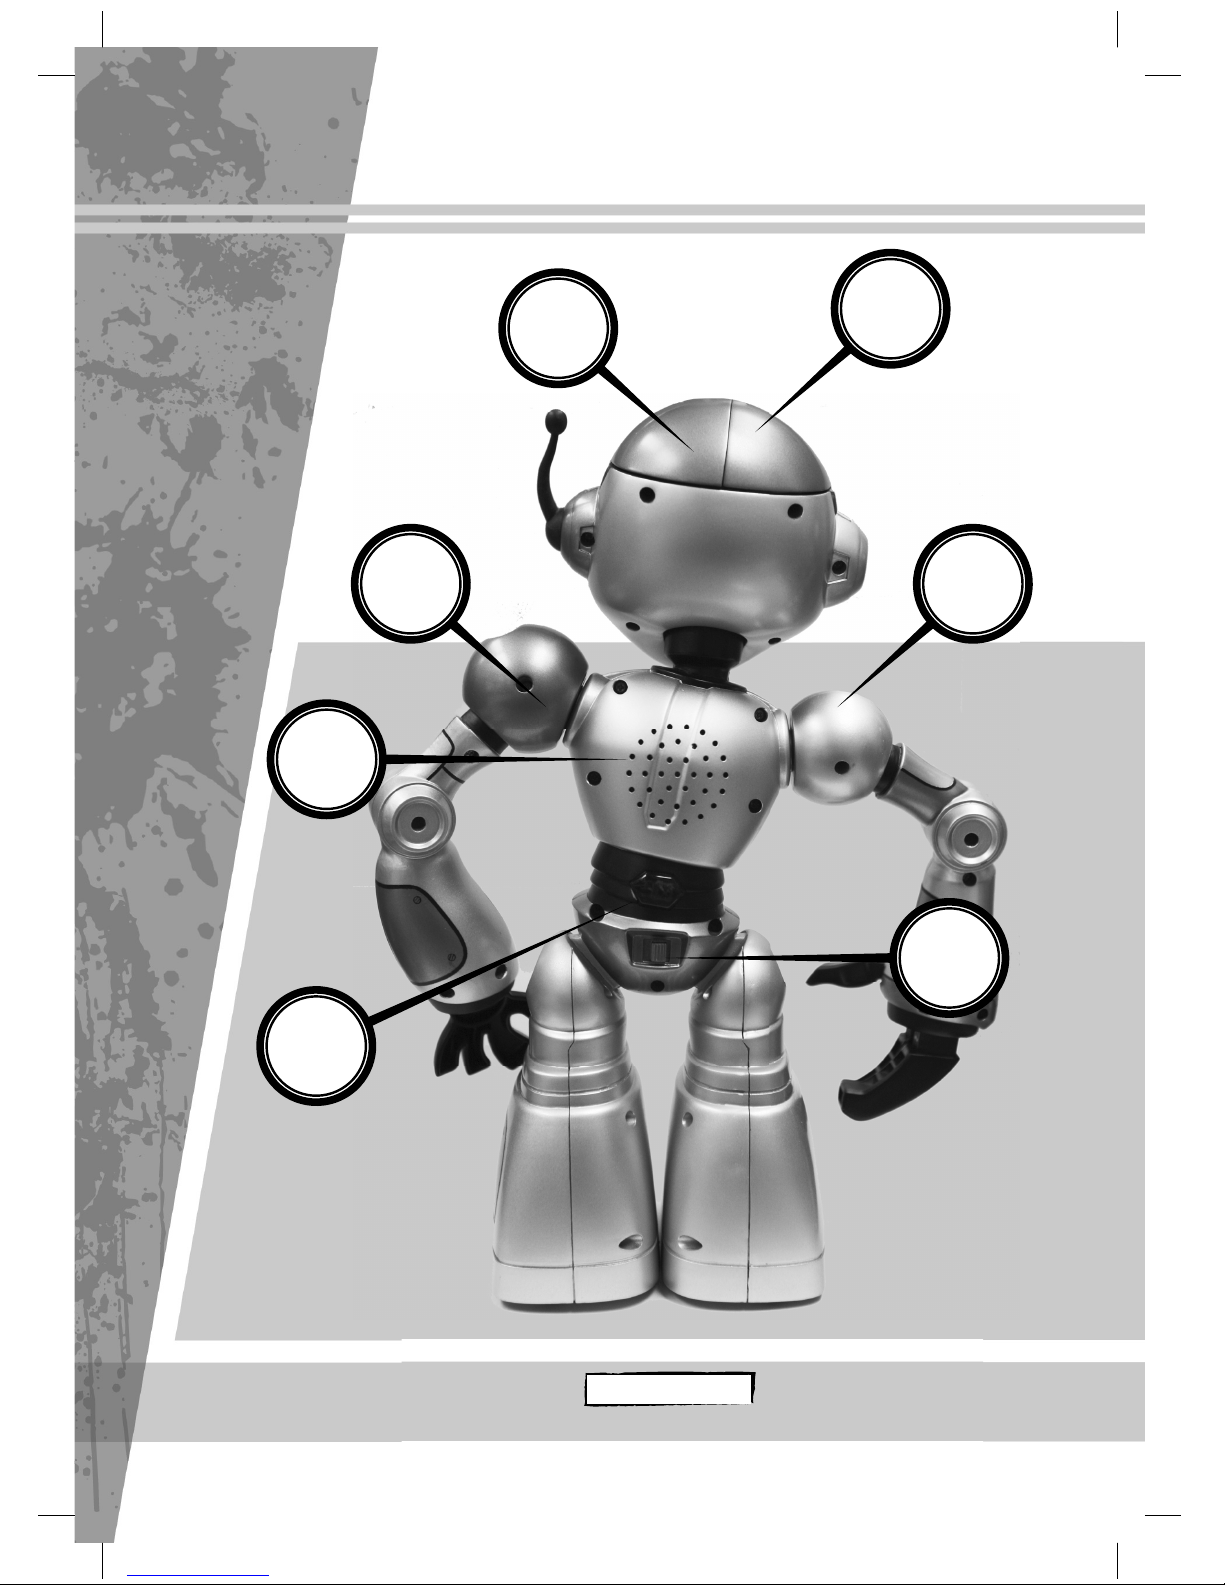
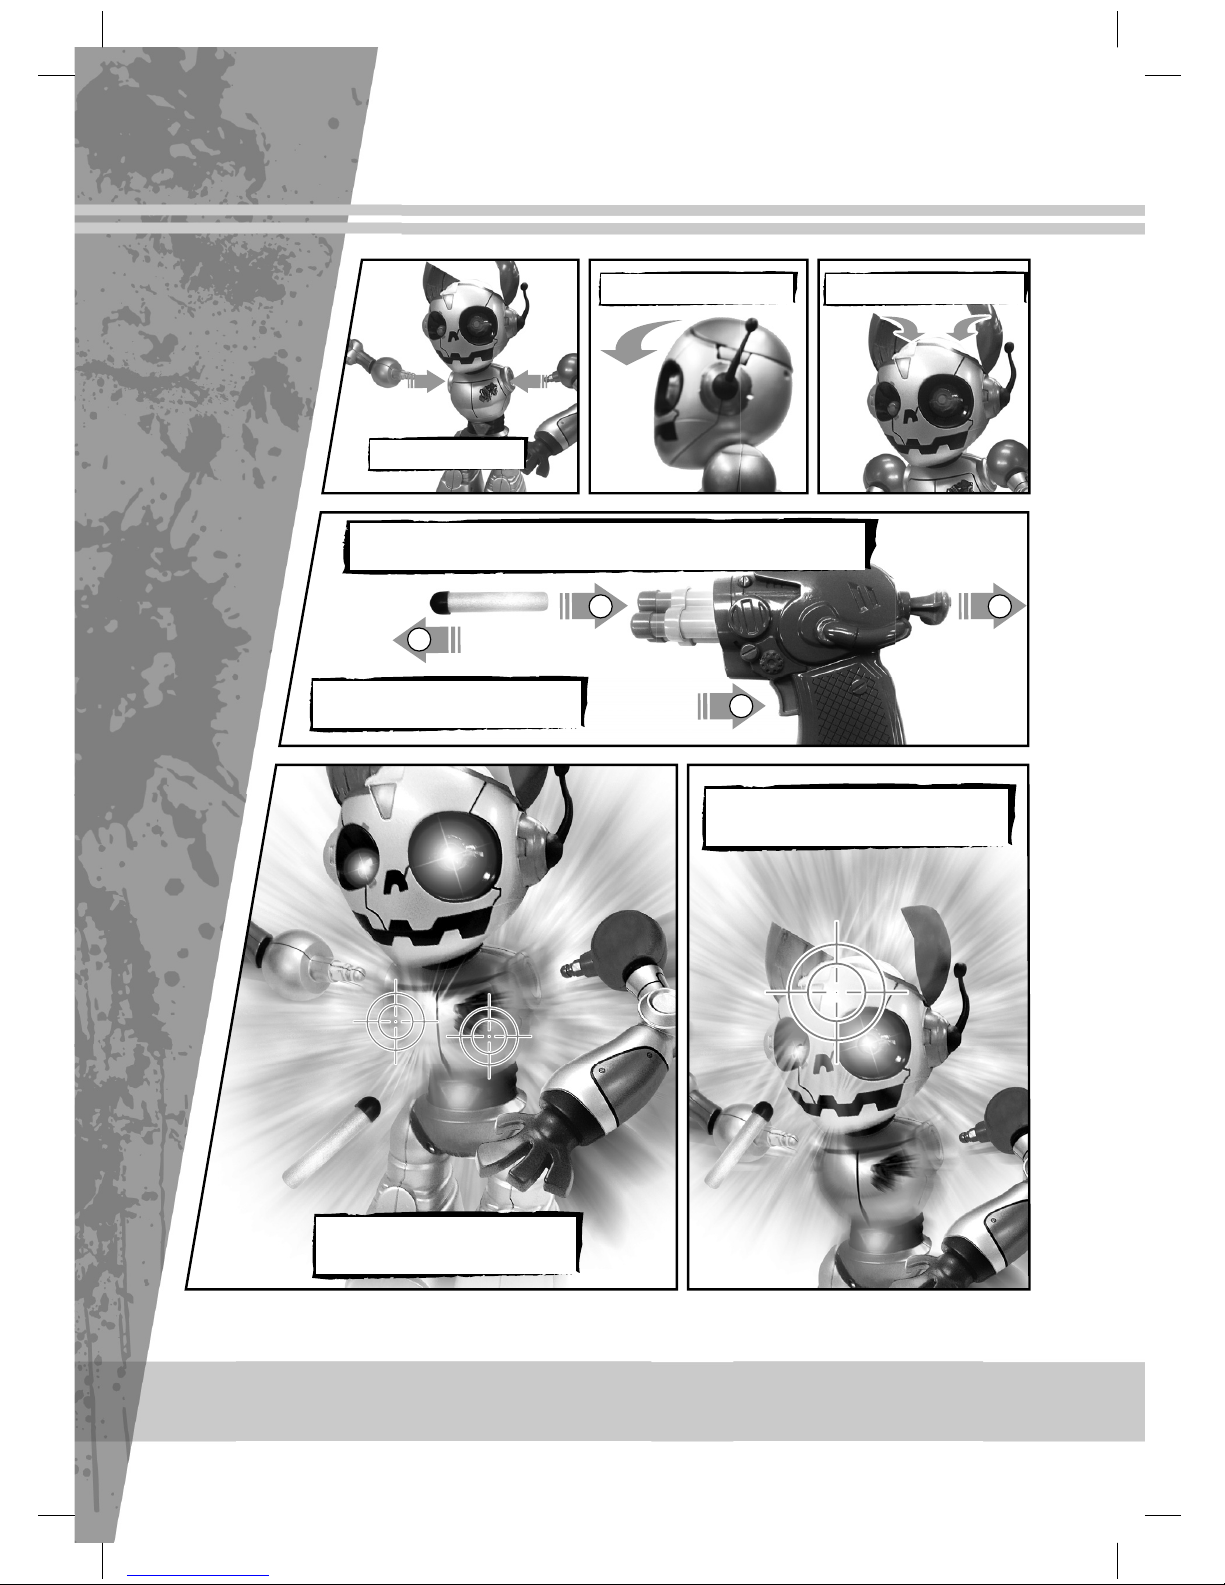
WowWee RobotZombie Manuale utente
Altri manuali WowWee Giocattolo

WowWee
WowWee Tri-bot Manuale utente

WowWee
WowWee Roboboa Manuale utente

WowWee
WowWee pinkfong BABY SHARK Manuale utente

WowWee
WowWee MiP 0825 Manuale utente

WowWee
WowWee Tipster 0370 Manuale utente

WowWee
WowWee Noomie Manuale utente

WowWee
WowWee Untamed Legends Dragon Manuale utente

WowWee
WowWee RS Media Manuale utente

WowWee
WowWee Robosapien X Manuale utente

WowWee
WowWee Alive Lion Cub Manuale utente

WowWee
WowWee Jeobot Manuale utente
WowWee
WowWee Lite Sprites Lite Wand + Prisma Manuale utente

WowWee
WowWee RC Mini MiP Guida all'installazione

WowWee
WowWee REMY'S RATATOUILLE ADVENTURE Manuale utente

WowWee
WowWee Nerf Super Soaker Roboblaster Manuale utente

WowWee
WowWee FlyTech HOVERPOD REMOTE CONTROL HOVERCRAFT Manuale utente

WowWee
WowWee FlyTech Skyhopper 4501 Manuale utente

WowWee
WowWee BUTT HEADS LOUD & PROUD FART LAUNCHER 3000 Manuale utente

WowWee
WowWee Chippies Manuale utente

WowWee
WowWee Robonetics Robosapien V2 Manuale utente