CHANCE C403-3178 Manuale di istruzioni
Owners
Operating Instructions
Manual
for
Wet/Dry Hot StickTesters
C403-3178 (115Volts)
&
C403-3179 (230Volts)
®
P403-3194
© 2002 Hubbell / Chance • 210 N. Allen St., Centralia, MO 65240 U.S.A. Printed in USA
®®
POWER SYSTEMS, INC.
These instructions do not claim to cover all details or
variations in equipment, nor to provide for all possible
conditions to be met concerning installation, operation,
ormaintenanceofthisequipment. Iffurtherinformation
is desired or if particular problems are encountered
which are not sufficiently covered in this guide, contact
A. B. Chance Company.
Introduction:
TheChance Hot StickTester is aportable, self-contained unitfor checking theinsulating integrity ofelectrical live-line
tools in accordance with industry standards. By design, it is for testing tools made only of fiberglass-reinforced plastic
(FRP) up to 3 inches in diameter. It is designed to detect leakage current through a tool.
Set Up
Chance Hot Stick Testers C403-3178 and C403-3179 both perform in the same manner. The C403-3178 is for 115V
source power only; the C403-3179, for 230V source only.
Make sure the tester power switch is on the “Off” position before connecting the unit to its correct power source.
2
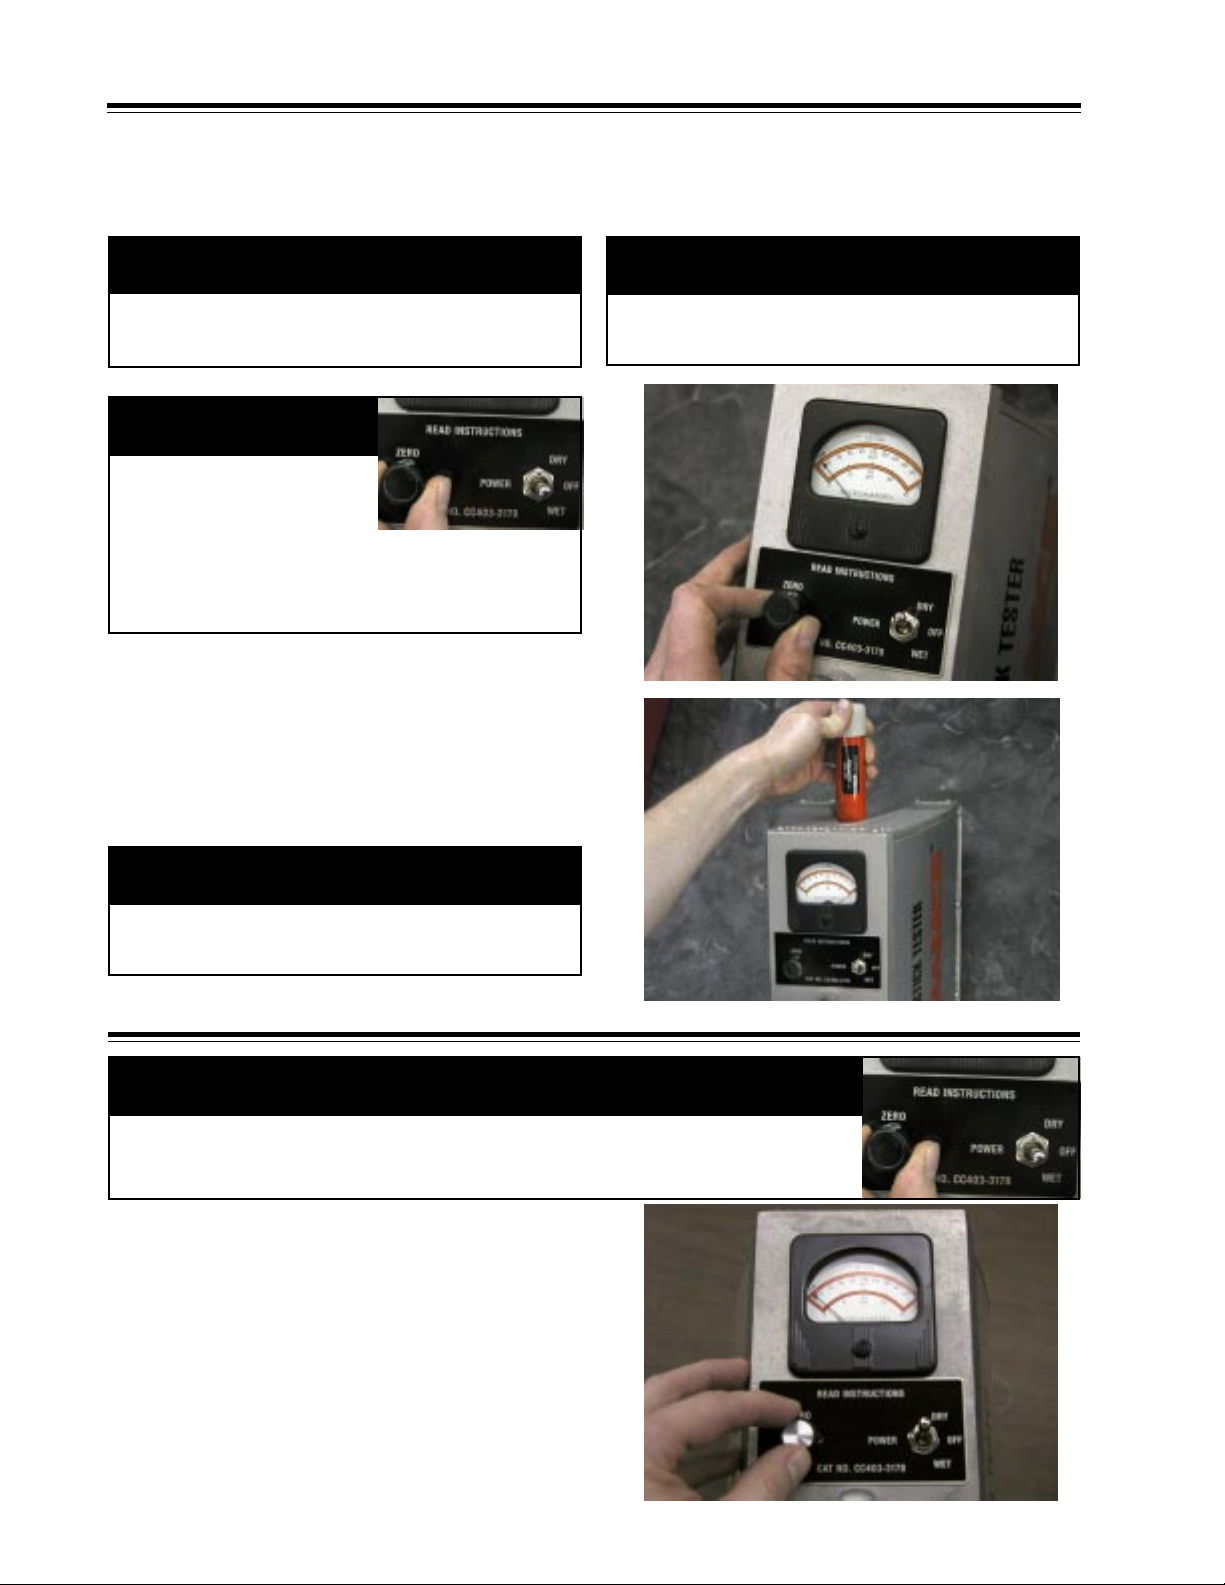
1. Dry test:
The dry test should be conducted with the power switch in
the “DRY” position.
a. After turning the power switch to the “DRY” position
andwithnothingintheopentestareaoftheelectrodes,
rotate the Zero knob until the meter needle aligns with
thelineonthemeterfaceindicatedbythewords“ZERO
TO LINE.”
DryTesting
NOTICE
Before turning the power switch to the “WET or DRY” position, turn the Zero knob to
the “Zero” setting (fully counterclockwise). Damage to the meter could result if the Zero
knob is at the maximum setting (fully clockwise position) when the unit is turned on.
After turning the power switch to the “DRY” position
and with nothing in the open test area of the electrodes,
rotate the Zero knob until the meter needle aligns with
the line on the meter face indicated by the words “ZERO
TO LINE.” This is the position the meter needle should
return to after every test. Placing the Check Bar (which
is stored in the case) in the tester should result in a near
full deflection of the meter needle.
NOTICE
NOTICE
counterclockwise). Damage to the meter could result
if the Zero knob is at the maximum setting (fully
clockwise position) when the unit is turned on.
Using the check bar with the power switch in the Wet
position willcauseonly a small deflectionofthemeter.
▲DANGER
Theunittestswithhighvoltages.Donotremovecovers,
keep hands away from the underside of unit.
▲CAUTION
Use only a properly grounded 3-wire power source.
Incorrect readings can occur when attempting to use a
gas powered generator or inverter as a power source.
Before turning the power
switch to the “WET or DRY”
position, turn the Zero knob
to the “Zero” setting (fully
!!
. . . continued DryTesting
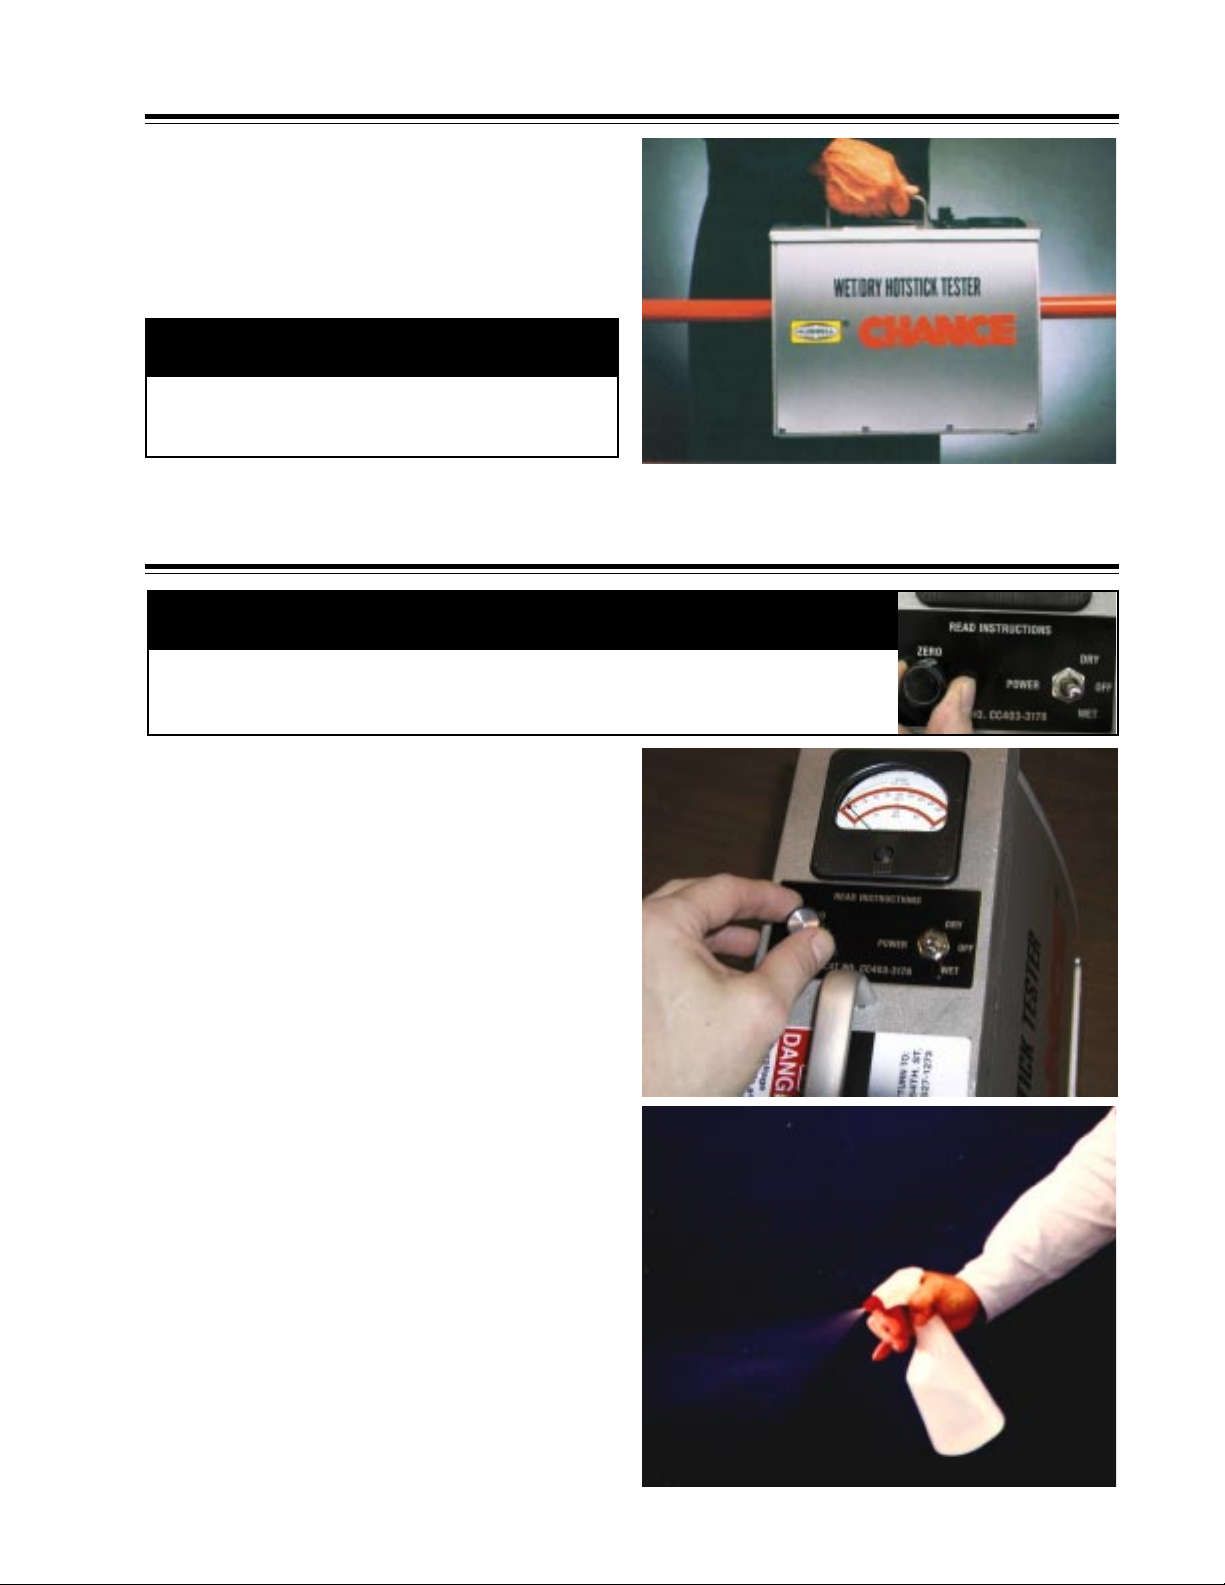
b. To begin testing, support the stick at both ends and
place the tester on the stick. Take overlapping reading
from one end to the other.
c. Rotate the stick and test it again from end to end.
Continueinthismanneruntilallfourquadrantsaround
the pole circumference are thoroughly tested.
NOTICE
DO NOT slide the tester on the stick, but raise and
replace it on the stick to check each location.
WetTesting
NOTICE
Before turning the power switch to the “WET or DRY” position, turn the Zero knob to
the “Zero” setting (fully counterclockwise). Damage to the meter could result if the Zero
knob is at the maximum setting (fully clockwise position) when the unit is turned on.
2. Wet test:
Cleaning prior to testing:
Priortotesting,thoroughlycleaneach stick with Moisture
EaterIIsolventandanonabrasivecloth.Applythesolvent
liberallyovertheentirestickandwipeawaycontaminants
with the cloth.
Thewet test shouldbeconducted with thepower switch in
the “WET” position.
a. After turning the power switch to the “WET” position
andwithnothingintheopentestareaoftheelectrodes,
rotate the Zero knob until the meter needle aligns with
thelineonthemeterfaceindicatedbythewords“ZERO
TO LINE.”
b. Forwettestingthehotstickshouldbehorizontal.Using
a mist applicator, mist the stick with distilled water
evenly over the entire surface, from end to end. Avoid
overwetting and discontinue spraying before the beads
form a continuous line. A continuous line will provide a
current path through the water and falsely indicate
failure. The objective is for the water to bead up on a
glossy surface.
c. Follow the same testing procedures in Section (Dry
Testing) b. & c. except the voltage should be applied to
each tested section until the reading stabilizes before
continuing to the next section of the stick.
3
. . . continued on next page . . .
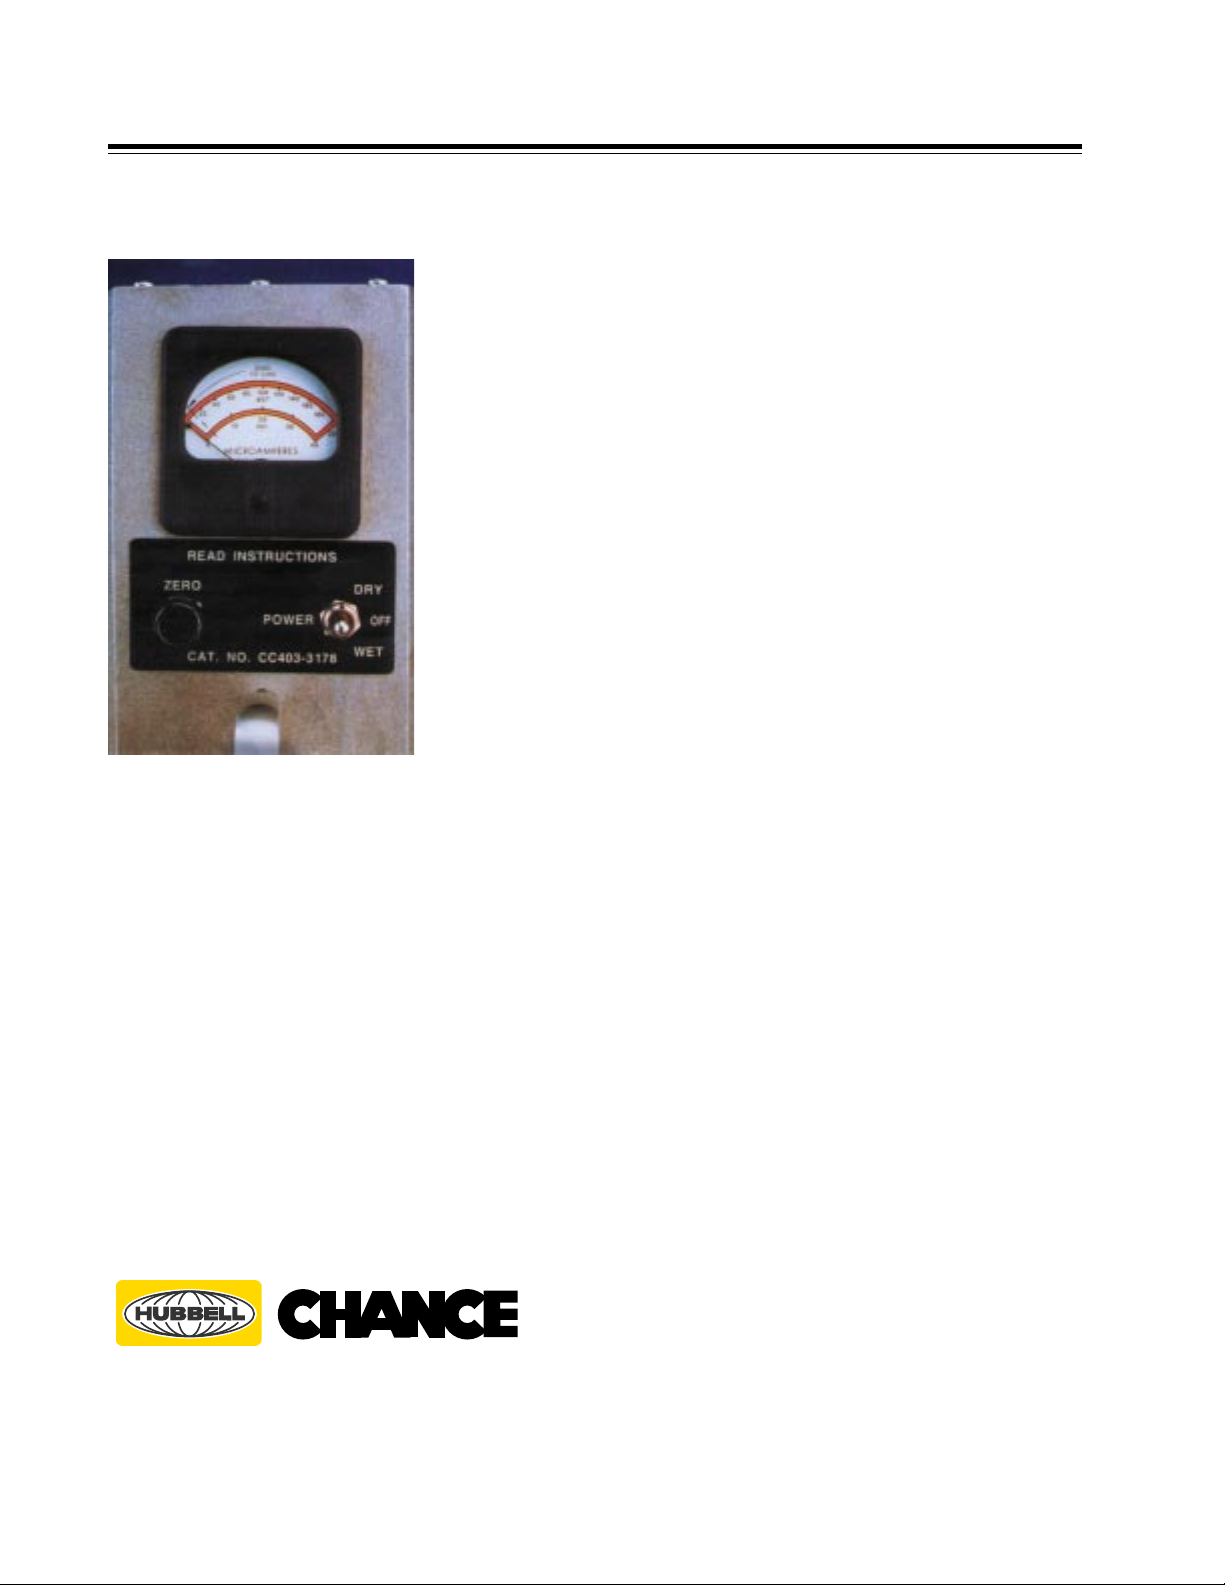
Specific Readings
The lower (Dry) scale is read when the power switch is in the Dry position. The
meterreadstheleakagecurrentontheEpoxiglas®stickwhenvoltageequivalent
to100kV/ft.isappliedtothestick.Theupper(Wet)scaleisreadwhenthepower
switch is in the Wet position. The meter reads the leakage current on the
Epoxiglas stick when voltage equivalent to 75 kV/ft. is applied to the stick.
There are three critical meter indications:
1. A high leakage current reading can be caused by such problems as
contamination on the stick, moisture or carbon tracks on the surface or in the
wall.Anysticksregisteringthiskindofreadingshouldberemovedfromservice
until the problem is identified and remedied.
To eliminate surface contamination as the cause, clean the stick as prescribed
for Chance hot line tools and repeat the test. A failure after properly cleaning,
or refinishing and retesting indicates an internal problem. The stick should be
removed from further service.
2. Non-uniformity in readings taken at various locations along the hot stick.
Example: The first five consecutive readings on a stick are slightly above the
Zero line. The sixth reading has a considerably higher leakage current. The
remainderofthereadingsfallneartheZeroline.Thenon-uniformityofthesixth
reading should be retested by rotating the stick to get a maximum reading.
Rotating the pole may result in a high leakage current reading.
In any case, non-uniformity should be checked by inspecting for localized
surface contamination, cracking or other damage to the pole, a patched pole or
plugged pole. (The latter condition often is noted on side rails of fiberglass-pole
ladders where the rungs connect to the rails.)
3. In some cases, the leakage current will continue to rise as the stick is being
tested. This stick should be cleaned and retested. If this condition is not
corrected the pole should be removed from service.
© 2002 Hubbell / Chance Co., 210 N. Allen St., Centralia, MO 65240 U.S.A. Printed in USA P403-3194
RGS 2/02
NOTE: Because Hubbell has a policy of continuous product improvement, we reserve the right to change design and specifications without notice.
®®
POWER SYSTEMS, INC.
For repairs, contact:
M.W. Bevins Company
9903 E. 54th St.
Tulsa, OK 74146
Phone: (918) 627-1273
Fax: (918) 627-1294
Questo manuale è adatto per i seguenti modelli
1
Indice
Altri manuali CHANCE Apparecchiature di prova


Manuali Apparecchiature di prova popolari di altre marche

SMART
SMART KANAAD SBT XTREME 3G Series Manuale utente

Agilent Technologies
Agilent Technologies BERT Serial Manuale utente

Agilent Technologies
Agilent Technologies N3280A Manuale utente

Vernier
Vernier Go Direct Voltage Manuale utente

Lifeloc
Lifeloc R.A.D.A.R. Manuale utente

Fluke
Fluke T5-600 Istruzioni per l'uso e l'installazione


