Lorex L19LD800 Series Manuale utente

Copyright © 2007 Lorex Technology Inc.
LOREX CLIENT 3.0
SOFTWARE MANUAL
IRMS Integrated Remote Management Software
Instruction Manual
www.lorexcctv.com
English Version 2.0

Lorex Client 3.0 – Integrated Remote Management Software
- 2 -
Table of Contents
Overview........................................................................................- 2 -
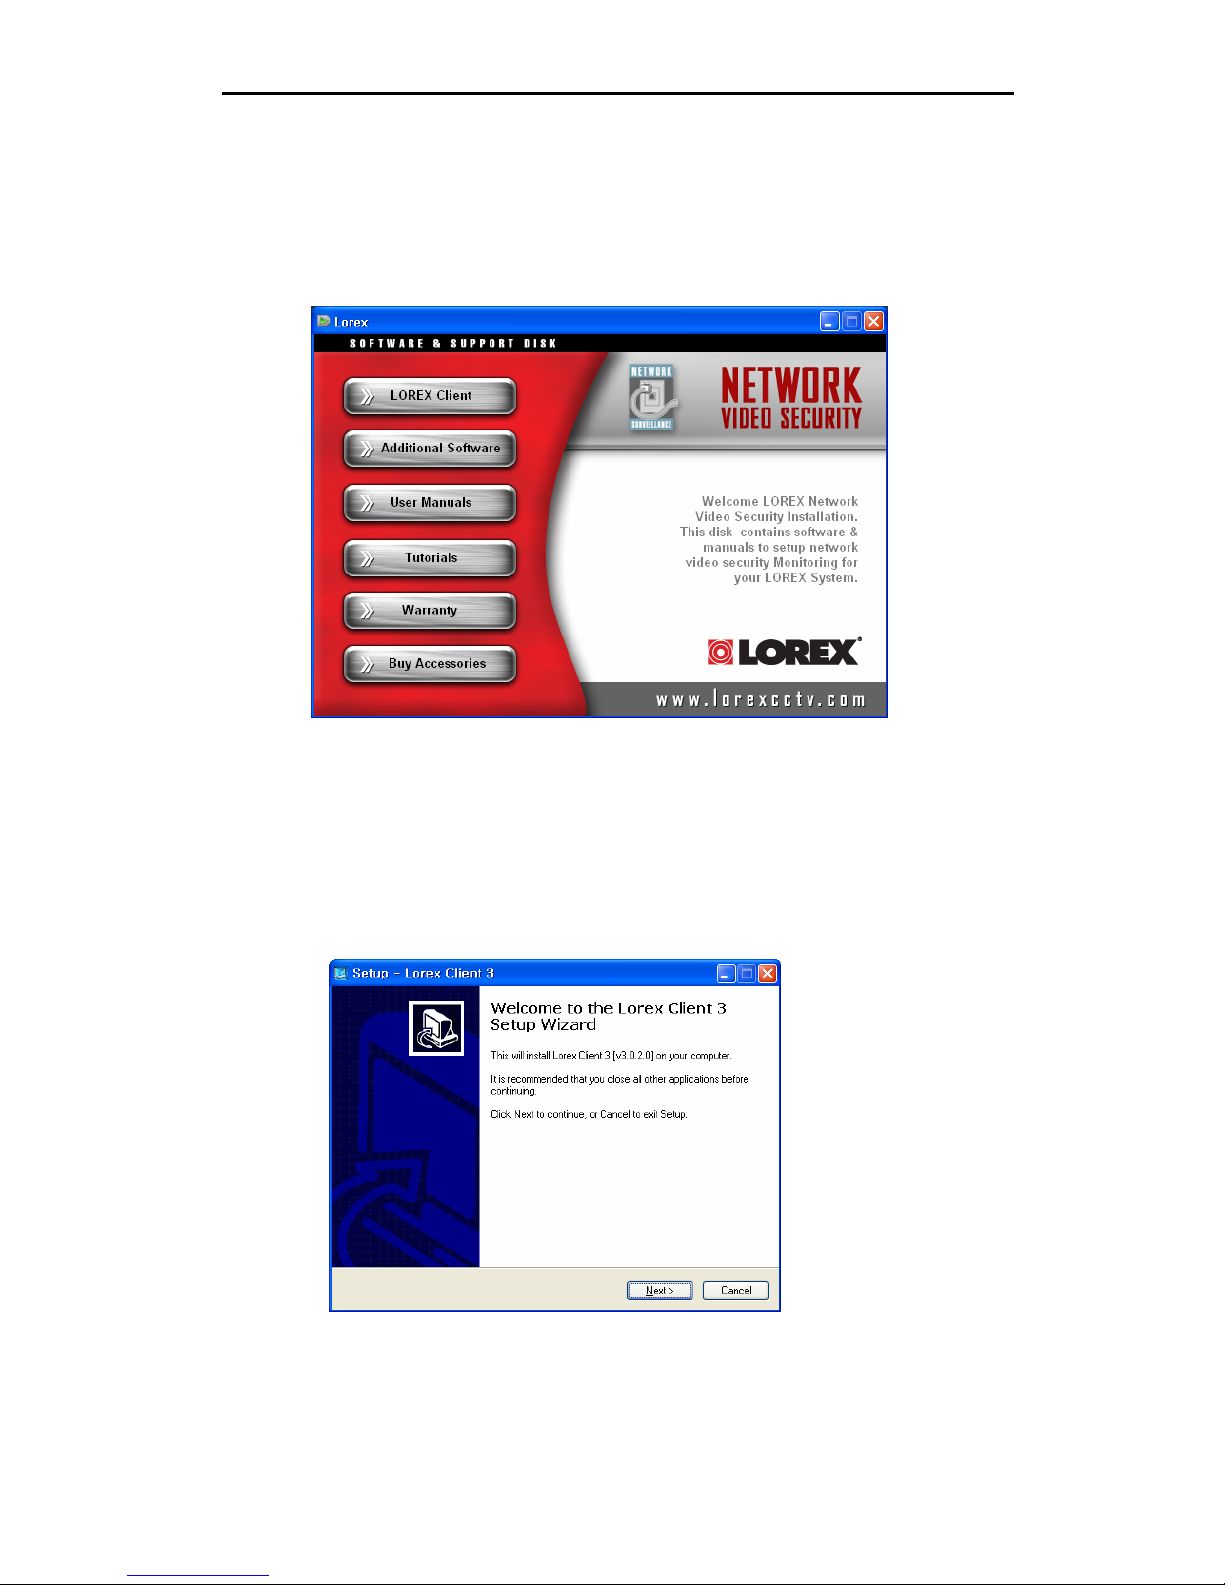
Installation .....................................................................................- 4 -
Remote Site Setup ..........................................................................- 7 -
Favorite Group..............................................................................- 12 -
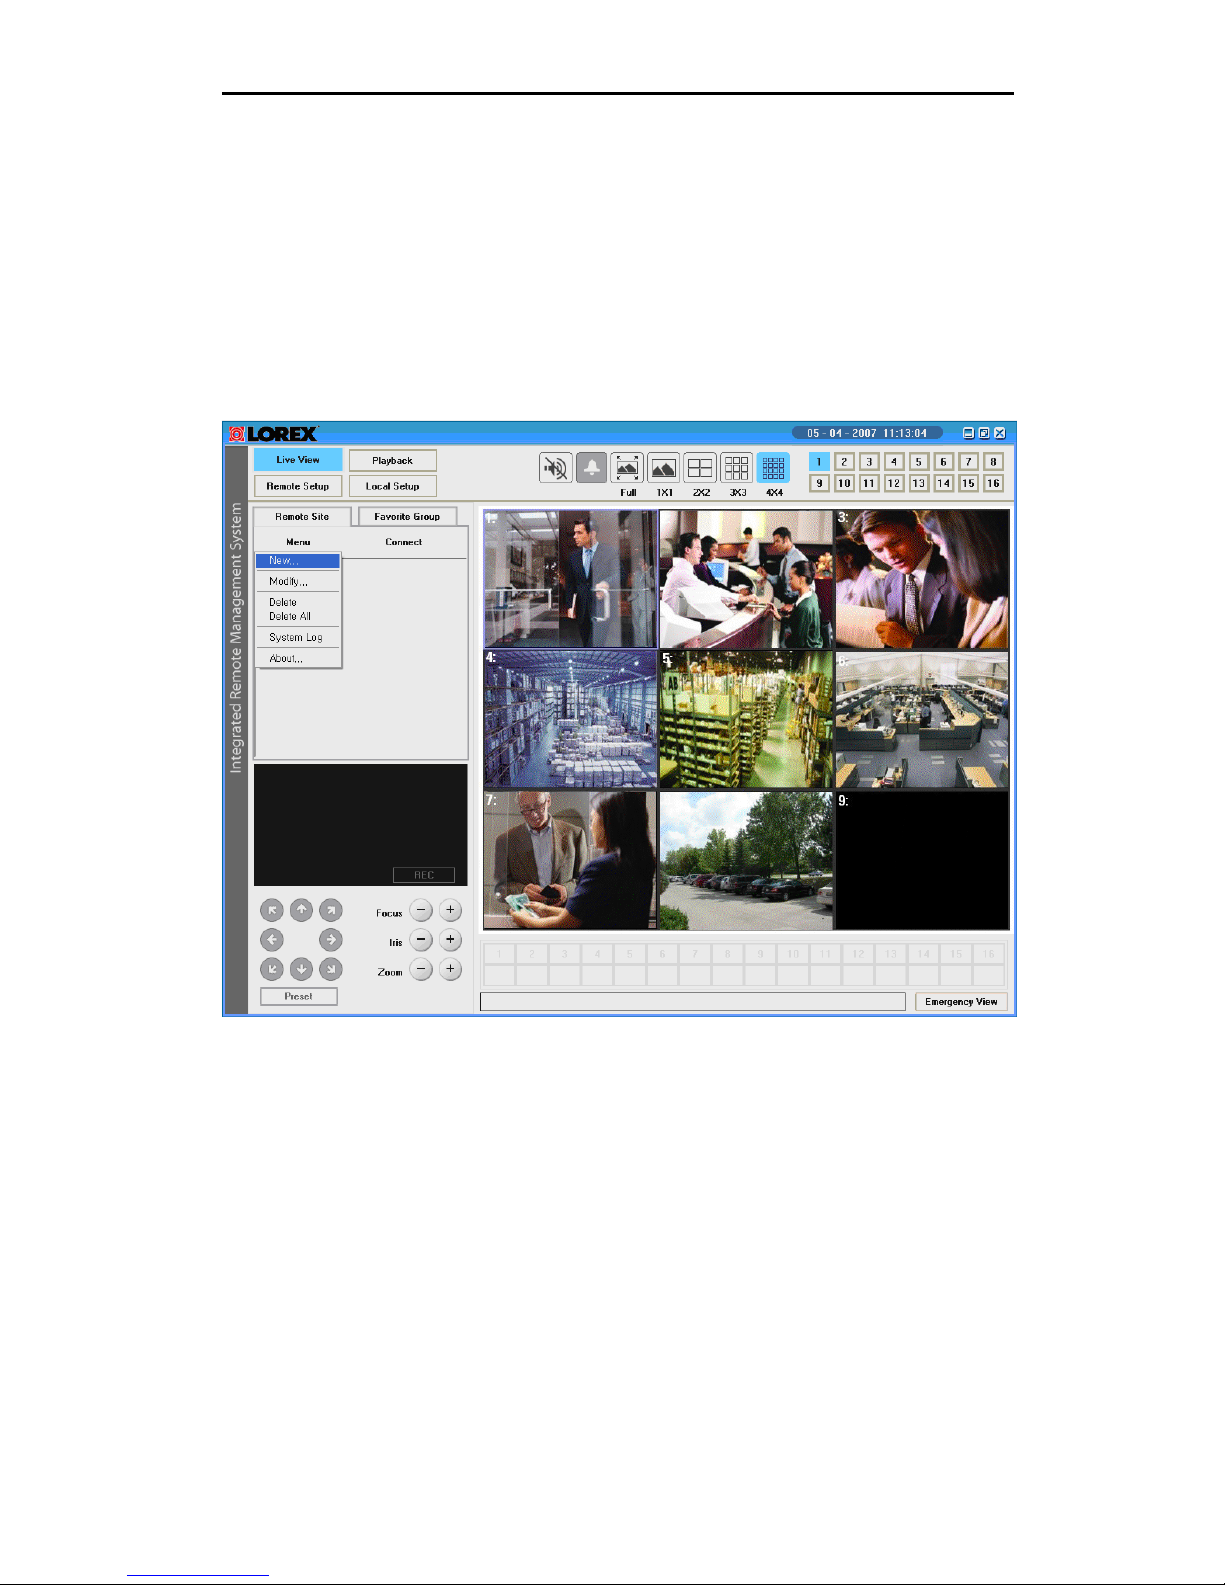
Live View......................................................................................- 15 -
Playback....................................................................................... - 17 -
Local Setup................................................................................... - 21 -
Remote Setup...............................................................................- 26 -
Appendix A – Remote access via web browser.................................- 36 -
Appendix B – Lorex Player 3........................................................... - 39 -
Appendix C - Lorex Backup Player 3 – Main Window ........................- 43 -
Installing the Lorex Backup Player 3............................................- 43 -
Lorex Backup Player 3 – Main Screen .......................................... - 47 -
Appendix D – Network Setup..........................................................- 51 -
Appendix E – Storage Calculator.....................................................- 58 -
Overview
This manual describes the operating procedures for the Lorex Client 3.0 IRMS (Integrated
Remote Management System) software designed for the L19LD800 Series Observation
System.
Lorex Client 3 - Features
The Lorex Client (IRMS program) is the integrated software that controls system
management, video monitoring and image playback of multiple remote systems. The
IRMS offers the following features:
•Check and report on the system status at a remote site
•Notification of the event detection from remote sites
•Remote monitoring of live camera images
•Time-lapse and calendar search of recorded images
•Remote software upgrades and system programming
•Remote Archive from the Combo DVR

Lorex Client 3.0 – Integrated Remote Management Software
- 3 -
Lorex Player 3 - Features
The Lorex Player is used to view video clips that are saved to:
•Archived to a USB Thumbstick (not included)
•Archived to a Removable CD-ROM Burner (not included)
Lorex Backup Player 3 – Features
The Lorex Backup Player 3 Application is a stand alone program that can be installed to
playback:
•Data archived to a removable Hard Drive (not included).
•Data mirrored to a removable Hard Drive (not included).
Product Components
•LCD & DVR Combo Unit (with pre-installed Hard Drive)
•Power Adaptor
•10’ Ethernet Cable
•Remote Control
•Hardware Manual
•Software Manual (This Document)
•Software Installation CD
System Requirements
Operating System Microsoft Windows 98, Microsoft Windows ME, Microsoft
Windows 2000, Microsoft Windows XP or Microsoft
Windows Vista.
CPU Pentium IV 2.4Ghz, 512MB RAM, 10GB free disk or
greater
RAM 64MB or greater
Video AGP, Video RAM 32MB or higher (1024x768, 24bpp or
greater)

Lorex Client 3.0 – Integrated Remote Management Software
- 4 -
Lorex Client Installation
1. Insert the installation CD into your computer. The following installation guide window
appears.
Note: Product Documentation, Networking guides, and a video tutorial for camera
installation are available on the CD. Please take this opportunity to register your product.
This provides you with product warranty protection and product updates.
2. Click on the Lorex Client button to start the software installation for the Lorex Client
and Lorex Player.
3. When the following dialog box appears, click the Next button.

Lorex Client 3.0 – Integrated Remote Management Software
- 5 -
4. Click Next
5. Click Finish to complete the installation
The Lorex Client and Lorex Player icons are created on the Desktop.

Lorex Client 3.0 – Integrated Remote Management Software
- 6 -
After installing the Lorex Client software, run the program by double clicking on the Lorex
Client desktop icon. The log-in window may appear before the main IRMS program
window loads.
Enter your password to start the Client software.
Note: The Initial password is blank. Refer to the Local Set Up section for instructions
about changing the password settings.
The Lorex Backup Player 3 Application is a stand alone program that can be
installed on another PC to play back data archived or mirrored to a
removable Hard Drive. This application must be installed separately – please
refer to “Appendix B – Lorex Backup Player 3” for details.

Lorex Client 3.0 – Integrated Remote Management Software
- 7 -
Remote Site Setup
The following steps outline the setup for the Client software (for Remote Connection).
Menu
Click the Remote Site button, and then click the “Menu” button to add a new remote site.
The following drop down menu will appear:
Menu fields include:
•New: Adds and registers a new remote site.
•Modify: Displays the information about all remote sites registered. You can see
the pop-up window.
•System Log: Displays the system log data of the remote site selected.
•Delete: Deletes the currently selected remote site.
•Delete All: Deletes all sites registered before.
•About: Displays Lorex Client software version

Lorex Client 3.0 – Integrated Remote Management Software
- 8 -
Select the “New” option in the drop down menu, and enter the information for the
remote site to register.
The Add Site dialog box appears (see below).
Options include:
•DEVICE: Set by default to “LCD COMBO”.
•TITLE: Enter a name for the remote site.
•ID: Enter the log-in ID of the remote system (default: Admin)
•PASSWORD: Enter the log-in password of the remote system (default: blank/no
password)
•REMEMBER: If this option is checked, you can connect to the remote site without
entering password each time.
•PORT: Displays an initial port number. The port must match the one assigned to
the remote system to connect). The default port is set to 3000.
•IP/URL: Enter the IP address or domain name of the remote system:
oThe Local IP address (e.g. Local Network Connection IP 192.168.12.184)
oRemote IP address (e.g. Wide Area Network IP address 72.68.122.45)
oDDNS address (e.g. myurl.strategicvista.net) for the remote site. If
registered with the LOREX DDNS service, you can enter only the prefix of
the URL. (without the suffix: .strategicvista.net).
Note: Please refer to “Appendix C - Network Configuration and Setup” for configuration
details.

Lorex Client 3.0 – Integrated Remote Management Software
- 9 -
Connection
▶Connect using the “Connect” button.
Select the site you want to connect to from the Remote Site list, and then click the
Connect button.
Select the “Connect” option. The images from the connected system cameras will appear
in the Live View.

Lorex Client 3.0 – Integrated Remote Management Software
- 10 -
Camera Images when remotely connected to a site:
Connect Menu options include:
•Connect: Connects to the remote site selected.
•Close All: Disconnects from all remote sites currently registered.
•Close a Selected Site: Disconnects the currently selected remote site.
•Close a Selected Camera: Disconnects the currently selected camera channel.
Altri manuali per L19LD800 Series
2
Questo manuale è adatto per i seguenti modelli
1
Indice
Altri manuali Lorex Software
Manuali Software popolari di altre marche

PS Audio
PS Audio PowerPlay Manuale del proprietario

Brady
Brady LOCKOUT PRO 3.0 Manuale di servizio

Avaya
Avaya Interaction Center Manuale utente

Texas Instruments
Texas Instruments TI-83 Plus Silver Edition Manuale

Novell
Novell GROUPWISE 8 - INTERNET AGENT Manuale utente

Oracle
Oracle Application 9i Manuale utente

Acer
Acer RDM Manuale utente

Canon
Canon Vixia HF21 Manuale utente

Canon
Canon ZR950 Manuale utente

Samsung
Samsung Auto Backup Manuale utente

Polycom
Polycom Vortex EF2201 Istruzioni per l'installazione e il funzionamento

Brocade Communications Systems
Brocade Communications Systems Brocade 8/12c Manuale utente


