EN-8
○○○○○○○○○○
User’s Manual
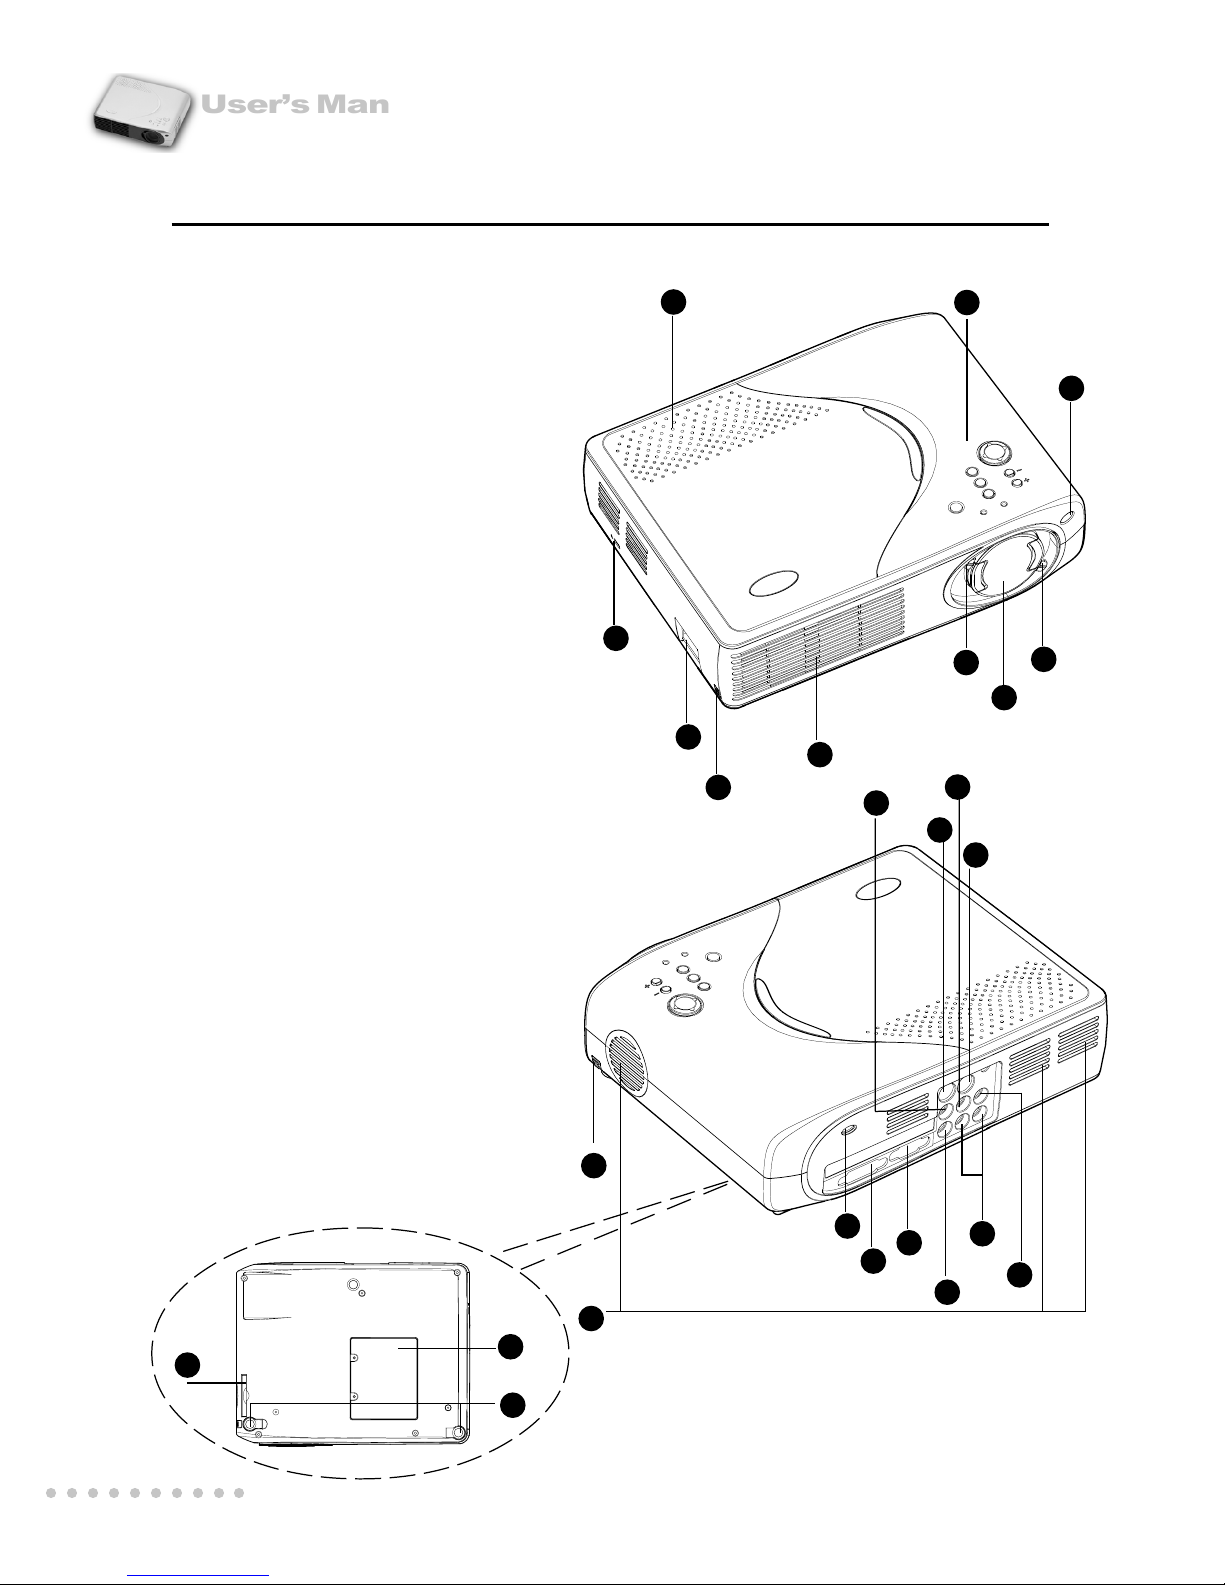
Projector
REMOTE CONTROLLER
Button Function
POWER Turns the projector and lamp ON and OFF.
INPUT Manually selects an input source.
AUTO Automatically adjusts frequency and phase.
MENU Displays (or hides) the on-screen display menus.
Scrolls up through the menu choices.
Scrolls down through the menu choices.
Increases the value setting on the selected sub-menus, or
confirms a menu selection.
Decreases the value setting on the selected sub-menus.
Functions as left mouse(only functions when your projector is
equipped with an optional mouse link cable).
Functions as right mouse(only functions when your projector is
equipped with an optional mouse link cable).
LASER Fires laser pointer (press and hold).
VOLUME(+ ,-) Adjusts the volume of the projector’s
speakers.
KEYSTONE Selects vertical or horizontal trapezoidal
distortion.
ZOOM(+,-) Digitally zooms the current image
window.
MUTE Cuts off the sound temporarily.
FREEZE Freezes the current graphics and video
image on the screen.
BLANK Cuts off the screen temporarily.
Note:
During the on-screen display(OSD) menu is inactive, the
,‚,,and buttons will function as a remote
mouse for your PC (only if your projector is equipped with an
optional mouse link cable).
Toggle the KEYSTONE button to select the desired trapezoidal distortion. To
adjust the trapezoidal distortion of the projection, press the
or
button.