5
Introducing the Palm™Ultra-Thin Keyboard
The Palm™ Ultra-Thin Keyboard is the convenient, portable keyboard solution for
typing text and commands quickly and easily into your Palm OS®handheld. This
compact and fully functional keyboard enables you to do the following:
■Create and respond to e-mail messages
■Type meeting and classroom notes
■Type memos, reports, and other documents while on a plane, on the subway, in
a classroom, and in many other places
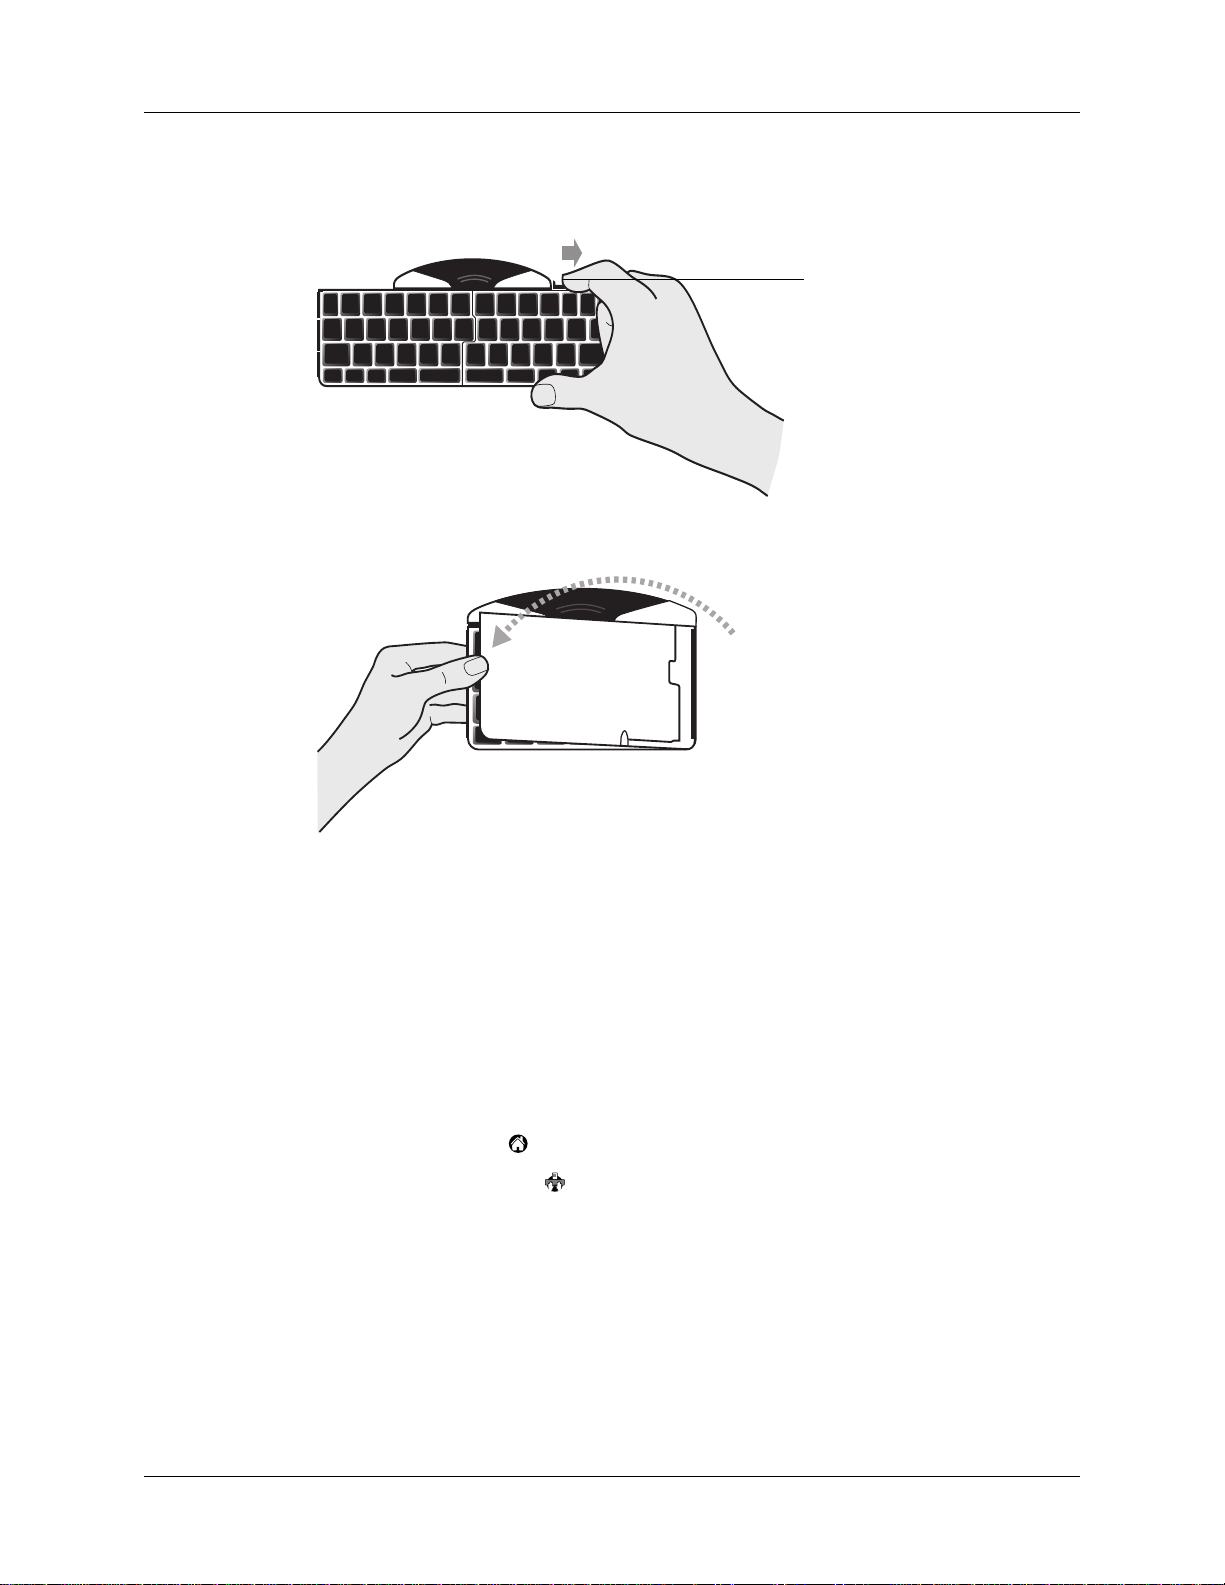
■Fold to fit in your pocket, backpack, or briefcase
This Handbook describes how to install and set up your keyboard, how to customize
settings to optimize your use of the keyboard, and the keyboard shortcuts that are
available for quick navigation and data entry.
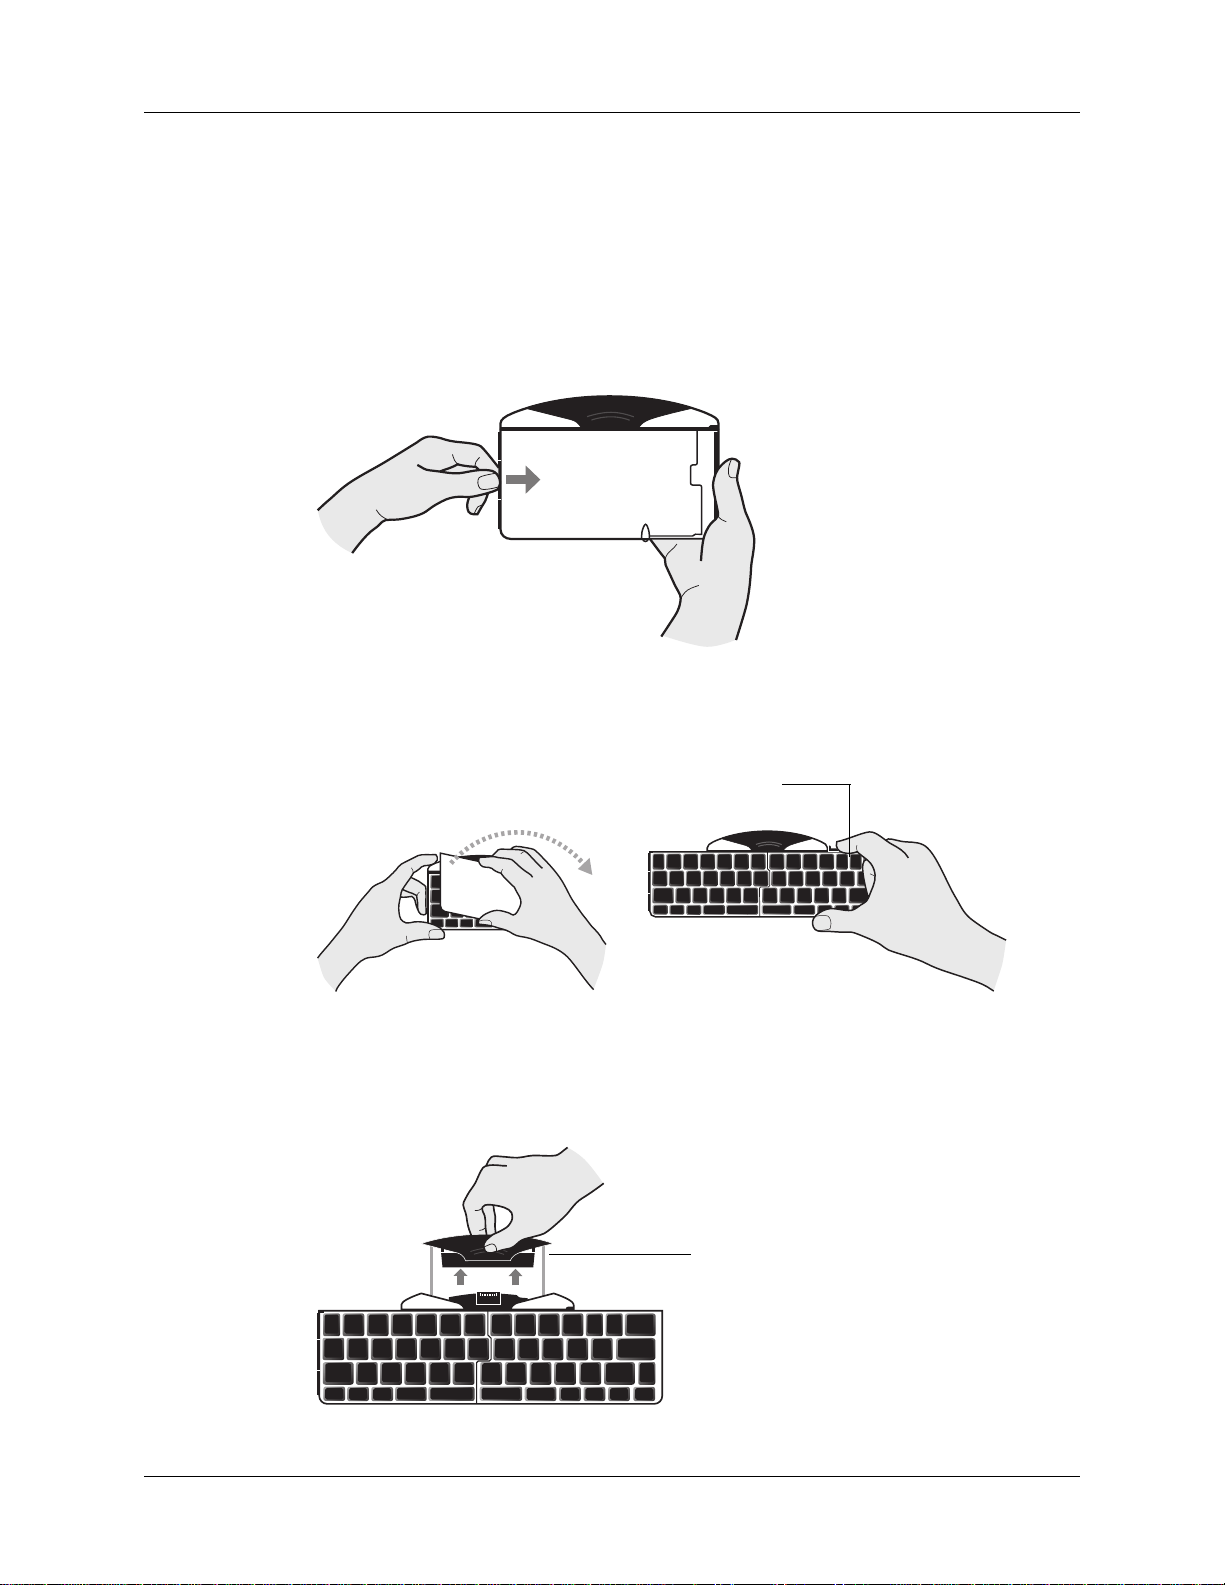
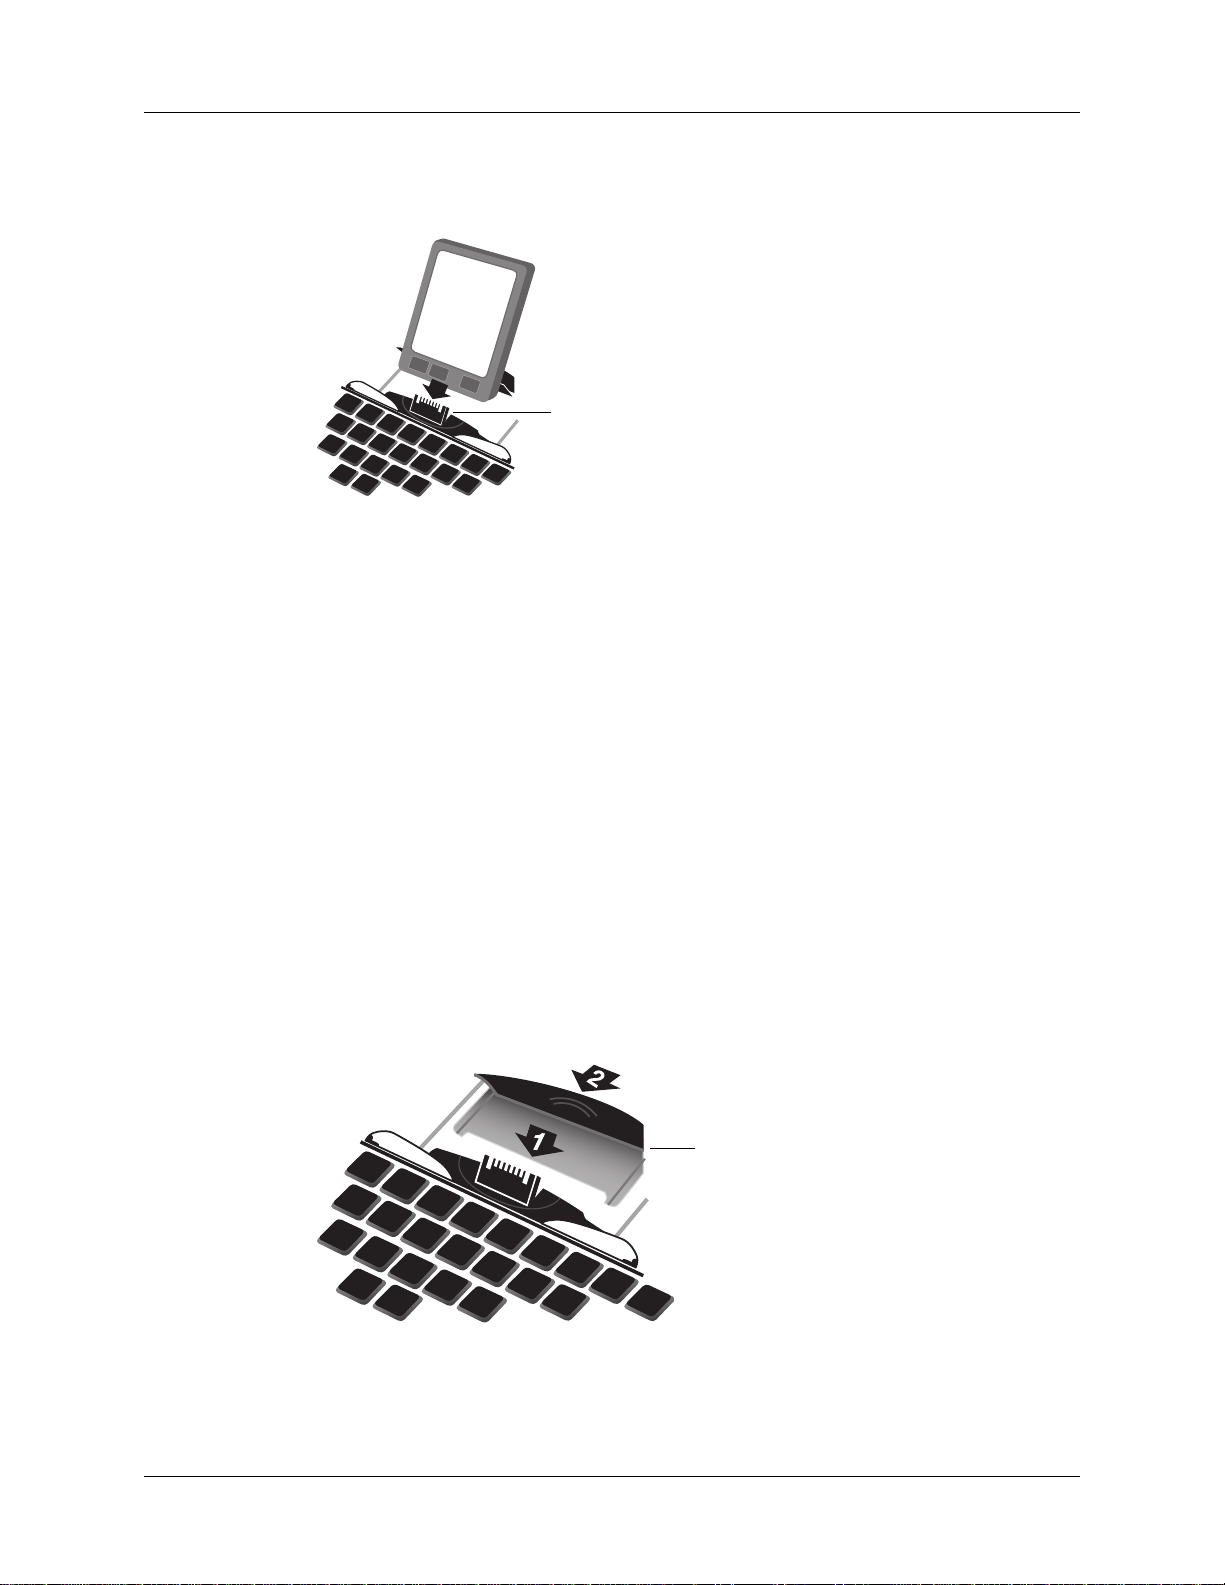
Before you can use your keyboard, you must do the following:
■Install the Palm Ultra-Thin Keyboard application on your handheld
■Set up the keyboard and attach your Palm OS handheld
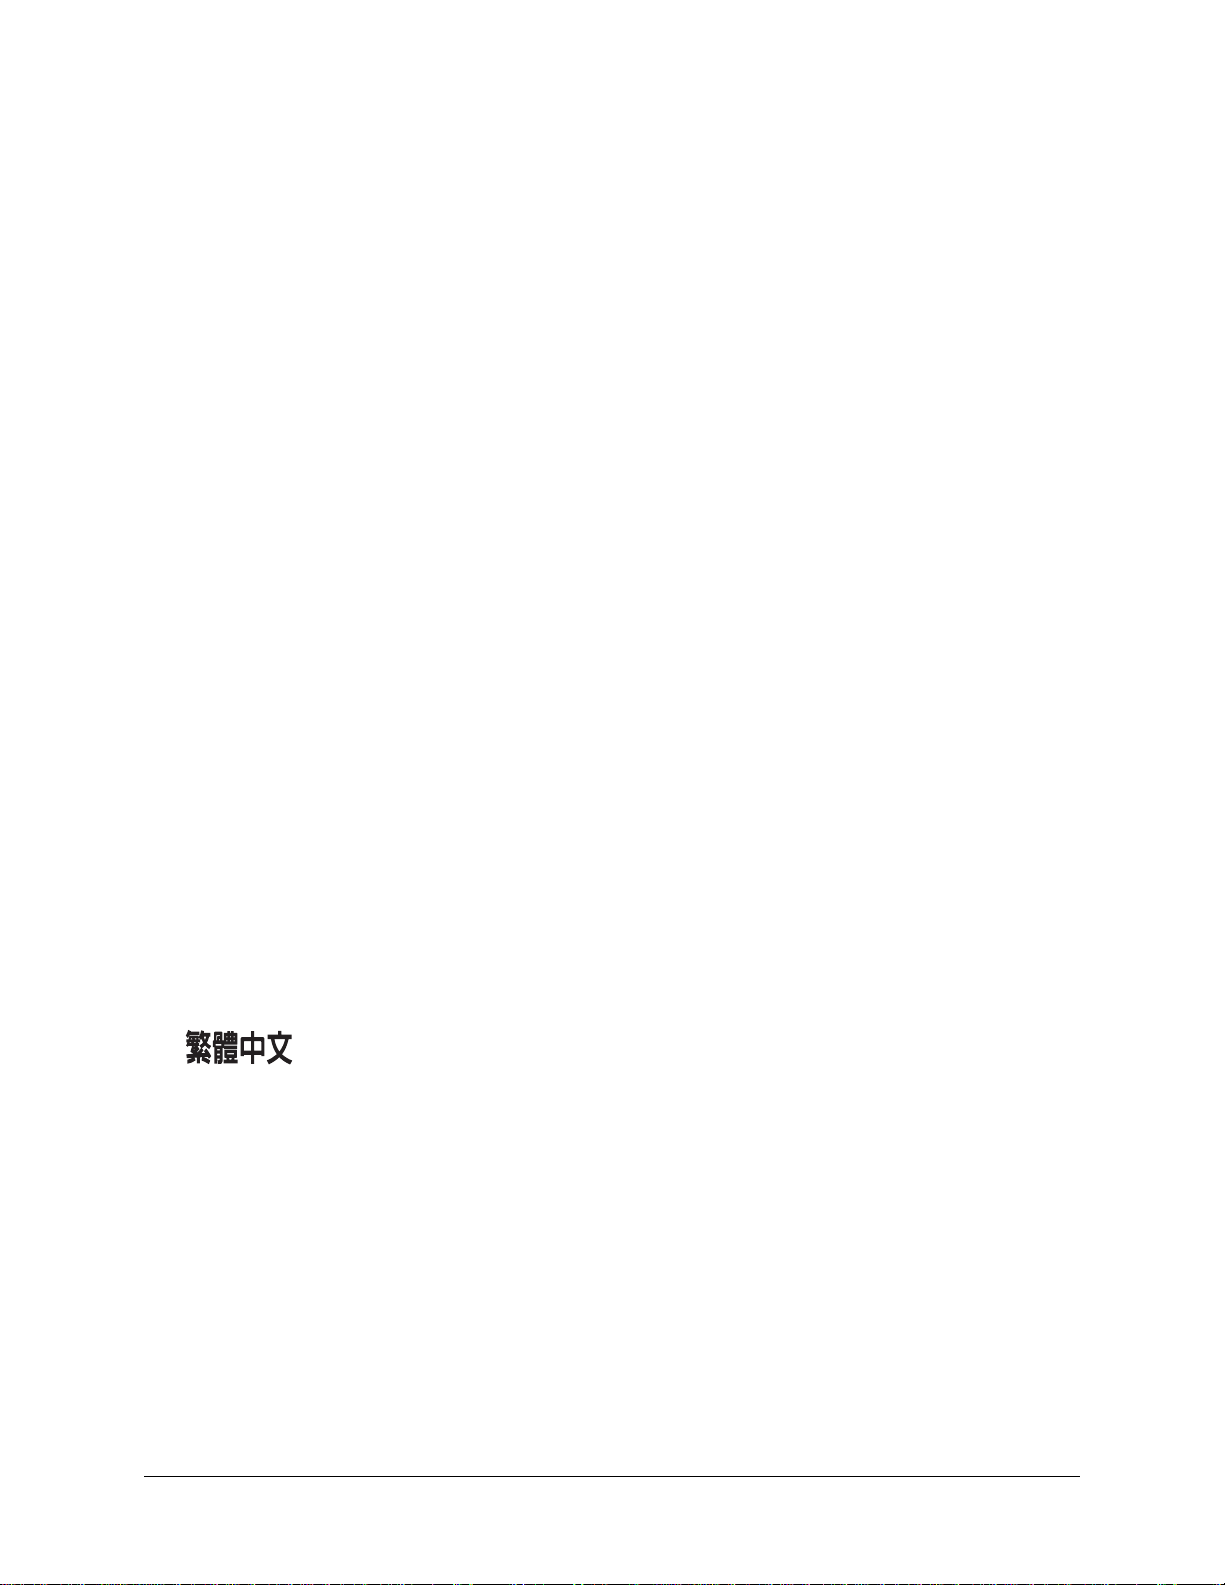
Installing the Application
Before you install the Palm Ultra-Thin Keyboard application on your handheld, it’s
a good idea to perform a HotSync®operation to back up your data.
The application for the keyboard controls the way the keyboard interacts with your
handheld. It’s a PRC file like most other applications for your handheld.
To install the keyboard application (Windows users):
1. Insert the CD-ROM into the CD-ROM drive.
2. Follow the onscreen instructions for completing the installation.
NOTE Ifinstallationdoesnotbegin,clicktheWindowsStartbutton,selectRun,
enter D:\autorun.exe, and then click OK. If necessary, replace D: with the drive
letter assigned to your CD-ROM drive.
To install the keyboard application (Mac users):
1. Insert the CD-ROM into the CD-ROM drive.
2. Double-click the Setup icon.
3. Double-click the keyboard.prc file. The file will be installed during your next
HotSync operation.