7
We know you are eager to get right to the 3D printing so here is a step by step
guide to get you started. If you are as excited as we are, we encourage you to lm
your unboxing, setting up or rst print and to upload the video to the YouTube,
live-Tweet it with #Skriware or show it off to your Facebook friends. Go nuts! We
will surely appreciate it.
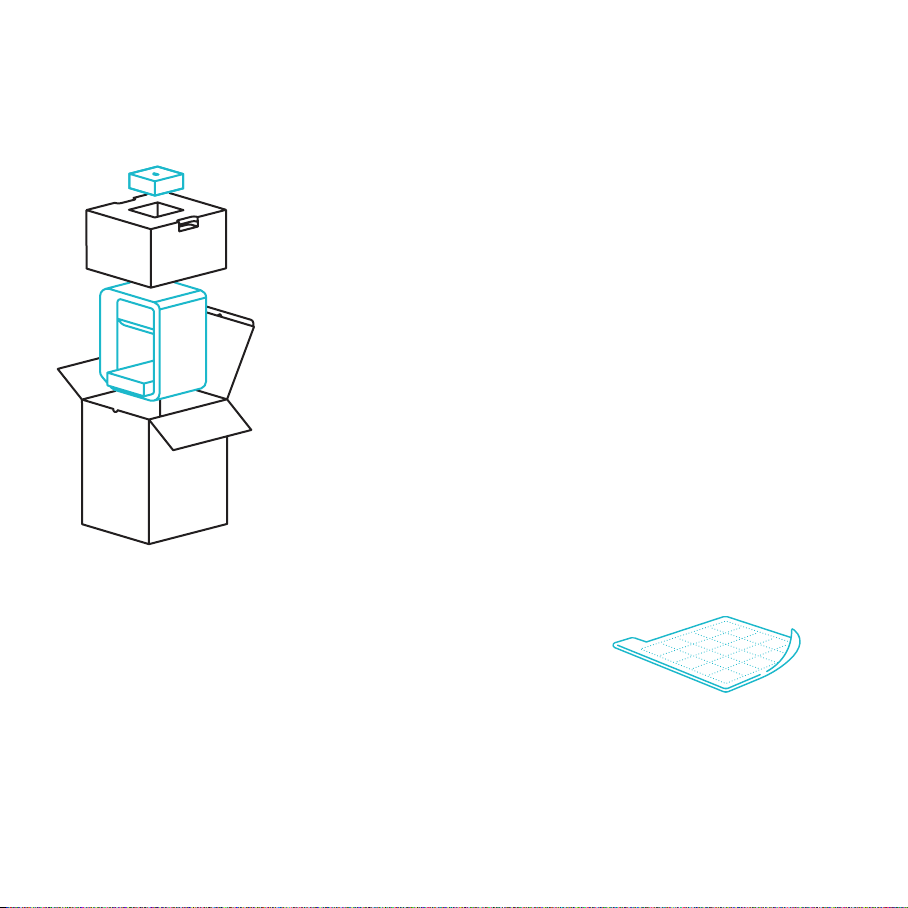
Inside the opened box, on the top, you will nd a small box containing quick start
guide, 2 magnetic beds, the power cable and an additional hotend. If you are
an advanced user or have previous experiences with 3D printing you can refer
to the quick start guide to get you started immediately.
Carefully take out your Skriware 3D Printer from the box (do not pull the black cord
with the yellow warning sticker - it is not a handle!) and place it on the designated
working surface. Make sure it is stable and level.
Remove the foams securing the extruder’s gantry system in place and another
preventing the printing platform from moving. The foams may come in handy
in the future if you plan to move your Skriware 3D Printer around.
Place one of the magnetic beds evenly on the printing platform and wipe
it with a clean cloth and a rubbing alcohol.
Plug the power cable into the printer’s power socket and into a grounded
power socket near the Skriware 3D Printer’s workplace and then set the pow-
er switch on the back of the printer to 1 (ON) position.
Press the power button on the Skriware 3D Printer’s front.
Your Skriware 3D Printer will now turn on. Wait until the Skriware logo disappears from the display and you will
see the main menu screen.
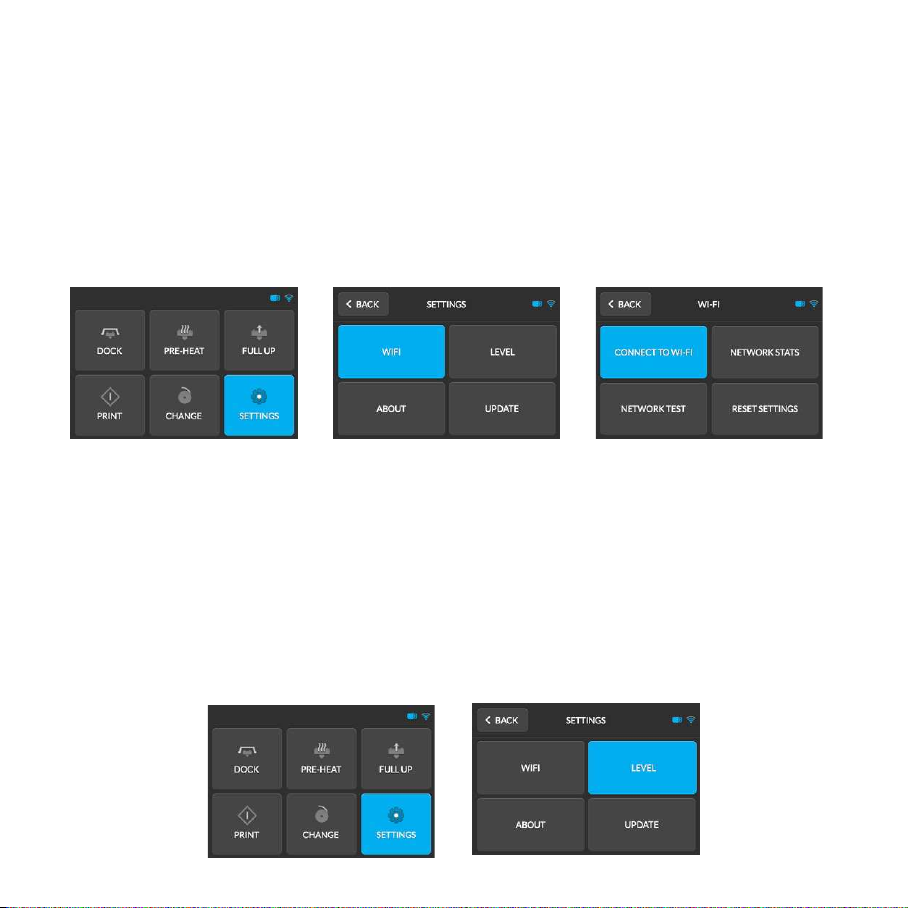
4. First set up