washloo Side Control Manuale utente

Side Control
User Manual
Clean Comfort Hygiene


Table of Contents
1
Page Description Page Number
Safety Precautions 2
Product Overview 4
Installation Guide 5
Preparation Before Use 9
Operation 10
Maintenance 13
Trouble Shooting 14
Technical Specifications 15
Warranty 16
User Information 17

2
Read all instructions before use.
Save these instructions for future reference.
Safety Precautions
‘Do Not’ Disassemble, attempt
to repair or alter the Washloo.
Any alterations should be carried out
by a qualified technician
Disassembly may result in
death or injury.
‘Do Not’ fully submerge the
Washloo into water.
‘Do not’ use the product in locations
exposed to excessive moisture and
do not splash water
onto the product
‘Do Not’ touch the plug with
wet hands.
This may cause a high risk of an
electric shock.
This Washloo is equipped with a
cord incorporating an earth wire
and an earthed plug.
Before connecting the Washloo
to the power supply, please
ensure the water supply is
connected first.
Washloos require a power
supply of 220-240V
‘Do Not’ loosen the plug
connecting wires.
Ensure the power cable is not
damaged or excessively bent prior to
use.
Exposed wires may result
in an electric shock
The plug must be inserted
into a power outlet that
has been correctly
installed

3
Safety Precautions
‘Do Not’ stretch or bend the
plastic water pipes supplying the
Washloo.
‘Do Not’ install or leave the
remote control near water.
‘Do Not’ expose the Washloo to
below freezing conditions.
The plastic water pipe supplying the
Washloo and also the internal water
system may get damaged, later
resulting in leaks.
For children and seniors who
have difficulties with adjusting
temperature.
‘Do Not’ place an electric heater
near the Washloo.
‘Do Not’ place any containers
filled with water, medicines,
‘Do Not’ stand on the Washloo
lid or seat.
‘Do Not’ force the Washloo cover
or seat downwards or upwards.
Any damage found
through misuse or
standing on the Washloo
will not be covered under
warranty.
This will damage the ‘soft
closing’ mechanism or the
physical product. Any
damage through misuse
will not be covered under
warranty.
This may result in leaks within
the water supply and
potentially damage the
Washloo.
‘Do Not’ submerge the remote
control in water as this will
damage the internal circuit
boards.
Users with sensitive skin or impaired
heat sensitivity should set the
temperature of the wash spray, air
dryer and seat to `'low'' or `'off‘’.
‘Do Not’ dispose of any burning
materials such as cigarettes in the
toilet. This may result in fire or product
deformation.
food, metallic objects or flammable
materials on top of the Washloo. If
foreign objects enter the product,
this may result in electric shock or
fire.

4
Product Overview - Side Control Models
Plastic Water Pipe
O-Ring
Seal Spanner
One way T-
Valve with 2x
Internal Filters
Mounting Bolts Rubber Expansion
Sleeves
Steel Adjustment Brackets
Fixing Bracket
Water Pipe Connecting Accessories Washloo Attachment Accessories
Note : The above illustration is an example only, your version may vary
Deodorising box
(inside)
Body Sensor
Side Control Panel
Fitting Kit –All Models

Installation Guide
Installation Environment
1. Prior to installation, ensure the area for the Washloo is clear and the
correct model has been selected for your pan (please see online
fitting/measuring guide).
2. Washloos’ requires water pressure between 0.06Mpa (flow)- 0.75Mpa
(Static).
3. Only use mains water supply. Do not use tank fed water, industrial
water or grey water for the supply as this may cause skin damage or
disease. This may also block the filters located within the T-Piece
quickly (Hard Water Areas).
4. Use the supplied T-Valve/Filter to ensure the Washloo is correctly
protected against contaminated/hard water. In hard water areas it is
advisable to use an inline water softener.
5. ‘Do Not’ connect the Washloo to the power supply before the
installation is complete.
Installation of the T-Valve/Filter
1. Turn off water supply to your existing toilet to avoid any leaks prior to
installation (turn your nearest ‘Stop Tap’ off). Disconnect water supply to
the cistern.
2. Connect T-Valve/Filter between the water supply to your existing cistern as
shown below.
3. Reconnect the water supply to your cistern now with the T-Valve/Filter
installed in line.
Cistern T-Valve/Filter
Turn Off
Step 1 Step 2 Step 3
Stop Tap
O-Ring
Seal
Cistern
Stop Tap
Plastic
Water Pipe
5

Installation Guide
Installation of Fixing Bracket
1. Loosen nuts and attachment
bolts holding original toilet
seat on.
2. Remove original toilet seat
and all fasteners
Toilet
Seat
Bolts
Washers
Nuts
Mounting Bolts
Steel Adjustment
Brackets
Fixing Bracket
Rubber Expansion
Sleeves
1. Place Rubber Expansion Sleeves
into the attachment holes on your
existing toilet.
2. Place the Fixing Bracket on over
the installation holes.
3. Place the Steel Adjustment
Brackets into the Fixing Bracket as
shown.
4. Install the Mounting bolts and
tighten down to ensure the ‘Fixing
Bracket’ is in the correct position.
*The Fixing Bracket can be adjusted
between 130-170mm to allow adjustment
of the Washloo.
Removal of Current Toilet Seat
6

Installation Guide
Installation of Washloo Seat
Installation of Water Pipe Fixtures
1. Push the Plastic Water Pipe into the
compression fitting on the Washloo.
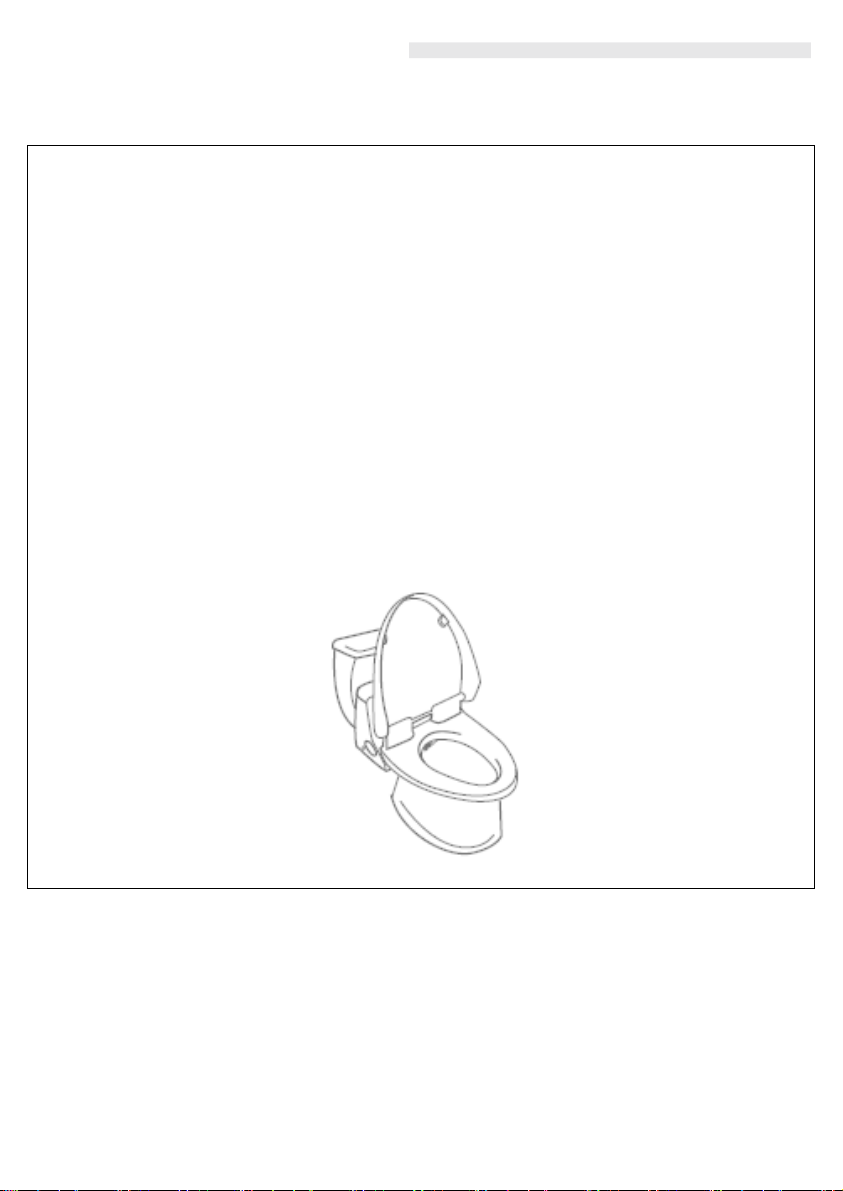
Installing the Washloo Seat
1. Place the Washloo in front of the Fixing
Bracket. Using the release button on the
lower righthand side allow the locating
chamfer on the unit to slide backwards
onto the fixing bracket.
2. Push the Washloo back onto the Fixing
Bracket in a sliding motion.
3. Ensure the Fixing Bracket does not move
and misalign the Washloo.
Fixing
Bracket
Release
button
Cistern
Installing the Water Feed Accessories
1. Push the Plastic Water Pipe into the
compression/push fitting on the T Valve/Filter
2. Push the Plastic Water Pipe into
the compression/push fitting on
the Washloo.
T Valve/Filter
T Valve
Connector
Plastic Water
Pipe
Push
Fit
7
Installation Guide
Preparation for water supply and test for operation.
1. Insert the electric plug into the designated socket/fused spur as
recommended by a qualified electrician.
2. When switched on –all lights on the unit will be illuminated. The Washloo
will now prime the water system for around 10 seconds and finally the
nozzle will extend out whilst performing a cleaning/first use test function.
3. After the first use test cycle –all lights will now turn off and a buzzer sound
will notify the user that the full cycle is now complete.
4. Now press the ‘Power On’ button on the toilet and/or remote control to set
the toilet to the ‘Standby’ setting.
5. Please note –Set the water temperature, water pressure and seat
temperature accordingly before use (We recommend you to set to a low
temperature/pressure for first use to avoid sensitivity until you are familiar
with the Washloo seat).
6. Please follow all instructions within this manual when operating all of the
additional functions.
8
Indice
Altri manuali washloo Toilette


Manuali Toilette popolari di altre marche


Better Bathrooms
Better Bathrooms BUN/BeBa 27555/78725 Manuale utente

American Standard
American Standard CONCEPT Cube TF-2704 Manuale utente

BIOLAN
BIOLAN ECO Manuale elenco delle parti

Thetford
Thetford C260 Series Manuale utente

KELISS
KELISS T162A Series Manuale utente

Kohler
Kohler K-22241K Istruzioni per il montaggio


