Natech Nealact Manuale utente

Nealact
Lactate meter
User Manual
NEA_LEC_EN_ind01_06/01/2021

Dear Nealact User:
Thank you for purchasing the Nealact Lactate Meter Monitoring
System. This manual provides important information to help you to
use the system properly. Before using this product, please read the
following contents thoroughly and carefully.
If you have other questions regarding this product, please contact the
local customer service or place of purchase.
Intended Use
This system is intended for use outside the body (in vitro diagnostic
use) to quantitatively measure the lactate levels in whole blood. It is
for home use or for healthcare professional use. It should not be used
for diagnosis or screening of diseases.
The lactate test strip uses fresh capillary whole blood samples from
the fingertips, and from venous whole blood. Professionals may use
the test strips to test capillary and venous blood sample immediately;
home use is limited to capillary whole blood testing immediately.
Test Principle
Your system measures the amount of lactate in whole blood. The
lactate testing is based on the measurement of electrical current
generated by the reaction of lactate with the reagent of the strip. The
meter measures the current, calculates lactate level, and displays the
result. The strength of the current produced by the reaction depends
on the amount of lactate in the blood sample.

IMPORTANT SAFETY PRECAUTIONS
READ BEFORE USE
1. Use this device ONLY for the intended use described in this manual.
2. Do NOT use accessories which are not specified by the manufacturer.
3. Do NOT use the device if it is not working properly or if it is damaged.
4. The lactate test strip has not been tested in NICU (Neonatal Intensive
Care Unit)
5. This device does NOT serve as a cure for any symptoms or diseases.
The data measured is for reference only. Always consult your doctor
to have the results interpreted.
6. Before using this device to test lactate, read all instructions thoroughly
and practice the test. Carry out all the quality control checks as
directed.
7. Keep the device and testing equipment away from young children.
Small items such as the battery cover, batteries, test strips, lancets
and vial caps are choking hazards.
8. Use of this instrument in a dry environment, especially if synthetic
materials are present (synthetic clothing, and carpets etc.) may cause
damaging static discharges that may cause erroneous results.
9. Do NOT use this instrument in close proximity to sources of strong
electromagnetic radiation, as these may interfere with the accurate
operation.
10. Proper maintenance and periodically control solution test are
essential to the longevity of your device. If you are concerned about
your accuracy of measurement, please contact the local customer
service or place of purchase for help.
KEEP THESE INSTRUCTIONS IN A SAFE PLACE

TABLE OF CONTENTS
BEFORE YOU BEGIN...............................................................................................1
Important Information.................................................................. 1
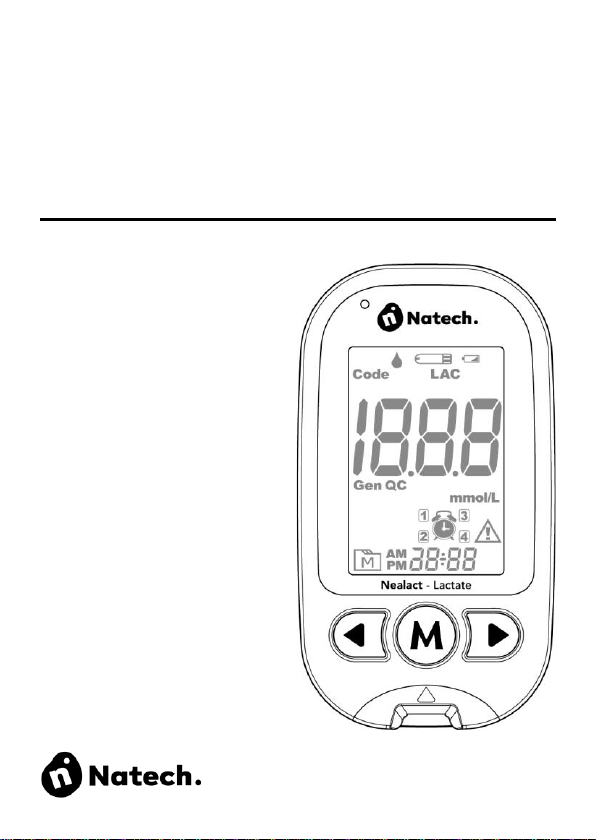
Meter Overview...........................................................................2
Display Screen............................................................................3
Nealact Lactate Test Strip ...........................................................4
SETTING THE METER .............................................................................................5
THE MEASURING MODE.........................................................................................7
Lactate Testing............................................................................7
QUALITY CONTROL TESTING ...............................................................................8
When Should the Lactate Control Solution Test Be Performed? .. 8
Performing a Control Solution Test..............................................8
TESTING WITH BLOOD SAMPLE.........................................................................10
Preparing the Lancing Device for Blood Testing ........................ 10
Preparing the Puncture Site ...................................................... 10
Performing a Blood Test.............................................................11
METER MEMORY ...................................................................................................13
Reviewing Test Results ............................................................. 13
BLUETOOTH PAIRING...........................................................................................14
MAINTENANCE ......................................................................................................16
Battery ......................................................................................16
Replacing the Battery................................................................ 16
Caring for Your Meter................................................................ 17
Caring for Your Test Strips......................................................... 17
Important Control Solution Information......................................18
MEASUREMENT RESULT READINGS .................................................................19
Lactate Testing.......................................................................... 19
Reference Values...................................................................... 19
SYSTEM TROUBLESHOOTING ............................................................................20
Error Messages.........................................................................20
Troubleshooting ........................................................................ 21
SYMBOL INFORMATION .......................................................................................23
SPECIFICATIONS ...................................................................................................24
PURCHASE INFORMATION ..................................................................................25
CONTACT INFORMATION .....................................................................................26


1
BEFORE YOU BEGIN
Important Information
•Severe dehydration and excessive water loss may cause
readings which are lower than actual values. If you believe you
are suffering from severe dehydration, consult a healthcare
professional immediately.
•If your lactate is lower or higher than usual, and you do not have
any symptoms of illness, first repeat the test. If you have
symptoms or continue to get results which are higher or lower
than usual, follow the treatment advice of your healthcare
professional.
•Use only fresh whole blood samples to test your lactate. Using
other substances will lead to incorrect results.
•If you are experiencing symptoms that are inconsistent with your
test results and you have followed all the instructions given in
this owner’s manual, contact your healthcare professional
•We do not recommend using this product on severely
hypotensive individuals or patients in shock. Please consult the
healthcare professional before use.
•The measurement unit used for indicating the concentration of
blood or plasma lactate is molarity (mmol/L).

2
Meter Overview
Test Strip Ejector
Eject the used strip by sliding up this button.
Bluetooth Indication Light
Display Screen
Left Scroll Button ( )
Adjust value decrement. Scroll the values in the memory.
M Button (M)
Enter the meter memory.
Right Scroll Button ( )
Enter Bluetooth function and adjust value increment. Scroll the
values in the memory.
Strip Indication Light
The indicator lights up in blue while the strip is inserted
Test Strip Slot
Insert test strip here to turn the meter on for testing.
Battery Compartment
1
2
3
4
5
6
7
9
8

3
Display Screen
Test Result
Measuring Mode
Gen – Sample test
Auto QC Mode
QC – Control solution test
Memory Mode
Date / Time
Error Message
Alarm Symbol
Measurement Unit
Low Battery Symbol
Lactate Symbol
Test Strip Symbol
Sample Drop Symbol
Code of strip
1
2
3
4
5
6
7
8
9
10
11
12
13

4
Nealact Lactate Test Strip
ATTENTION:
The front side of test strip should face up when inserting test
strip.
Test results might be wrong if the contact bar is not fully inserted into
the test slot.
NOTE:
The Nealact meter should only be used with Nealact Lactate test
strips. Using other test strips with this meter can produce inaccurate
results.
Absorbent Hole
Test Strip Handle
Confirmation Window
Contact Bars
1
2
3
4

5
SETTING THE METER
Before using your meter for the first time or if you change the meter
battery, you should check and update these settings.
Entering the Setting Mode (a)
Start with the meter off (no test strip inserted). Press and hold
and at the same time.
1. Setting the date
The sequence of the date setting is: YEAR → MONTH → DAY.
With the YEAR / MONTH / DAY flashing in sequence, press
or to select the correct number. Press M.
2. Setting the time format
Press or to select the desired time format (12h or 24h).
Press M.
3. Setting the time
With the HOUR / MINUTE flashing in sequence, press or
to select the correct number. Press M.
4. Setting the buzzer
With the buzzer displays, press or to switch between
“On” and “Off”. Press M.
5. Deleting the memory
With “dEL” and “ ” on the display, press to select “no” to
keep the results in memory then press Mto skip. To delete all
the results, press and select “yes”to delete all the memory
records.
Altri manuali per Nealact
1
Indice
Altri manuali Natech Strumento di misura


