
RainWise PortLog Manuale utente
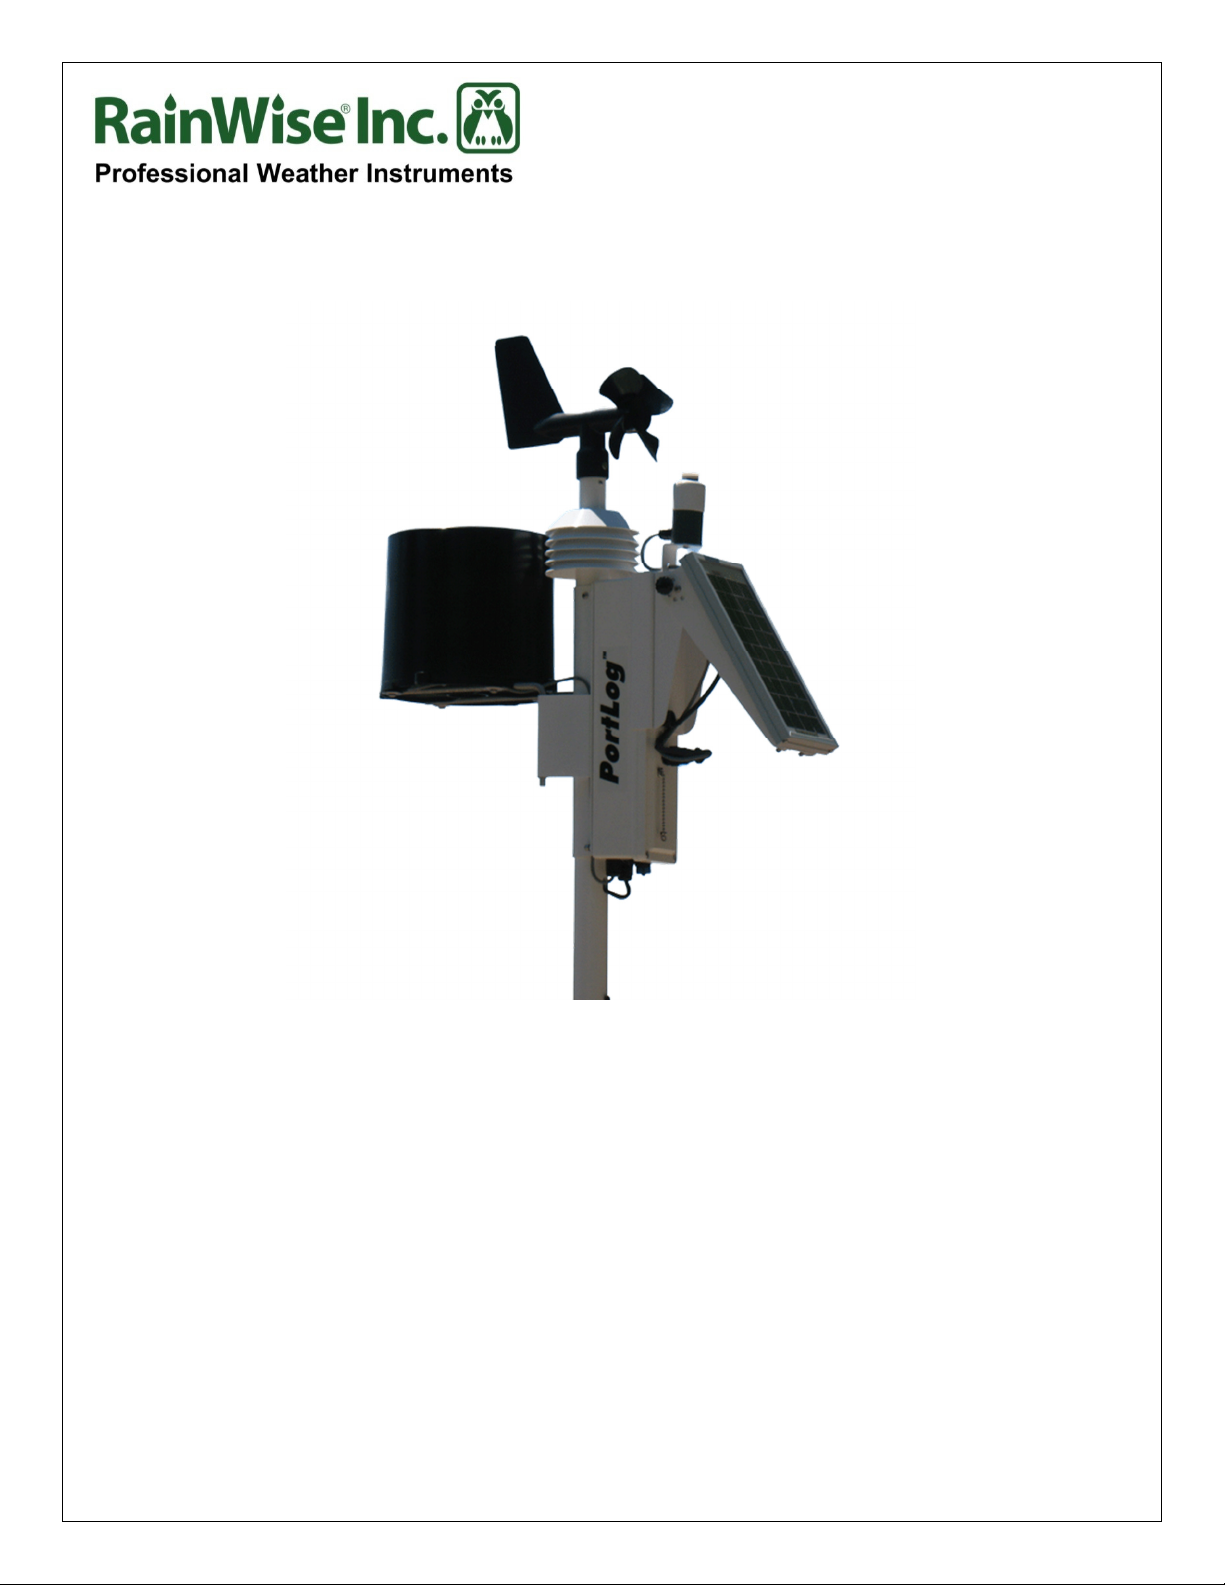
PortLog™
User’s Guide
Rev Date: 7/08/14

2
RainWise PortLog Users Guide
2014 Revision
Copyright © 2014 by RainWise, Inc.
All rights reserved. No part of this work may be reproduced in any form except by written
permission of the publisher. All rights of translation are reserved.
PortLog™ is a trademark of RainWise, Inc.
.

3
RainWise PortLog Users Guide
2014 Revision
Table of Contents
1) Introduction........................................................................................................................... 5
2) Getting Started ...................................................................................................................... 6
3) Physical Setup........................................................................................................................ 8
3.1) Quick Guide ................................................................................................................ 8
3.2) Detailed Setup............................................................................................................. 9
3.21) Site Selection ...................................................................................................... 9
3.22) Tripod Setup........................................................................................................ 9
3.23) Leveling PortLog ................................................................................................ 9
3.24) Solar Panel and Solar Radiation Sensor Assembly Setup ................................ 10
3.25) Solar Panel Latitude Adjustment ...................................................................... 11
4) Software Setup .................................................................................................................... 13
4.1) Initial Logger Setup .................................................................................................. 13
4.2) Setting the Barometer ............................................................................................... 14
5) Verification of Deployment ................................................................................................ 15
6) WLcom Data Retrieval Software Overview ..................................................................... 16
6.1) Installation................................................................................................................. 16
6.2) Starting the Program ................................................................................................. 16
6.3) Editing the Item Descriptions ................................................................................... 16
6.4) Command Mode Window......................................................................................... 16
7) Using Weather Station Data Files with other PC Software ............................................ 17
7.1) Opening a data file in Excel...................................................................................... 17
8) Data Format Sheet .............................................................................................................. 18
8.1) Data ........................................................................................................................... 19
8.2) RAM Capacity .......................................................................................................... 19

4
RainWise PortLog Users Guide
2014 Revision
8.3) Serial Command Format test .................................................................................... 20
9) Product Support.................................................................................................................. 23
10) Contact Information ........................................................................................................... 23
11) Warranty ............................................................................................................................. 24

5
RainWise PortLog Users Guide
2014 Revision
1) Introduction
The PortLog is a compact rugged industrial grade data logging weather station which measures
Temperature, Wind Speed, Wind Direction, Barometric Pressure, Relative Humidity, Dew Point,
Solar Radiation and Rainfall. The unit is fully assembled and can be quickly deployed. The large
3-Watt solar panel and 5AH sealed lead acid battery ensure reliable operation in the harshest
conditions.
The PortLog communicates directly to a PC via an RS232 serial port. During the data logging
time interval, the wind speed and wind direction are averaged. The maximum wind speed is also
captured and the solar energy calculated. All data is saved to non-volatile RAM. Selectable units
are English and Metric with wind speed also recorded in Knots and Meters per Second. Solar
Radiation is in SI units only.
Deployed PortLog with tripod and travel case

6
RainWise PortLog Users Guide
2014 Revision
2) Getting Started
Every PortLog comes with the standard package listed below. Additional options are also
available to the standard package.
The itemized lists should be consulted after opening the PortLog to verify if any equipment is
missing or damaged. If equipment is missing or damaged, contact RainWise Inc. at (207) 288-
5169 immediately.
Standard:
•PortLog Data Logger Assembly
•Solar Assembly
•Serial Cable
•WLcom Software Disk
•Battery Charger
•Instruction Manual
•Tripod Mount Mast
Optional: (Tripod Kit & Compass)
•Tripod Assembly
•Three Tripod Mounting Feet
•Tripod Anchor Kit
·Hammer
·3 Nails
•Compass
Optional:
•Travel Case

7
RainWise PortLog Users Guide
2014 Revision
Standard unit in travel case
•“SP/SR: solar panel/solar radiation sensor
•“Mtf”: tripod mounting feet (included with tripod purchase)
Tripod in travel case
The PortLog is stored under the tripod and foam. The other accessories are located in the well.
The top is cushioned to support the items when the cover is closed.

8
RainWise PortLog Users Guide
2014 Revision
3) Physical Setup
The physical setup is important for functionality of your PortLog.
3.1) Quick Guide
1. Select suitable location to set up
2. Unpack the tripod (if purchased)
3. Attach tripod mounting feet
4. Layout the tripod, do not extend the tripods legs
5. Level the tripod
6. Attach mounting pole into tripod
7. Attach PortLog to mounting pole
8. Attach Solar Panel and Solar Radiation Assembly to the PortLog
9. Connect the Solar Panel and Solar Radiation Cable to the PortLog
10. Set the angle of the solar panel
11. Fully extend the tripods legs
12. Face the solar panel in the correct compass bearing for your location (refer to Section
3.25)
13. Secure the tripod to the ground
14. Level tripod
15. Turn PortLog ON

9
RainWise PortLog Users Guide
2014 Revision
3.2) Detailed Setup
A few different aspects are important to consider when setting up the PortLog.
3.21) Site Selection
Select an open site for the PortLog. The site should be located where temperature and humidity
won’t be affected by heat and water sources. Nearby obstructions can affect the wind, rainfall
and solar radiation sensors. The World Meteorological Organization (WMO) defines open
terrain as an area where the distance between the anemometer and any obstruction is at least ten
times the height of the obstruction. RainWise recommends this guideline to be used as minimum
for selecting a site.
3.22) Tripod Setup
1. Remove the tripod from its travel case
2. Install the tripod mounting feet. To mount the feet, pull the pin and slide the mounting
foot over the tripod leg. Put pin back through hole of mounting foot.
3. Unfold the tripod legs to the extent of the chain. Do not fully extend the tripods legs yet.
The tripod legs will extend to approximately twice the in case length. Be sure to secure the
extension lock on the side of each of the tripods legs. The holes in the tripod mounting foot are
for securing the tripod mount kit.
3.23) Leveling PortLog
If the PortLog has not been downgraded, the tripod will be used to level it. There is a bubble
level attached to the base of the tripod. The tripod base should be leveled so that the bubble on
the level is within the circle. Push down and rotate until the support mast engages the base
alignment pin. The tripod’s mounting mast has a small screw that should be now facing South.

10
RainWise PortLog Users Guide
2014 Revision
3.24) Solar Panel and Solar Radiation Sensor Assembly Setup
1. Slide the solar panel and solar radiation sensor assembly over the front cover. The
assembly slides down over the cover and stops just above the receptacle.
2. Plug the black twist lock connector into the receptacle. Be sure to twist the connector
collar until it locks into place. The thumbscrew attaches the solar panel assembly ball
chain to the logger housing.
This Figure shows the assembled PortLog on the tripod mount, with the chain fully extended.
The insert shows the Solar Panel Solar Radiation Sensor connector and the tie down chain.
Remove the thumb screw to install the chain.
With temperature above 20 °C and the logger in sleep mode, the battery will operate the logger
for at least 60 days without sun. Also note that battery capacity diminishes with lower
temperatures. RainWise recommends the battery be charged overnight before the logger is
deployed. For cold temperatures and/or long deployment, correct solar panel adjustment is
important.
In the Northern Hemisphere, face the solar panel south. For Southern Hemisphere
deployment, face the solar panel north. There is a software command {“H”} to set the wind
direction for southern hemisphere deployment. (Refer to Section 8.3)
Indice
Altri manuali RainWise Strumento di misura


